You just got a new puppy (or maybe a rescue who’s still figuring out the rules), and you’re ready to ditch the yelling and leash yanking. Clicker training is the fastest, least frustrating way to build rock-solid behaviors, and the right starter kit makes the whole process feel almost effortless. Here’s exactly which kit I keep recommending to every first-timer who asks, plus how to use it so your dog actually learns instead of just staring at you like you’re crazy.
Why a Complete Kit Beats Buying Pieces One by One
Buying a single cheap clicker feels smart until you’re juggling treats in one hand, the clicker in the other, and your dog is already three behaviors past the moment you wanted to mark. A real beginner kit solves that chaos. You get multiple clickers (so one can live in the car and one on your wrist), a treat pouch that actually stays open when you need it, a whistle for distance work, and a booklet that walks you through the first sessions without making you feel dumb.
The difference shows up on day one. You stop fumbling. Your timing gets cleaner. Your dog starts offering behaviors instead of guessing.
What Actually Matters in a Beginner Clicker Kit
Skip the fancy adjustable-volume models for now. You need four things that actually work in real life:
- A loud, consistent click that cuts through household noise
- Wrist straps so the clicker never disappears under the couch
- A treat pouch you can open one-handed while holding a leash
- A simple guide that shows the exact order of steps instead of vague theory
Bonus points if the kit throws in a silent whistle and extra bags. Those extras turn “I’ll start training next weekend” into “we’re training tonight.”
The Clear Winner: BARKIE Dog Training Kit
After comparing every popular option that claims to be beginner-friendly, the BARKIE Dog Training Kit keeps coming out on top for new owners. It’s the one I actually hand to friends when they get their first dog.
Here’s what lands in the box for around twenty-five bucks:
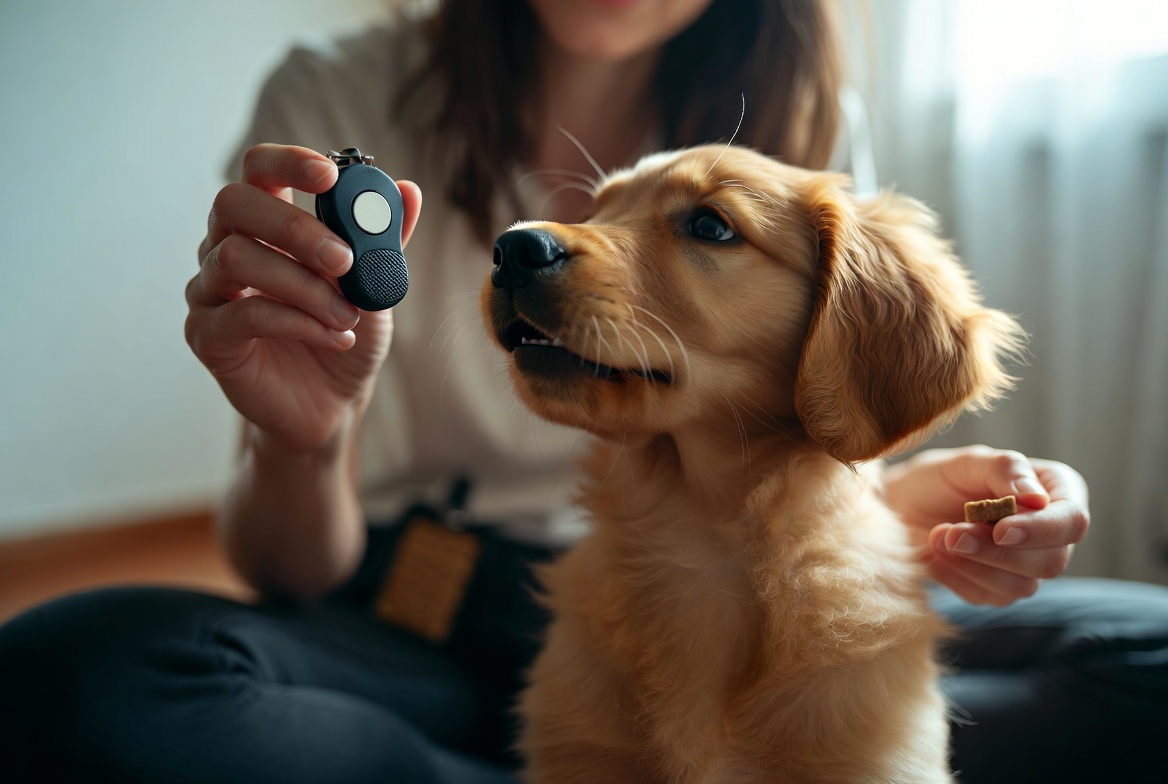
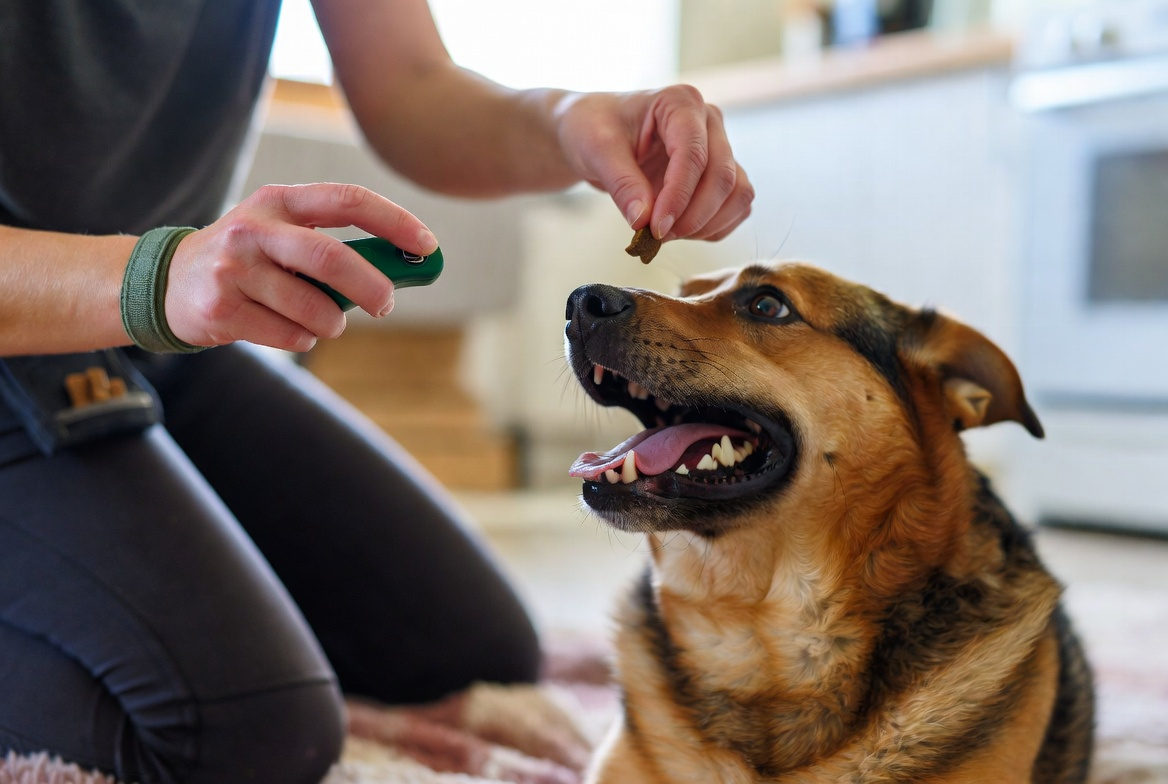
- Two sturdy clickers with wrist straps (one black, one dark green)
- A waterproof silicone treat pouch that clips to your belt or waistband
- An adjustable ultrasonic whistle with its own lanyard
- A 2-in-1 whistle-clicker combo
- A short training manual that covers sit, stay, come, down, and a couple of fun tricks
- A roll of poop bags so you never get caught empty-handed
The pouch is the real hero. It’s deep enough for a handful of high-value treats, opens wide, and closes with a magnetic flap that doesn’t fight you. The clickers make a crisp, identical sound every time—exactly what a beginner needs for clean timing. The whistle lets you practice recalls in the park without screaming.
Is it the absolute most premium plastic on the planet? No. Does it get the job done for the first six months of training without drama? Absolutely. Most people who buy it never feel the need to upgrade.
How to Charge the Clicker and Run Your First Session
Grab the kit, a handful of tiny soft treats, and five quiet minutes. This is the foundation everything else sits on.
First, “charge” the clicker so your dog learns the sound means food is coming. Sit on the floor. Click once, then immediately drop a treat. Repeat ten to fifteen times. Don’t ask for any behavior yet. Just click → treat. Within a couple of minutes most dogs start looking at you the second they hear the click. That’s the magic moment.
Next, move to the easiest behavior: sit. Hold a treat just above your dog’s nose and slowly move it back over their head. The moment their butt hits the floor, click, then deliver the treat. Do five to eight reps. Stop while they’re still excited. Short sessions beat marathon ones every single time.
Once sit is reliable, add the target. You can use your hand or the yellow ball tip if you later pick up a target stick. Hold your flat hand out. The second the dog’s nose touches it, click and treat. This skill opens the door to spin, go to mat, and dozens of other behaviors later.
Building Real Life Skills With the Full Kit
After a week of indoor success, take the whole kit outside. Clip the treat pouch on, slip a clicker on your wrist, and hang the whistle around your neck. Start with easy sits and downs in a quiet yard. Then practice short recalls: say your dog’s name, click the moment they turn toward you, and jackpot with three treats when they reach you.
The ultrasonic whistle becomes useful once your dog knows the game. Pair the whistle with the click and treat a few times at close range, then use it at longer distances. Suddenly you have a reliable long-distance recall without raising your voice.
Keep sessions under ten minutes. End on a win. Put the kit away while both of you still want more. That keeps the training feeling like a game instead of work.
Mistakes That Slow Beginners Down
Clicking too late is the classic error. The click has to happen the exact second the behavior happens, not two seconds later while you’re digging for a treat. Practice the timing without your dog first—click when a ball bounces or a light turns on.
Another trap: talking too much. Save the praise for after the treat. The click is the only marker that matters at the start.
And please, don’t keep clicking after the behavior is already solid. Once your dog sits the moment you cue it, start adding a verbal “sit” and slowly fade the clicker for that specific behavior. Keep the clicker for new skills.
Other Solid Options If BARKIE Isn’t Quite Right
If you already own a good treat pouch and only need a clicker, the PetSafe Clik-R is the ergonomic classic that lives on many trainers’ fingers. It’s cheap, reliable, and comes with a basic guide.
Want an all-in-one clicker plus target stick from day one? The Terry Ryan Click Stick by Karen Pryor is the professional favorite. It telescopes, the click is built in, and the included guide is excellent. It’s a step up in price and slightly more advanced, but many beginners who plan to do tricks love it.
For multi-dog households or people who lose everything, a simple multi-pack of basic wrist-strap clickers (HoAoOo or similar) works fine as a budget backup.
FAQ’s
How long does it take to see results with a beginner kit?
Most dogs start offering sits and nose touches within the first three or four short sessions. Solid, reliable behaviors usually appear in one to two weeks of consistent five-minute practices.
Can I use the same kit for cats or other pets?
Yes. The clickers and treat pouch work great for cats, rabbits, and even birds. Just use quieter clicks and smaller treats. The BARKIE kit isn’t species-specific.
Do I need the whistle right away?
No. Focus on the clicker and pouch first. Bring the whistle out once your dog understands that the click means “you just earned a reward.”
What if my dog is scared of the click sound?
Start with the quieter of the two clickers or wrap it in a thin cloth for the first few sessions. Most dogs get used to it within a day once they realize food follows.
Should I keep using the clicker forever?
No. Once a behavior is fluent, switch to a verbal marker or just the treat. Save the clicker for teaching brand-new skills.
Related Articles:
- Dog Skin Allergies: Causes, Symptoms, and Remedies
- 5 Best CBD Oils for Anxious Dogs
- The Ultimate Guide to Dog First Aid
Final Thoughts
You don’t need a professional trainer or a hundred-dollar gadget to get started. The BARKIE kit gives you every tool a beginner actually uses in the first months of training, at a price that doesn’t sting if the puppy decides to chew one of the clickers. Charge it, keep sessions short, and celebrate the tiny wins. Your dog will start looking at you like you’re the most interesting thing in the room—and that’s when the real fun begins.
Grab the kit, pick a quiet afternoon, and start clicking. You’ll wonder why anyone still trains any other way.