
Let’s have a real conversation here. You know that pan you absolutely love? The one that’s been with you through countless Sunday roasts, perfectly seared steaks, and that one time you tried making caramel from scratch? Yeah, that pan. Look at it now. It’s covered in burnt-on gunk, the surface feels sticky, and you’re pretty sure there’s something growing on the bottom that you don’t want to think about.
I’ve been there. I once had a stainless steel skillet that looked like I’d used it to fry cement. I was ready to throw it out and buy a new one. But then a chef friend of mine laughed at me and said, “You don’t need a new pan. You need a new cleaning routine.” She was right. And now that pan looks brand new.
Baking soda? Vinegar? Hydrogen peroxide? Salt? Lemons? The internet will tell you a million things. Some work. Some don’t. Some will actually ruin your pans. 😬 But I’ve tested them all, and I’m going to save you the time, money, and frustration.
Here are six foolproof methods to deep clean dirty pans—whether they’re stainless steel, cast iron, or non-stick. No harsh chemicals. No expensive gadgets. Just stuff you already have in your kitchen.
Ready to restore your pans to their former glory? Let’s get cooking!
1. The Baking Soda & Vinegar Power Combo
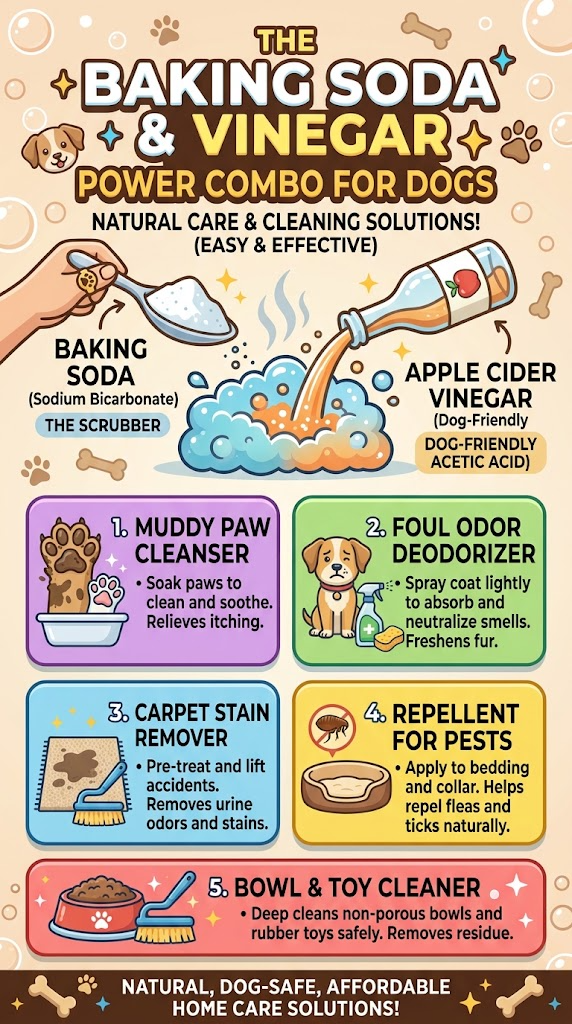
Why It’s Awesome: This dynamic duo tackles burnt-on food like nobody’s business. It’s the ultimate one-two punch for crusty, stuck-on messes.
Ingredients:
- ½ cup baking soda (not baking powder—don’t make that mistake)
- ½ cup white vinegar
- Hot water
- A non-abrasive sponge
- Patience (the bubbles need time to work)
Step-by-Step Instructions:
- Sprinkle baking soda generously over the bottom of the pan. Cover the entire burnt area. Don’t be shy—this is your secret weapon.
- Pour vinegar over the baking soda. Watch the fizz! This chemical reaction breaks down burnt-on food. It’s like a tiny science experiment in your sink.
- Let it sit for 15-30 minutes. Don’t touch it. Don’t stir it. Just let the bubbles do their magic. The longer it sits, the easier the scrubbing.
- Add hot water. Fill the pan with hot water and let it soak for another 15 minutes.
- Scrub gently with a non-abrasive sponge. You shouldn’t need to use much elbow grease at this point. The food should basically wipe away.
- Rinse thoroughly and dry completely. No soap needed, but you can use a tiny bit if you want.
Why You’ll Love It:
This method works on most pans and doesn’t require any harsh chemicals. I once used this on a pan that had cheese stuck to it for three days (don’t judge me). The baking soda and vinegar combo made it look brand new. Just don’t use this method on cast iron or carbon steel—it can strip the seasoning.
2. The Salt Scrub Technique (For Burnt-On Crust)
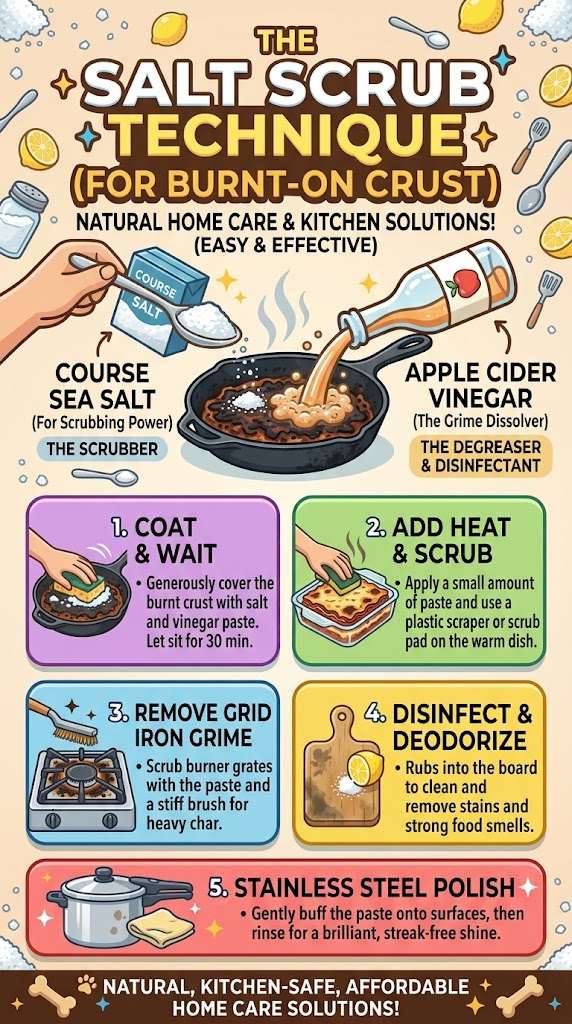
Why It’s Awesome: Salt is abrasive enough to scrub off burnt bits but gentle enough not to scratch your pans. It’s the Goldilocks of cleaning agents.
Ingredients:
- Coarse salt (kosher salt or sea salt works best)
- A small amount of oil (vegetable or olive)
- A paper towel or cloth
- Warm water
- A non-abrasive sponge
Step-by-Step Instructions:
- Sprinkle a generous layer of salt over the bottom of the pan. Cover every inch of the burnt area.
- Add a few drops of oil. Just enough to make the salt stick. You’re not deep-frying—just a tiny bit.
- Scrub using a paper towel. Use circular motions and apply moderate pressure. The salt acts as a scrubber, slowly wearing away the burnt-on food.
- Let it sit for 5-10 minutes. Give the salt time to work on the tougher spots.
- Rinse with warm water. The salt should dissolve and take the gunk with it.
- Repeat if necessary. For really stubborn burnt bits, repeat the process. The second round should do the trick.
Why You’ll Love It:
This method is perfect for stainless steel and cast iron pans. I once burned garlic in a pan (who hasn’t?), and the salt scrub method saved it in minutes. Some people use salt with lemon juice, but I think the lemon can be too acidic for some pans. Stick with oil—it’s safer and just as effective, IMO.
3. The Lemon and Salt Miracle
Why It’s Awesome: Lemons cut through grease while salt provides abrasion. The result is a sparkling clean pan that smells like summer.
Ingredients:
- 1 lemon (cut in half)
- Coarse salt
- Water
- A non-abrasive sponge
- A happy attitude (because lemons make everything better)
Step-by-Step Instructions:
- Sprinkle salt over the bottom of the pan. Be generous.
- Squeeze lemon juice over the salt. Use the lemon halves to really get the juice in there.
- Use the lemon half as a scrubber. Rub the cut side of the lemon over the salt and burnt areas. The acidity of the lemon plus the grit of the salt is a powerhouse.
- Let it sit for 10 minutes. The lemon juice will continue working on any remaining stains.
- Rinse with warm water. You’ll see the burnt bits coming off immediately.
- Dry completely with a towel. Lemon can be acidic, so don’t let it sit on the pan too long.
Why You’ll Love It:
This method is a game-changer for brass, copper, and stainless steel pans. It leaves them shiny and fresh-smelling. I once tried this on an old copper-bottom pan that looked completely hopeless, and it came out looking like a million bucks. Just don’t use this method on cast iron or carbon steel—the acid can strip the seasoning. FYI.
4. The Cream of Tartar Paste
Why It’s Awesome: Cream of tartar is an acid that breaks down tough stains and burnt-on food without damaging the pan’s surface.
Ingredients:
- 2 tablespoons cream of tartar
- A few drops of water
- A non-abrasive sponge
- Warm water
- A soft cloth
Step-by-Step Instructions:
- Mix cream of tartar with enough water to make a paste. You want a thick consistency, like toothpaste.
- Spread the paste over the burnt area. Cover the entire stained or burnt section.
- Let it sit for 15-20 minutes. The cream of tartar will slowly break down the burnt-on food.
- Scrub gently with a sponge. Use circular motions and light pressure.
- Rinse thoroughly with warm water. The paste should wash away, taking the stains with it.
- Dry completely with a soft cloth.
Why You’ll Love It:
This is my absolute favorite method for stainless steel pans. It’s gentle but incredibly effective. I once used this on a pan that had a scorch mark from boiling over milk, and it came out spotless. Cream of tartar is a pantry staple for baking, so you probably already have it. If not, it’s cheap and worth having on hand.
5. The Hydrogen Peroxide & Baking Soda Power Paste
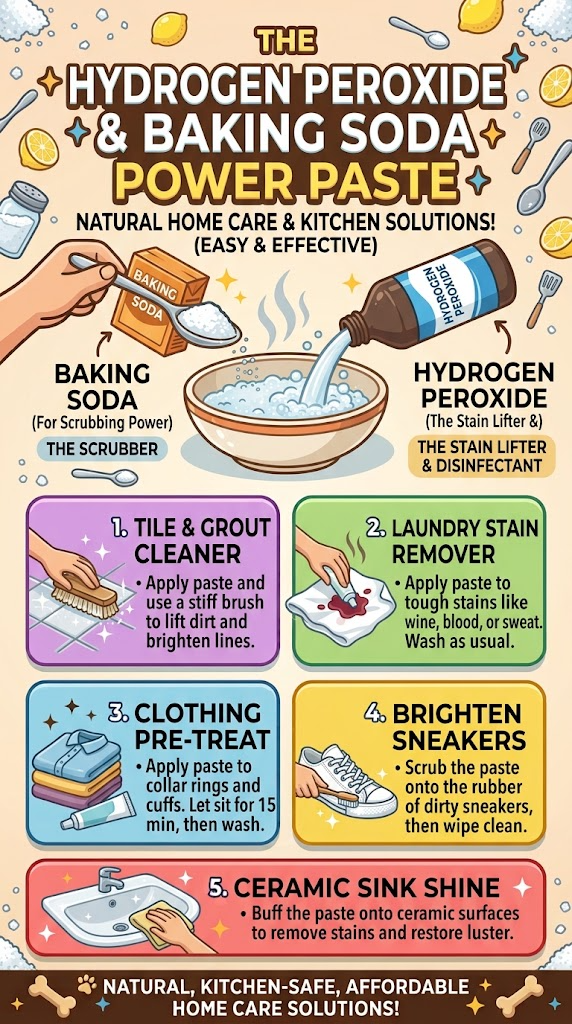
Why It’s Awesome: This is the nuclear option for pans that look beyond saving. It’s gentle on the pan but brutal on burnt-on gunk.
Ingredients:
- ½ cup baking soda
- 2 tablespoons hydrogen peroxide (3% solution)
- A small bowl
- A non-abrasive sponge
- Warm water
Step-by-Step Instructions:
- Mix baking soda and hydrogen peroxide in a bowl. You’ll get a thick paste. The consistency should be like pancake batter.
- Spread the paste over the burnt area. Cover every inch of the stain.
- Let it sit for 2-3 hours. Yes, hours. The mixture needs time to break down the burnt-on food.
- Scrub gently with a sponge. Most of the stain should come off with minimal effort.
- Rinse thoroughly with warm water. Make sure all the paste is washed away.
- Repeat if necessary. For really tough stains, you might need a second application.
Why You’ll Love It:
This method is a lifesaver for heavily burnt pans that nothing else has touched. I had a stainless steel pan that I’d basically given up on—it had a black ring of burnt-on oil that wouldn’t budge. I used this paste, let it sit for a few hours, and it wiped clean. It was genuinely shocking. Just don’t use this on cast iron or carbon steel—it will ruin the seasoning. Also, do a spot test first to ensure it doesn’t discolor your pan.
6. The Gentle Boil Method for Stubborn Residue
Why It’s Awesome: Sometimes the best way to remove stuck-on food is to boil it off. It’s simple, effective, and requires zero elbow grease.
Ingredients:
- Water
- ½ cup baking soda (or ¼ cup dish soap)
- A wooden spoon or spatula
- A non-abrasive sponge
- Patience
Step-by-Step Instructions:
- Fill the pan with water. Add enough water to cover the burnt or stained areas.
- Add baking soda or dish soap. This will help break down the food residue.
- Bring to a boil. Let it simmer for 10-15 minutes. The heat will loosen the burnt-on food.
- Use a wooden spoon to scrape gently. You’ll see pieces of burnt food floating to the top. This is a good sign.
- Remove from heat and let cool. Don’t dump the hot water immediately. Let it cool enough to handle.
- Scrub gently with a sponge. The rest of the residue should come off easily.
- Rinse thoroughly and dry completely.
Why You’ll Love It:
This method is perfect for stainless steel, glass, and ceramic pans. It’s especially great for removing stuck-on pasta or rice. I once had a pan where I’d burned a whole batch of caramel (tragic), and the gentle boil method saved it in 20 minutes. Just don’t use this on non-stick pans—the high heat can damage the coating. Some people say to use vinegar in the water, but I find it smells strong and doesn’t work as well as baking soda. Baking soda is the real MVP here.
BONUS: The Emergency Cleanup Smoothie (For When You’re Desperate)
Why It’s Awesome: Sometimes you need a quick fix in the middle of cooking. This is your emergency smoothie.
Ingredients:
- The burnt pan (still warm)
- A wooden spoon
- A splash of water
- Salt
Step-by-Step Instructions:
- Deglaze the pan. Add a splash of water to the warm pan. The steam will help release burnt bits.
- Scrape with a wooden spoon. The burnt food should come off the surface as the water bubbles.
- Add salt for extra abrasion. Sprinkle salt and scrub with a wooden spoon.
- Wipe the pan clean with a paper towel. You won’t get a deep clean, but you’ll remove the worst of it for the next step.
Why You’ll Love It:
This is a lifesaver during meal prep. You can quickly clean a pan in minutes and continue cooking. I use this method when I’m making multiple dishes in the same pan—it’s fast and effective. Just remember, this is a temporary fix. You’ll still need to do a proper deep clean later.
A Note About Pan Types (Because This Matters)
Different pans require different treatment. Here’s my quick breakdown:
Stainless Steel Pans:
- Use all six methods safely
- Baking soda and vinegar are your best friends
- Avoid abrasive steel wool—it scratches
Cast Iron Pans:
- DO NOT use harsh chemicals or soaking methods
- Use salt scrub method or gentle boil
- Always re-season after deep cleaning
- Never use soap on a well-seasoned pan
Non-Stick Pans:
- DO NOT use abrasive scrubbers or harsh chemicals
- Use gentle boil method with dish soap
- Avoid high heat during cleaning
- Non-stick pans wear out—replace them every 5 years
Copper Pans:
- Use lemon and salt method
- Polish with a soft cloth
- Avoid baking soda paste (can scratch)
Know your pan type before you start cleaning. Trust me on this. 😉
Related Articles:
- 6 Dog Bath Tips for Puppy Owners
- 6 First-Year Training Tips for New Rottweiler Owners
- 6 House-Training Steps That Work for Dachshunds
Final Thoughts:
Look, we’ve all been there. You’re mid-cooking, you walk away for “just a second,” and suddenly your pan is smoking and your beautiful sauce is now a blackened mess. Don’t panic. Don’t throw the pan away. And definitely don’t try to scrub it with steel wool while crying (I’ve been there too).
These six methods will save you time, money, and kitchen anxiety. Try them out. See which one works best for your pan type and your cleaning style. Mix and match. Get creative. And remember: a little elbow grease, a lot of patience, and the right ingredients will restore your pans to their former glory.
The best part? You already have most of these ingredients in your kitchen. Baking soda. Vinegar. Salt. Lemons. Cream of tartar. Hydrogen peroxide. They’re not just for cooking—they’re for saving pans. Who knew? 😉
Go tackle that burnt-on mess. Your pans are waiting. And your future self will thank you when you’re not frantically scrubbing before guests arrive.
Happy cooking—and happy cleaning! 🍳