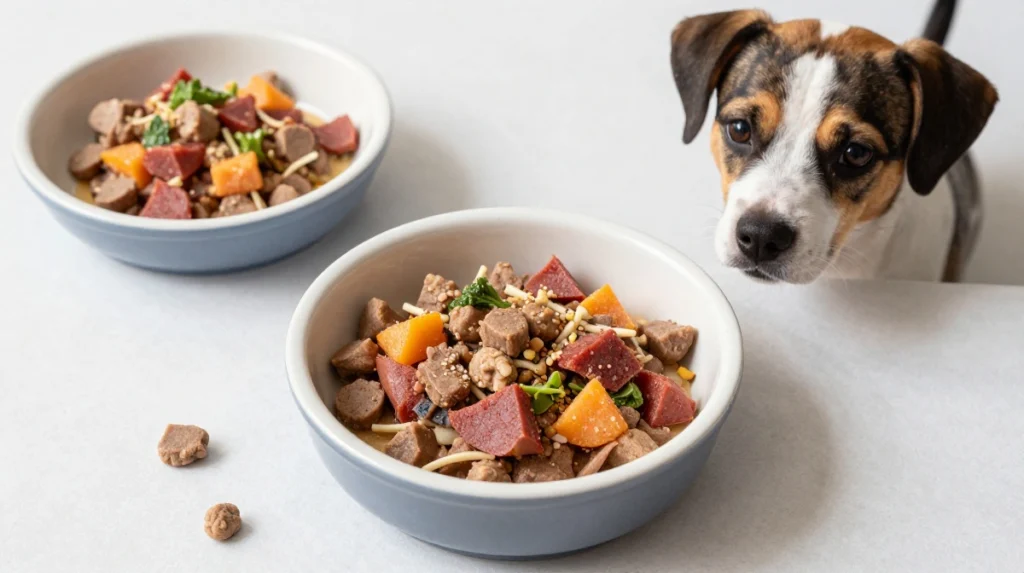
December is here. The twinkling lights are up. Mariah Carey is playing on repeat. And somewhere in your kitchen, your dog is staring at you with those big, hopeful eyes, wondering if any of those Christmas cookies are for them.
Spoiler alert: they’re not.
Traditional holiday cookies are packed with sugar, butter, and chocolate—basically everything your furry friend should avoid. But that doesn’t mean they have to sit out the fun entirely!
Last year, I spent Christmas Eve frantically baking two separate batches of cookies: one for my family, one for Charlie. And honestly? The dog treats got more excitement than the sugar cookies. Classic.
So this year, I’m sharing my favorite Christmas dog treat recipes with you. They’re festive, fun, and healthy enough that you won’t feel guilty when your pup begs for seconds. Plus, there’s a genius gift idea at the end that’ll make you the favorite dog aunt/uncle/friend of the year.
Ready to spread some holiday cheer? Let’s get baking! 🎄
FYI: All these recipes use dog-safe ingredients, but always check with your vet before introducing new foods—especially if your pup has allergies or health conditions.
1. Gingerbread “Bark” Bites (No Nutmeg, All Love!)
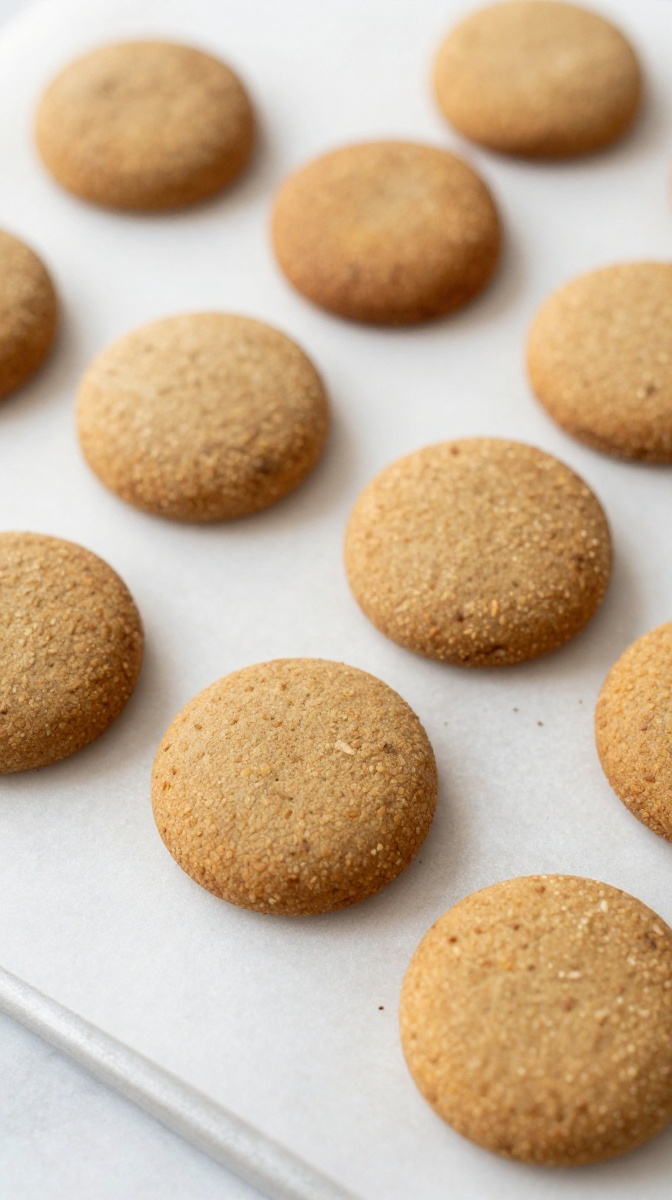
Why This Recipe Rocks: Gingerbread men are Christmas royalty. These bites capture that warm, spicy flavor—without the dangerous nutmeg—and deliver a satisfying crunch that’ll have your dog doing happy spins.
Ingredients:
- 2 ½ cups whole wheat flour
- ½ cup unsweetened applesauce
- ¼ cup molasses (make sure it’s unsulphured and xylitol-free)
- ¼ cup water
- 2 tablespoons coconut oil, melted
- 1 teaspoon ground ginger
- 1 teaspoon cinnamon
- Pinch of cloves (seriously just a tiny pinch—this stuff is potent)
Step-by-Step Instructions:
- Preheat your oven to 350°F and line two baking sheets with parchment paper. We’re making a big batch because these disappear fast.
- In a large mixing bowl, whisk together the flour, ginger, cinnamon, and cloves. Your kitchen will smell like a cozy winter cabin—embrace it.
- In a separate bowl, combine the applesauce, molasses, water, and coconut oil. Mix until smooth and well-blended.
- Pour the wet ingredients into the dry mixture and stir until a stiff dough forms. If it’s too sticky, add a tablespoon more flour. Too dry? Add a splash of water.
- Roll the dough out on a floured surface to about ¼-inch thickness. Now comes the fun part—use cookie cutters! Gingerbread men, stars, Christmas trees, whatever makes you happy. Charlie prefers the bone shape, IMO.
- Place the cutouts on your prepared baking sheets, spacing them about an inch apart.
- Bake for 12-15 minutes until the edges turn golden and the cookies feel firm. They’ll crisp up more as they cool.
- Let them cool completely before serving—or decorating! I like to drizzle a little plain yogurt “icing” on top for extra flair.
Why You’ll Love It:
These cookies are everything a Christmas treat should be: spiced, crisp, and totally addictive. The molasses adds a rich depth that dogs love, and the ginger supports digestion. Fun fact: I once tried making these with honey instead of molasses and they turned out way too sweet. Molasses is the secret weapon here—don’t swap it.
Storage tip: Keep them in an airtight container for up to two weeks, or freeze them for up to three months. Perfect for last-minute Christmas gifting!
Pinterest-friendly image prompt: A close-up of gingerbread-shaped dog cookies arranged on a festive red plate. A dusting of cinnamon visible. A small jar of molasses and a cinnamon stick in the background. 9:16 ratio, 85% food dominance. Warm, cozy Christmas lighting.
2. Cranberry & Coconut “Snowball” Treats
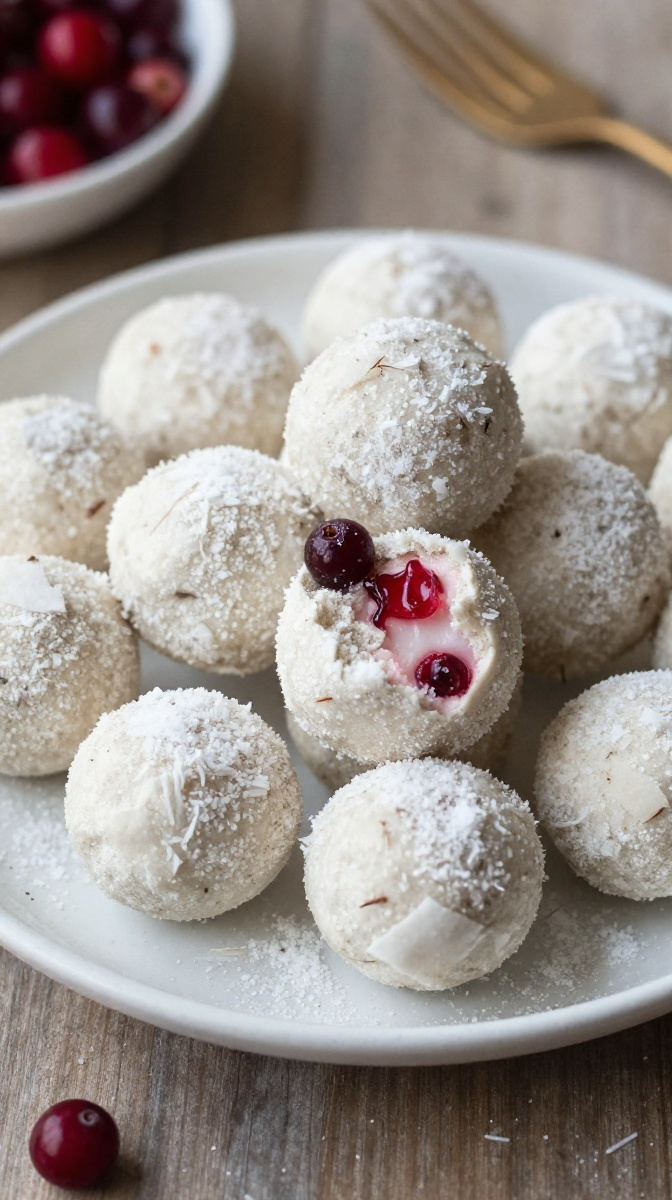
Why This Recipe Rocks: These little white snowballs look like they just rolled in from the North Pole. They’re soft, chewy, and packed with tart cranberries and creamy coconut.
Ingredients:
- 2 cups unsweetened shredded coconut
- ½ cup coconut flour
- ¼ cup freeze-dried cranberries (unsweetened—check that label!)
- ¼ cup coconut oil, melted
- 2 tablespoons honey (local raw honey is my favorite)
- 1 egg
- ½ teaspoon vanilla extract (make sure it’s alcohol-free)
Step-by-Step Instructions:
- Preheat your oven to 325°F and line a baking sheet with parchment paper.
- Pulse the freeze-dried cranberries in a food processor until they’re in small bits. You want little ruby-red flecks throughout your snowballs.
- In a large bowl, combine the shredded coconut, coconut flour, and ground cranberries. Mix well.
- Add the melted coconut oil, honey, egg, and vanilla. Stir until everything comes together into a sticky dough.
- Roll the dough into 1-inch balls and place them on the baking sheet. They won’t spread much, so you can place them fairly close together.
- Bake for 10-12 minutes until the edges just start to turn golden. The centers should remain soft and chewy.
- Let them cool completely—they’ll firm up as they cool. Roll each snowball in extra shredded coconut for that wintry look.
Why You’ll Love It:
These snowballs are the ultimate festive treat. The tart cranberries balance beautifully with the sweet coconut, and the texture is downright luxurious. Some people add almonds here, but I think the coconut flavor is perfect on its own—just saying.
My honest take: These are dangerously easy to snack on yourself. I may have accidentally eaten a few during a particularly stressful gift-wrapping session. Don’t judge me.
Pinterest-friendly image prompt: A close-up of white coconut snowball treats dusted with extra shredded coconut. A few whole cranberries scattered around for contrast. Festive red and green background elements barely visible. 9:16 ratio, 90% food dominance. Bright, clean lighting.
3. Peppermint & Yogurt “Candy Cane” Drops
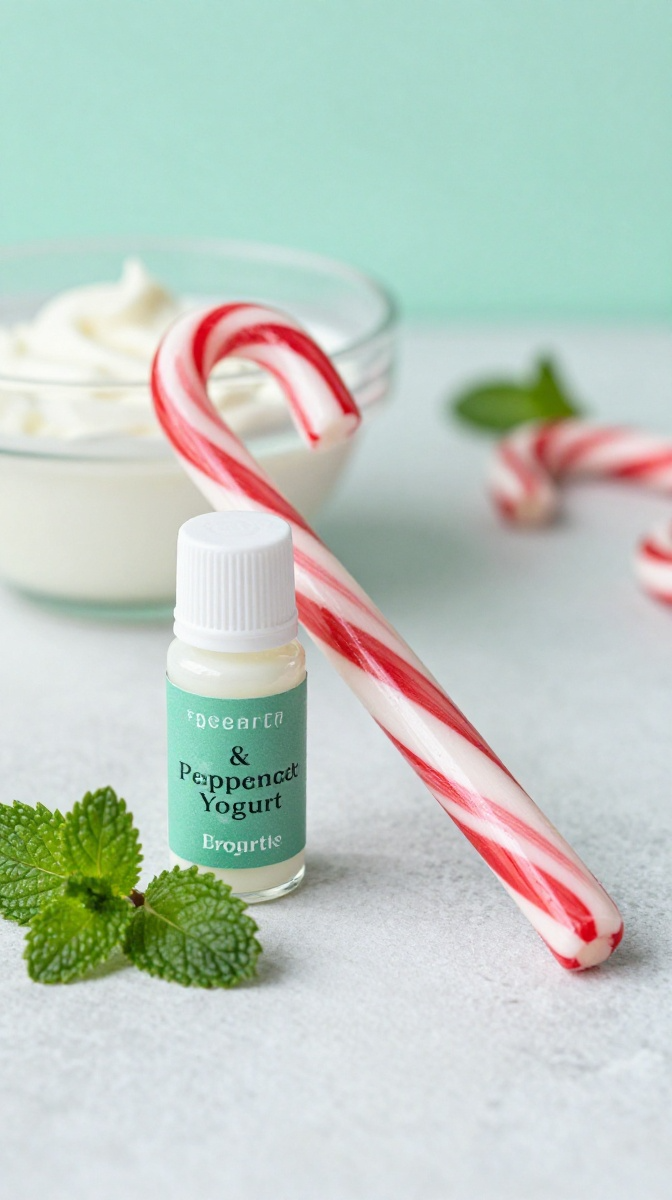
Why This Recipe Rocks: Who says your dog can’t enjoy peppermint? These drops use fresh mint (not peppermint extract—too strong!) for a refreshing, breath-friendly treat.
Ingredients:
- 1 cup plain Greek yogurt
- 2 tablespoons fresh mint leaves, finely chopped
- 1 tablespoon honey
- 1 cup oat flour
- 1 egg
Step-by-Step Instructions:
- Preheat your oven to 350°F and line a baking sheet with parchment paper.
- In a medium bowl, combine the Greek yogurt, chopped mint, and honey. Mix well until the mint is evenly distributed.
- Add the oat flour and egg, stirring until a soft dough forms. The dough should be pliable but not sticky—add more oat flour if needed.
- Roll the dough into small logs about 2 inches long, then gently curve them into candy cane shapes. Or just roll them into balls if that’s easier—I won’t judge.
- Place them on the baking sheet and bake for 12-15 minutes until golden and firm.
- Cool completely before serving. The mint flavor intensifies as they sit, so be patient!
Why You’ll Love It:
These drops smell incredible and taste refreshing without being overpowering. The fresh mint works wonders for doggy breath—a total win during holiday family gatherings. FYI: I tried this once with dried mint and it was a disaster. Fresh is non-negotiable here.
Pro tip: Use a candy cane-shaped cookie cutter if you want to be extra fancy. And a drizzle of plain yogurt “stripes” makes them look even more festive.
Pinterest-friendly image prompt: A close-up of red-and-white candy cane-shaped dog treats with visible mint flecks. A few fresh mint leaves scattered around. Bright, festive lighting with subtle red accents. 9:16 ratio, 85% food dominance.
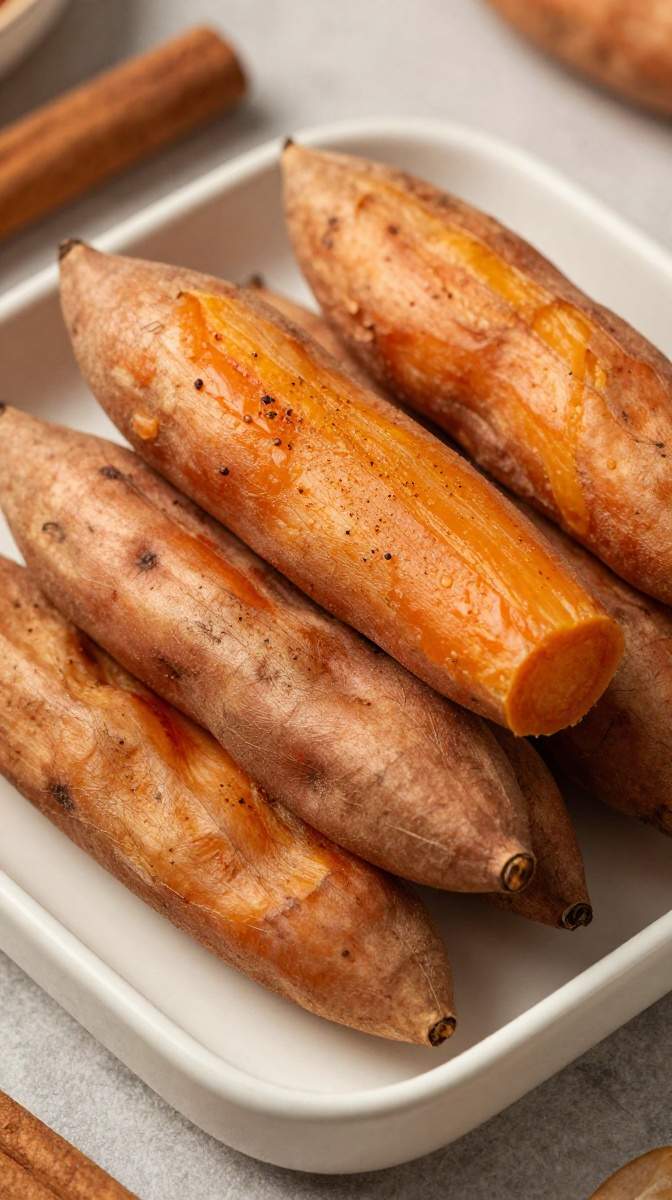
4. Sweet Potato & Cinnamon “Logs”
Why This Recipe Rocks: These chewy logs remind me of those expensive roasted sweet potato chews from the pet store—except they taste WAY better and cost a fraction of the price.
Ingredients:
- 2 large sweet potatoes (orange-fleshed works best)
- 2 tablespoons coconut oil, melted
- 1 teaspoon cinnamon
- Pinch of turmeric (for that gorgeous golden color)
Step-by-Step Instructions:
- Preheat your oven to 250°F—low and slow is the secret here.
- Wash and peel your sweet potatoes. (I leave the skin on for extra fiber, but Charlie prefers them peeled. Picky eater, what can I say?)
- Cut them into ¼-inch thick logs—think thick french fry shapes. Make sure they’re uniform so they dry evenly.
- Toss the sweet potato logs in melted coconut oil, then sprinkle with cinnamon and turmeric. Coat them well.
- Arrange them in a single layer on a baking sheet lined with parchment paper. No overlapping—these need airflow.
- Bake for 2.5 to 3 hours, flipping them halfway through. They’re ready when they’re chewy but not brittle.
- Cool completely and store in an airtight container.
Why You’ll Love It:
These logs are my go-to for holiday road trips or long car rides. They keep Charlie occupied for ages and don’t make a mess. Once, I added a pinch of ginger to the mix, and it elevated the flavor to a whole new level. Highly recommend.
Storage note: These last up to three weeks in an airtight container. But let’s be real—they’ll be gone in three days.
Pinterest-friendly image prompt: A close-up of roasted sweet potato logs stacked in a rustic wooden bowl. A slight sheen from the coconut oil visible. Cinnamon and turmeric flecks visible on the surface. 9:16 ratio, 90% food dominance. Warm, natural lighting.
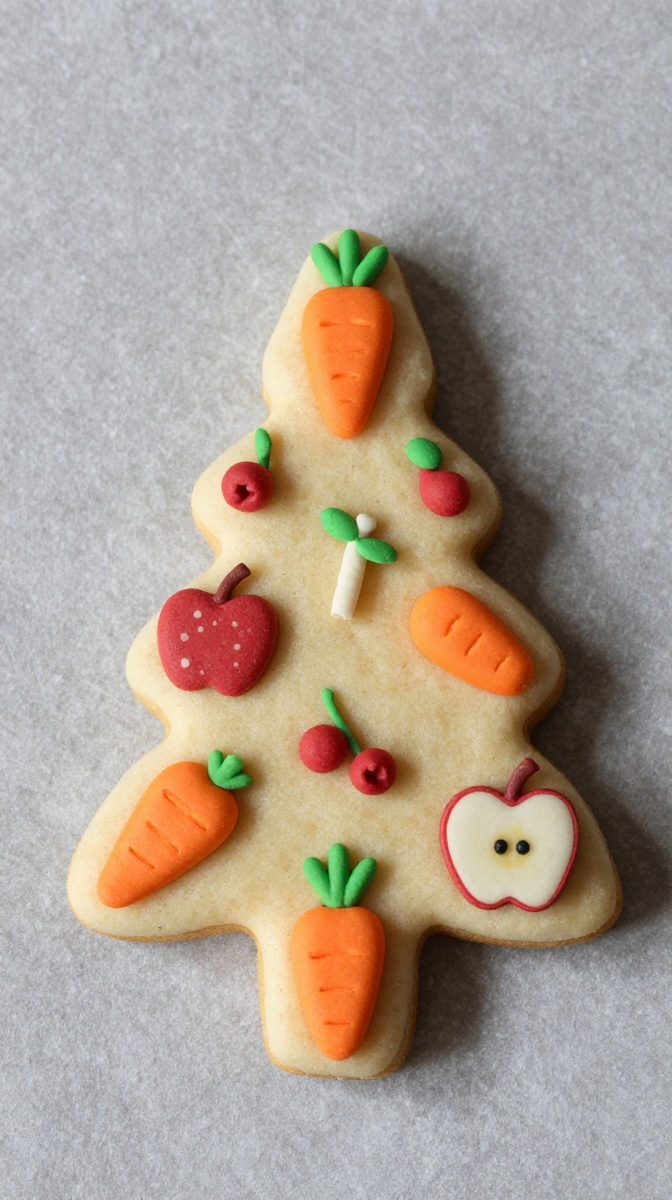
5. Carrot & Apple “Christmas Tree” Bites
Why This Recipe Rocks: These green-tinted (naturally from parsley!) bites look like little Christmas trees and taste like a sweet, crunchy holiday dream.
Ingredients:
- 1 cup grated carrots
- 1 apple, cored and grated
- ½ cup fresh parsley, finely chopped (for that festive green color)
- 1 egg
- 1 ½ cups oat flour
- 2 tablespoons coconut oil, melted
Step-by-Step Instructions:
- Preheat your oven to 350°F and line a baking sheet with parchment paper.
- In a large bowl, combine grated carrots, apple, parsley, egg, and melted coconut oil. Mix until everything is well-combined.
- Add the oat flour gradually, stirring until a firm dough forms. The moisture from the carrots and apple should be enough—add more flour if it’s too sticky.
- Roll the dough out to about ¼-inch thickness and use a Christmas tree-shaped cookie cutter. Or a simple round cutter if you don’t have one.
- Place the cutouts on your baking sheet and bake for 12-15 minutes until the edges turn golden.
- Cool completely—the parsley gives them that lovely green hue that screams “Christmas!”
Why You’ll Love It:
These bites are bright, festive, and absolutely packed with vitamins. Carrots support eye health, apples provide fiber, and parsley freshens breath naturally. I once tried using spinach instead of parsley, and the taste was… not great. Parsley is the way to go.
My honest take: These are so cute you’ll want to hang them on your tree. (Please don’t—they’re for eating, not decorating.)
Pinterest-friendly image prompt: A close-up of Christmas tree-shaped dog treats with visible green flecks from parsley. A few whole carrots and apples blurred in the background. Festive holiday colors (red and green) dominate the scene. 9:16 ratio, 85% food dominance. Bright, cheerful lighting.
The Ultimate Christmas Gift Idea: DIY Dog Treat Jar Kit
Okay, so you’ve made all these incredible treats. Now what?
Here’s a genius gift idea that’ll make you the hero of any dog-loving household:
Create a DIY Dog Treat Jar Kit
You’ll need:
- A large glass mason jar or holiday-themed cookie jar
- A mix of your homemade treats (from the recipes above)
- A festive ribbon
- A small handwritten card with ingredient lists and feeding instructions
- Optional: a cute wooden scoop
Instructions:
- Layer the different treats in the jar—gingerbread bites on the bottom, candy cane drops on top, snowballs tucked in between. Make it look like a magical Christmas jar.
- Tie a festive ribbon around the neck of the jar.
- Attach a small card that says: “For the Goodest Boy/Girl: Homemade Christmas Treats from [Your Name]”
- Include a note with each treat’s ingredients and a reminder to feed in moderation.
Why this gift rocks:
- It’s personal and heartfelt
- You know exactly what’s in each treat—no mystery ingredients
- It’s budget-friendly (way cheaper than fancy gift baskets)
- The jar becomes a keepsake they can reuse
FYI: I gave these jars to my dog-owning friends last Christmas, and they all cried. Not kidding. One friend said it was the most thoughtful gift she’d ever received. Take that, generic gift cards.
Christmas Treat Safety Reminders (Boring but Important!)
Before you start your holiday baking marathon, let’s get the safety stuff out of the way. I know, I know—not as fun as cookie cutters and sprinkles. But your dog’s health matters more than anything.
Keep these dangerous ingredients out of your dog’s treats:
- Chocolate—this should be obvious, but I’m saying it anyway
- Xylitol—a common artificial sweetener that’s deadly to dogs (check labels on peanut butter, yogurt, and molasses!)
- Nutmeg—contains myristicin, which causes seizures and other issues
- Macadamia nuts—toxic to dogs in any amount
- Grapes and raisins—can cause kidney failure
- Onions and garlic—in any form (powdered, cooked, raw)
Do’s and don’ts:
- Do use plain, unsweetened ingredients whenever possible
- Don’t add sugar—honey and applesauce add enough sweetness naturally
- Do monitor your dog when introducing any new treat
- Don’t overfeed—treats should make up no more than 10% of their daily calories
- Do store treats properly (airtight containers in a cool place)
- Don’t leave treats out where your dog can reach them (I learned this one the hard way—RIP to an entire batch of gingerbread bites)
How to Serve These Treats at Your Christmas Celebration
Wondering how to incorporate these goodies into your holiday festivities? Here’s how I handle it:
Christmas Morning: Give your pup a “stocking” filled with a few of each treat. I use a separate stocking for Charlie (he has his own, yes I’m that person).
Christmas Dinner: Set aside a small plate of treats for your dog while the humans eat their meal. This way, they feel included and don’t spend the whole time begging under the table.
Gift Exchanges: Package a batch of treats as gifts for friends and family with dogs. Everyone loves edible presents!
Santa Paws: Leave a few treats out for “Santa Paws” on Christmas Eve. Charlie likes to think Santa visits him too. 😄
The joy on your dog’s face when they realize Christmas is for them too? Priceless.
Related Articles:
- Dog-Friendly Thanksgiving Recipes for the Holiday
- nique Dog Treat Recipes to Wow Your Pup
- 5 Easy Dog Biscuit Recipes for Homemade Love
Wrapping It All Up
So there you have it—five delicious, festive Christmas dog treat recipes that’ll make your pup’s holiday extra special.
Here’s why these recipes are total winners:
- They’re quick and easy—most come together in under 30 minutes
- They use wholesome ingredients—no mystery fillers or preservatives
- They look incredibly festive—gingerbread men, snowballs, candy canes, oh my!
- They make perfect gifts—those treat jars are total showstoppers
- They’ll make your dog ridiculously happy—and isn’t that the whole point?
The best part? You’re creating traditions. Years from now, your dog might not remember exactly which treats you made—but they’ll absolutely remember the love, the excitement, and the sheer joy of being included in the holiday magic.
And honestly? That’s what Christmas is all about.
Before you go: Save this article. Pin it to your Christmas board. Share it with every dog parent you know. Because every pup deserves a holiday season that’s as magical as ours.
Now go—preheat that oven, put on your favorite Christmas playlist, and get ready to be showered with slobbery kisses and endless tail wags.
Happy baking, friend. And Merry Christmas to you and your furry family! 🎄🐾✨
P.S. If your dog starts following you around the kitchen with those big, pleading eyes—just remember, you made this happen. You’re the holiday hero. Own it. 😉