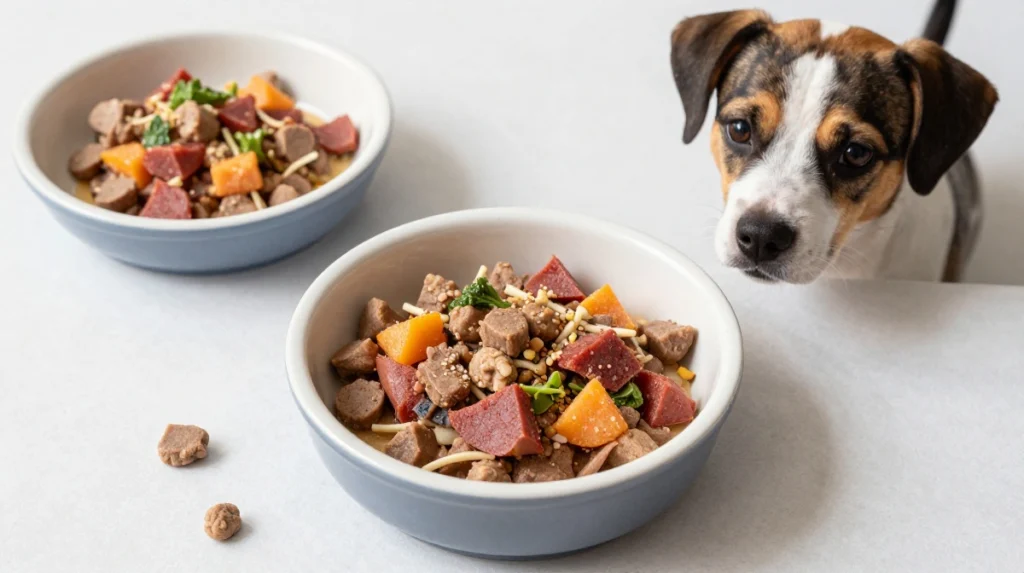
Let me ask you something—when was the last time you made something from scratch just for your dog?
If you’re like most pet parents, the answer is probably “never” or “I tried once and it was a disaster.” And honestly? I get it. The first time I attempted homemade dog biscuits, I ended up with something that looked more like hockey pucks than treats. Mochi, my golden retriever, gave me this look like, “Mom, what is this? I love you, but no.”
But I didn’t give up. I kept experimenting, tweaking, and tasting (okay, maybe not the liver ones), and eventually, I cracked the code. Now I whip up batches of easy dog biscuit recipes that take less time than a trip to the pet store—and Mochi goes absolutely nuts for them.
The best part? You control every single ingredient. No preservatives. No artificial colors. No mystery “meat meals.” Just real, wholesome goodness that your pup deserves. Plus, there’s something incredibly satisfying about watching your dog’s tail wag when they realize you baked something special just for them.
So grab your apron, preheat that oven, and let’s make some homemade love in biscuit form! 😊
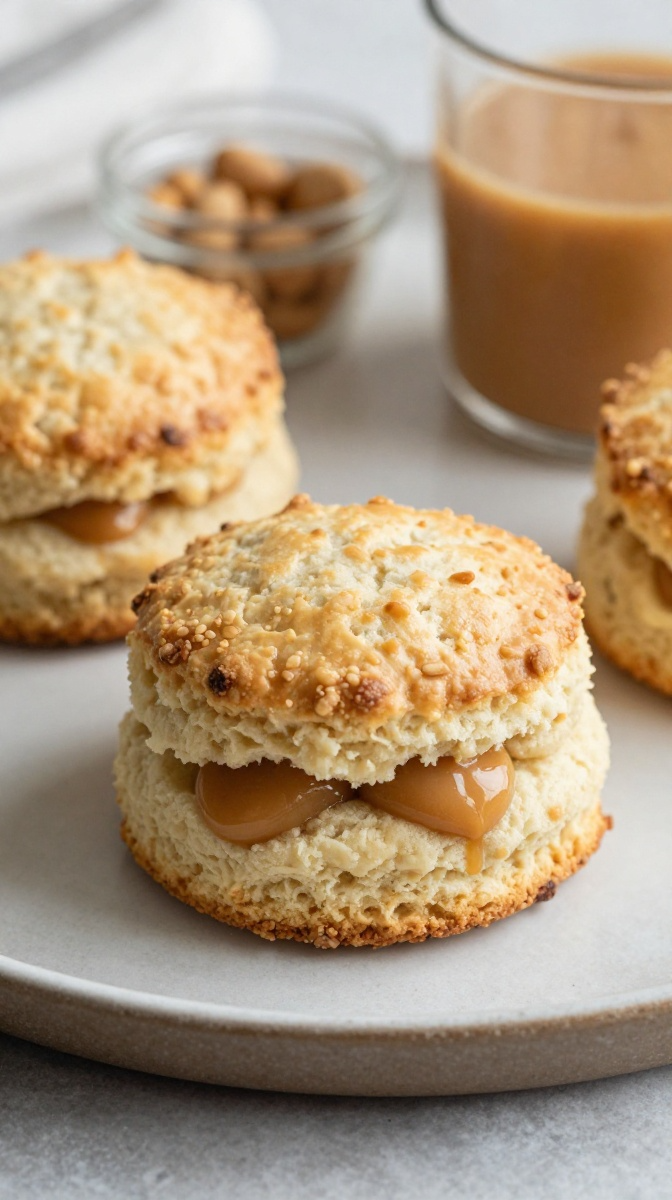
1. Classic Peanut Butter Biscuits
If there’s one flavor that dogs universally lose their minds over, it’s peanut butter. These classic biscuits are crunchy, nutty, and absolutely irresistible. They’re the perfect everyday treat—simple enough for beginners but delicious enough for the pickiest pups. Mochi can smell these from two rooms away and comes running like she’s been called for dinner.
Ingredients
- 2 cups whole wheat flour (or oat flour for grain-free)
- ½ cup peanut butter (xylitol-free—check that label!)
- ½ cup water (plus more if needed)
- 2 tablespoons coconut oil, melted
- 1 large egg
Step-by-Step Instructions
- Preheat your oven to 350°F. Line a baking sheet with parchment paper.
- In a large bowl, combine the flour, peanut butter, water, melted coconut oil, and egg. Mix until a stiff dough forms. Add more water if the dough seems too dry.
- Knead the dough on a lightly floured surface for 2-3 minutes until smooth and elastic.
- Roll out to ¼-inch thickness and use your favorite cookie cutters to cut out shapes. (Bone shapes are always a hit!)
- Place the biscuits on the prepared baking sheet and bake for 20-25 minutes until golden and firm.
- Cool completely on a wire rack before serving to your eager pup.
Why You’ll Love It
These biscuits are the definition of a classic. They’re crunchy, peanut-buttery, and made with ingredients you already have in your pantry. I keep a jar of these on my counter at all times—they’re perfect for everyday rewards, training sessions, or just because your dog deserves a little love. FYI: If your dog has a sensitive tummy, swap the whole wheat flour for oat flour. It works beautifully!
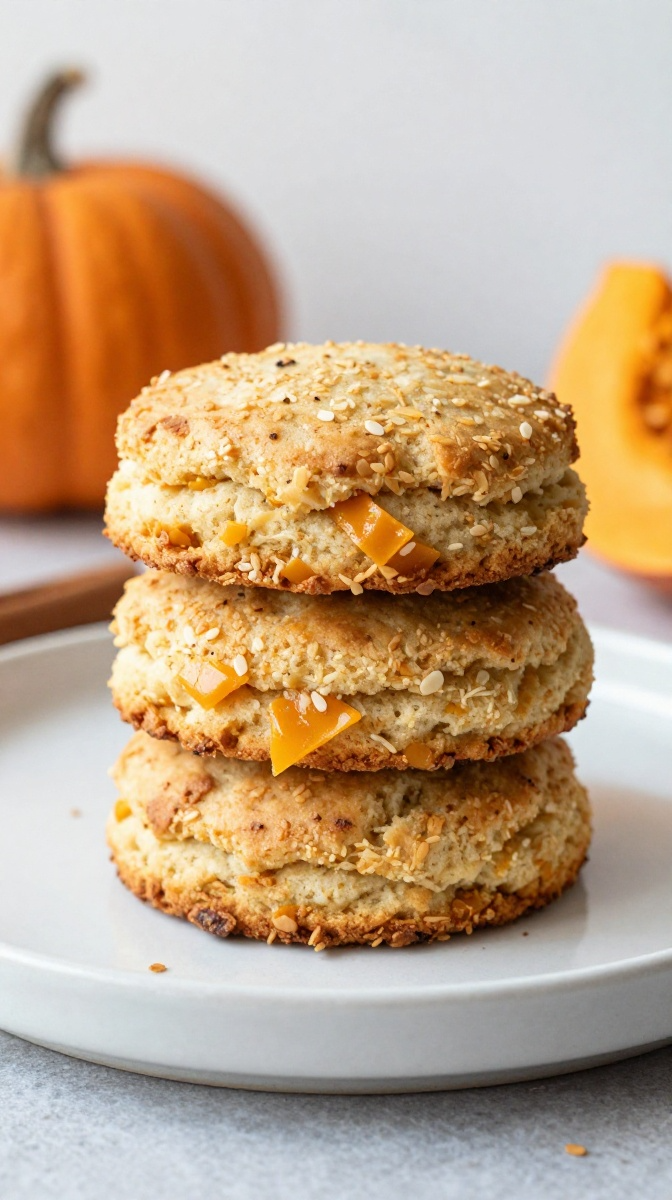
2. Pumpkin & Cinnamon Harvest Biscuits
Fall in a biscuit—that’s the only way to describe these. The pumpkin adds a subtle sweetness and tons of fiber for healthy digestion, while the cinnamon brings a warm, comforting aroma that’ll make your whole kitchen smell like a cozy bakery. These are the kind of easy dog biscuit recipes that make you feel like a gourmet chef, even though they take just minutes to throw together.
Ingredients
- 2 cups oat flour
- 1 cup pumpkin puree (pure, not pie filling!)
- 2 large eggs
- 1 teaspoon cinnamon
- 2 tablespoons coconut oil, melted
Step-by-Step Instructions
- Preheat your oven to 350°F. Line a baking sheet with parchment paper.
- In a large bowl, combine the pumpkin puree, eggs, melted coconut oil, and cinnamon. Mix until smooth.
- Add the oat flour gradually and stir until a firm dough forms.
- Knead the dough on a floured surface for 2 minutes until smooth. The dough will be slightly sticky—that’s normal!
- Roll out to ¼-inch thickness and cut into shapes. Leaves, pumpkins, or acorns are perfect for fall vibes.
- Bake for 18-20 minutes until firm and lightly golden.
- Cool completely before serving to your pumpkin-loving pup.
Why You’ll Love It
Pumpkin is a superstar ingredient for dogs—it’s great for digestion, low in calories, and packed with vitamins. These biscuits are soft enough for senior dogs but crunchy enough for aggressive chewers. I made a batch of these for Mochi’s birthday party (yes, I’m that dog mom), and all the pups went wild. Some people add a little honey for extra sweetness, but the pumpkin is naturally sweet enough on its own. 🙂
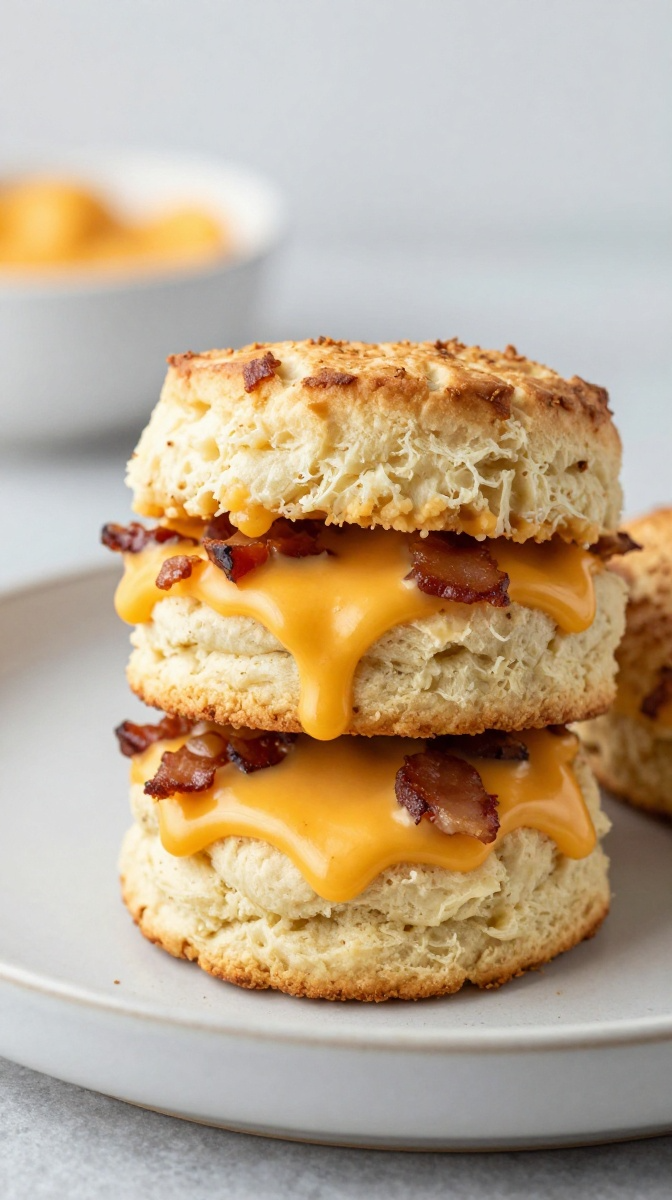
3. Cheesy Bacon Biscuits
Okay, this one is basically doggy crack. Cheese and bacon together? Your pup will think they’ve died and gone to heaven. These biscuits are savory, cheesy, and packed with that irresistible smoky bacon flavor. They’re perfect for training because the smell alone will get your dog’s attention instantly. (Pro tip: You might want to make a double batch because these disappear fast.)
Ingredients
- 2 cups whole wheat flour
- ½ cup shredded cheddar cheese
- ¼ cup cooked bacon, crumbled (nitrate-free if possible)
- ½ cup water (plus more as needed)
- 2 tablespoons olive oil
- 1 large egg
Step-by-Step Instructions
- Preheat your oven to 375°F. Line a baking sheet with parchment paper.
- In a large bowl, combine all ingredients and mix until a firm dough forms. Add water if the dough seems too dry.
- Knead the dough on a floured surface for 2-3 minutes until smooth.
- Roll out to ¼-inch thickness and cut into your favorite shapes. (Hearts work great for the “I love you, dog” vibe.)
- Place the biscuits on the prepared baking sheet and bake for 15-18 minutes until golden and crispy.
- Cool completely before serving.
Why You’ll Love It
These biscuits are pure indulgence—and your dog deserves it! The cheese gives them a savory kick, while the bacon adds that smoky goodness. I made these for a doggy playdate once, and the humans kept asking for the recipe too. (No, I didn’t share—these are for dogs only!) Some people add a little garlic powder, but I think it masks the bacon flavor. Stick with the cheese and bacon—it’s a perfect combo.
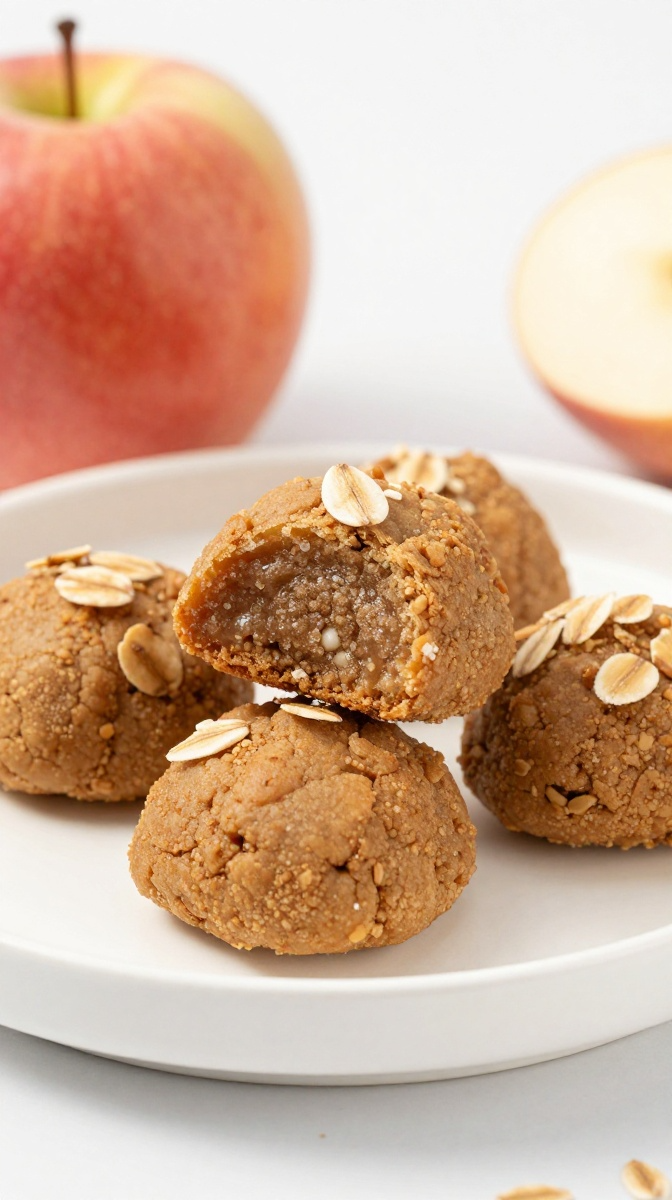
4. Apple & Oat Soft Bites
These soft, chewy biscuits are perfect for senior dogs, puppies with delicate teeth, or any pup who prefers a gentler texture. The applesauce adds natural sweetness without any added sugar, while the oats provide fiber and slow-release energy. They’re like little bites of apple pie—without the stuff that isn’t good for dogs.
Ingredients
- 2 cups rolled oats (blended into a flour, or use oat flour)
- 1 cup unsweetened applesauce
- 1 large egg
- 1 teaspoon cinnamon
- 2 tablespoons coconut oil, melted
Step-by-Step Instructions
- Preheat your oven to 350°F. Line a baking sheet with parchment paper.
- In a large bowl, combine the applesauce, egg, melted coconut oil, and cinnamon. Mix until smooth.
- Add the oat flour gradually and stir until a soft dough forms. The dough will be stickier than other biscuit doughs—that’s exactly what we want.
- Drop spoonfuls of the dough onto the prepared baking sheet and flatten slightly with the back of a spoon.
- Bake for 12-15 minutes until firm and lightly golden.
- Cool completely before serving to your eager pup.
Why You’ll Love It
These soft bites are like a gentle hug for your dog’s taste buds. They’re perfect for training because they’re easy to break apart and don’t crumble everywhere. Mochi (who is definitely not a senior but thinks she deserves special treatment) gets these as a bedtime snack. Some people add a drizzle of honey, but I think the applesauce is sweet enough on its own. Trust me—your pup won’t complain!
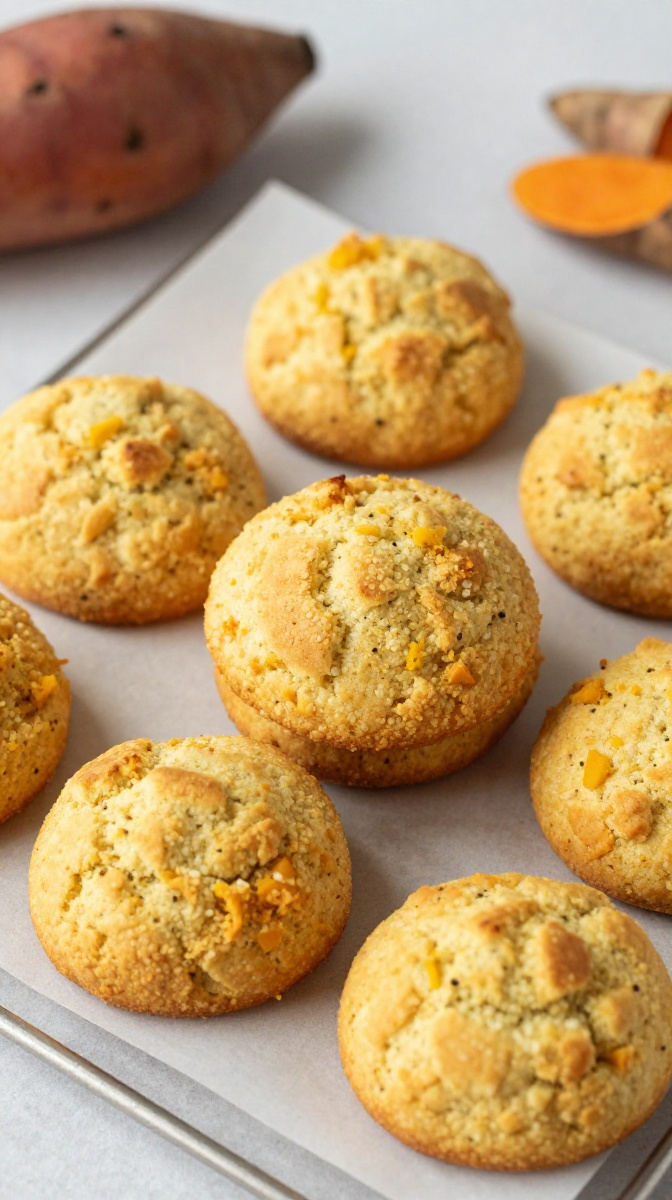
5. Sweet Potato & Turmeric Golden Biscuits
These golden beauties are as healthy as they are delicious. Sweet potatoes are packed with vitamins, and turmeric has natural anti-inflammatory properties. The combination gives these biscuits a gorgeous golden color and a flavor that dogs absolutely adore. They’re like superfood biscuits—fancy enough for a special occasion but easy enough for a Tuesday.
Ingredients
- 2 cups chickpea flour
- 1 cup sweet potato puree (canned or boiled and mashed)
- 1 large egg
- 1 teaspoon turmeric
- 2 tablespoons olive oil
- ¼ cup water (as needed)
Step-by-Step Instructions
- Preheat your oven to 350°F. Line a baking sheet with parchment paper.
- In a large bowl, combine the sweet potato puree, egg, olive oil, and turmeric. Mix until smooth.
- Add the chickpea flour gradually and stir until a firm dough forms. Add water if the dough seems too dry.
- Knead the dough on a floured surface for 2 minutes until smooth.
- Roll out to ¼-inch thickness and cut into your favorite shapes. Circles work great for a sunburst effect!
- Bake for 18-20 minutes until firm and slightly browned.
- Cool completely before serving.
Why You’ll Love It
These are the healthiest biscuits on this list—and they taste amazing! The turmeric gives them a beautiful golden hue and supports joint health, while the sweet potato adds fiber and vitamins. I make these for Mochi when she’s been particularly active to help keep her joints happy. Some people add black pepper (which helps with turmeric absorption), but I think it’s too strong for dogs’ palates. Keep it simple—the sweet potato and turmeric are enough.
Use Quality Ingredients
Your dog deserves the best! Choose organic where possible, and always check labels for hidden sugars, salt, or artificial additives.
Peanut Butter Warning
Never use peanut butter with xylitol—it’s highly toxic to dogs. Always read the label! Natural peanut butter with just peanuts and salt is your safest bet.
Get Creative with Shapes
Cookie cutters make everything more fun! I have a collection of bone shapes, hearts, paw prints, and seasonal shapes. It makes the biscuits feel extra special. (And yes, Mochi definitely notices.)
Storage Matters
- Room temperature: 1 week in an airtight container
- Fridge: 2 weeks
- Freezer: Up to 3 months (perfect for batch-making!)
Adjust Texture
For crunchier biscuits, bake them longer at a lower temperature. For softer treats, reduce the baking time slightly and store them in a sealed container to maintain moisture.
Vet Disclaimer 🐾
Before we wrap up, let’s do the responsible thing:
Always consult your veterinarian before introducing new foods to your dog’s diet, especially if your pup has allergies, health conditions, or is on a special diet.
These easy dog biscuit recipes are made with wholesome, human-grade ingredients, but every dog is different. Your vet knows your pup’s specific needs best!
Related Articles:
- DIY Healthy Dog Treats Your Pet Will Love
- 10 Fun & Themed Dog Treats (For Every Season)
- Homemade Dog Treats You Can Make in 30 Minutes
FAQ’s
Honestly? Making homemade dog biscuits is one of the most heartwarming things you can do as a pet parent.
You know exactly what’s going into every single bite. You skip all the preservatives, artificial colors, and mystery ingredients. And best of all? You get to watch your pup’s face light up with pure joy when they taste something you made just for them.
Mochi has tried every single one of these recipes, and I can tell you with absolute certainty—her tail has never wagged harder than when these biscuits are involved. She’s my taste-tester, my motivator, and my favorite kitchen assistant (even if she does try to sneak bites when I’m not looking). 😅
The recipes I’ve shared here are just the beginning. Once you start making your own biscuits, you’ll discover endless combinations of flavors and textures that your dog will love. And honestly? The process is so satisfying that you’ll wonder why you ever bought store-bought treats in the first place.
So go ahead—preheat that oven, dust off your rolling pin, and show your furry best friend some homemade love. They deserve treats that are as healthy as they are delicious.
And remember: every batch of easy dog biscuit recipes is a little gesture of love that your dog will appreciate more than you’ll ever know.
Happy baking, and even happier treat-giving! 🦴🐾
Got a favorite easy biscuit recipe? Drop it in the comments—I’m always looking for new ideas to add to my rotation! And if this helped you, pin it to your favorite Pinterest board so other dog parents can find it too.