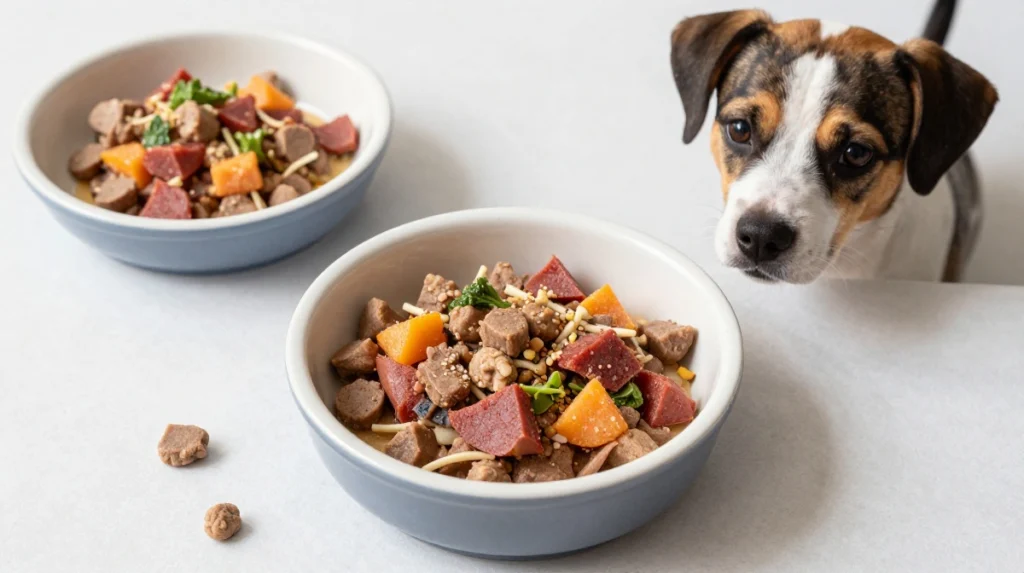
Let me paint you a picture: It’s 5 PM, you’re exhausted, your dog is giving you those big, pleading eyes, and you’ve just realized you’re completely out of store-bought treats.
We’ve all been there, right?
But here’s the thing—you don’t need hours in the kitchen or fancy ingredients to make your pup happy. I’ve spent years perfecting quick recipes that come together faster than you can say “who’s a good boy?” And honestly? My golden retriever, Mochi, actually prefers these homemade versions over anything from the pet store.
The best part about homemade dog treats you can make in 30 minutes? You know exactly what’s going into them. No weird preservatives. No mystery “meat meals.” Just wholesome ingredients that you’d happily eat yourself. (Okay, some of them are a little weird, like liver, but you get the idea.)
Before we dive in, a quick PSA: Always check with your vet before introducing new treats, especially if your pup has allergies or health conditions. Every dog is different, and your vet knows yours best.
Now grab your mixing bowl and let’s make some magic happen! 😊
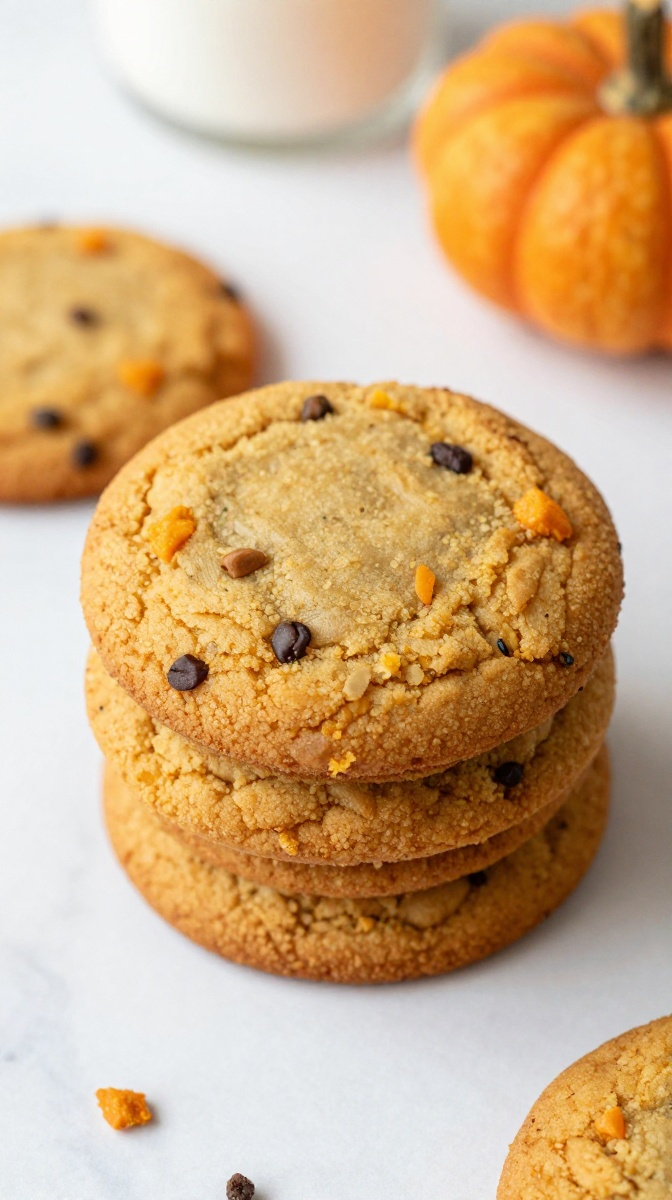
1. 3-Ingredient Pumpkin Cookies
Who doesn’t love a recipe with only three ingredients? These cookies are the ultimate lazy-day treat. They take about 10 minutes to prepare, and the smell that fills your kitchen is pure fall perfection. Mochi practically levitates when she smells these baking.
Ingredients
- 1 cup pumpkin puree (pure, not pie filling!)
- 1 ½ cups oat flour (just blend rolled oats until fine)
- 2 large eggs
Step-by-Step Instructions
- Preheat your oven to 350°F. Line a baking sheet with parchment paper.
- In a large bowl, mix together the pumpkin puree, oat flour, and eggs until a thick dough forms. If it’s too sticky, add a little more oat flour.
- Drop spoonfuls of dough onto the prepared baking sheet and flatten slightly with a fork.
- Bake for 15-18 minutes until firm and lightly golden.
- Cool completely before serving to your impatient pup.
Why You’ll Love It
These are the easiest homemade dog treats you’ll ever make. Seriously. Three ingredients, one bowl, and zero stress. The pumpkin is great for digestion, and the oat flour is gentle on sensitive stomachs. I’ve made these at least a hundred times, and they never disappoint. FYI: You can add a dash of cinnamon if your dog likes a little spice—it’s safe in small amounts. 🙂
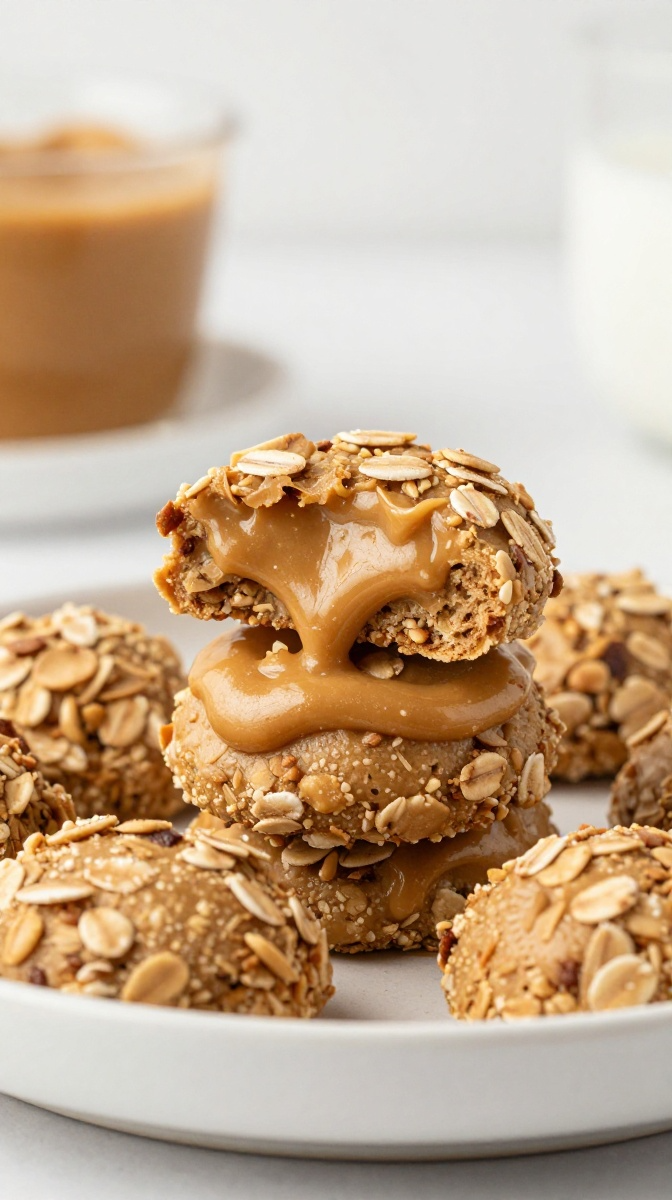
2. Peanut Butter & Oat Bites
Peanut butter is basically doggy crack, and these bites combine it with oats for a satisfyingly chewy texture. They’re so easy that I’ve made them while half-asleep on a Sunday morning. No complaints from Mochi—she’s always ready for a taste test.
Ingredients
- 1 cup rolled oats (old-fashioned, not instant)
- ½ cup peanut butter (xylitol-free—please check the label!)
- 1 large banana, mashed
- 1 large egg
Step-by-Step Instructions
- Preheat your oven to 350°F. Line a baking sheet with parchment paper.
- In a large bowl, mash the banana until smooth. Add the peanut butter and egg, mixing well.
- Stir in the rolled oats until everything is evenly combined.
- Drop spoonfuls of the mixture onto the prepared baking sheet. Flatten slightly with the back of a spoon.
- Bake for 12-15 minutes until golden and firm.
- Cool completely before serving.
Why You’ll Love It
These bites are basically peanut butter banana oatmeal cookies for dogs—and honestly, they’re good enough for humans too. (I’ve definitely eaten a few myself. No judgment.) The banana adds natural sweetness and potassium, while the peanut butter gives them that irresistible flavor. Some people add a little honey, but I think the banana is sweet enough on its own.
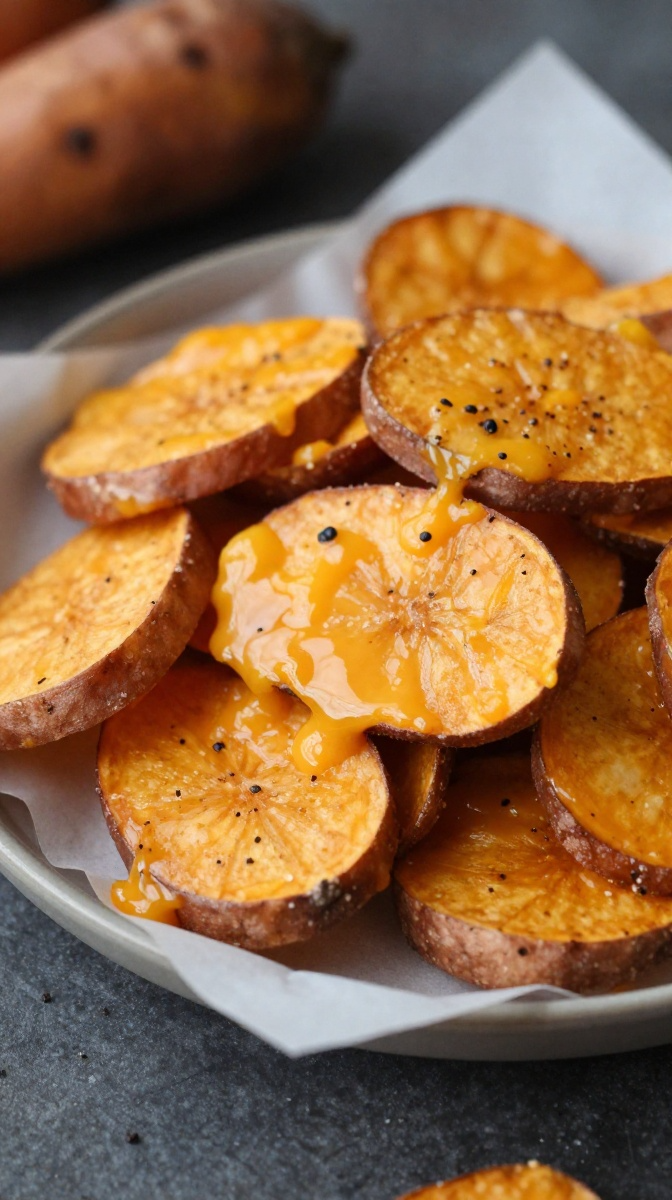
3. Cheesy Sweet Potato Crisps
These crisps are like the dog version of cheese crackers—crunchy, savory, and absolutely addictive. The sweet potato adds a subtle sweetness that balances perfectly with the sharp cheddar. They’re so good that Mochi does her little happy dance every time she sees them coming out of the oven.
Ingredients
- 1 cup sweet potato puree (canned or boiled and mashed)
- 1 cup shredded cheddar cheese
- 1 cup chickpea flour
- 1 large egg
Step-by-Step Instructions
- Preheat your oven to 350°F. Line a baking sheet with parchment paper.
- In a large bowl, combine all ingredients and mix until a stiff dough forms.
- Knead the dough on a lightly floured surface for 1-2 minutes until smooth.
- Roll out to about ¼-inch thickness and cut into small squares or use a cookie cutter.
- Bake for 15-18 minutes until golden and crispy. Keep an eye on them—they can go from perfect to burnt quickly!
- Cool completely before serving.
Why You’ll Love It
These crisps are crunchy, cheesy, and completely grain-free. The chickpea flour is packed with protein and fiber, making these a satisfying treat that’ll keep your pup happy. I made these for a friend’s dog who usually turns her nose up at everything—she couldn’t get enough. Just saying, these are powerful treats.
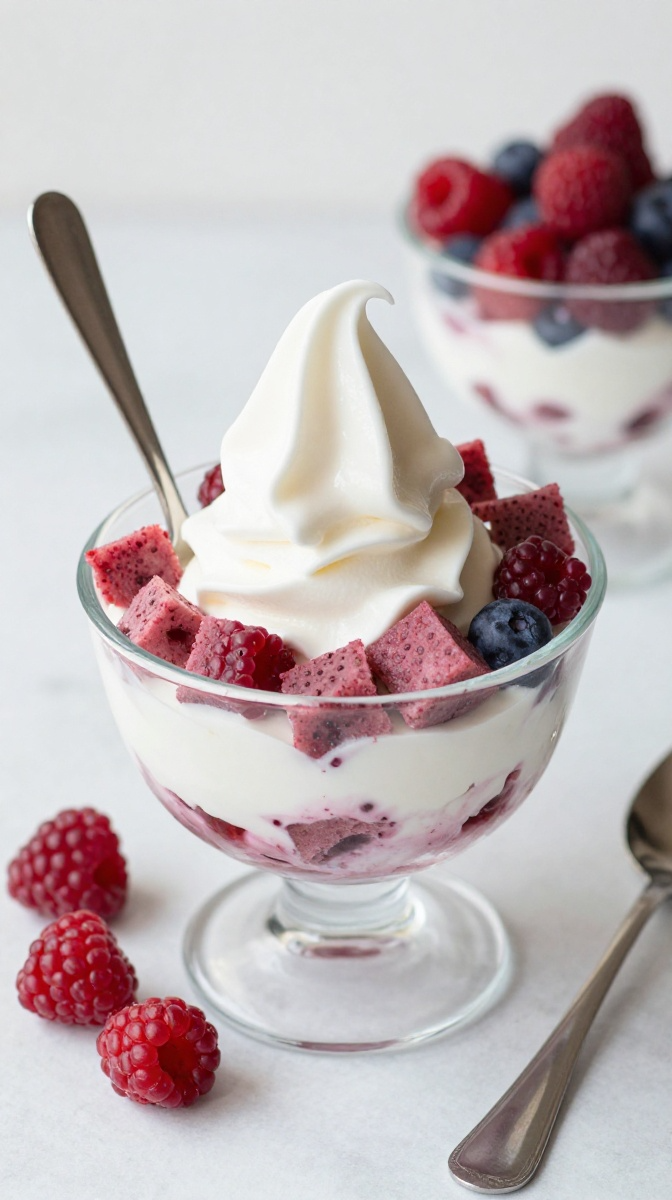
4. Frozen Yogurt & Berry Cubes
No oven? No problem. These frozen treats come together in about 5 minutes of prep time. They’re the perfect summer snack or anytime your pup needs something refreshing and healthy.
Ingredients
- 1 cup plain Greek yogurt (no sugar, no artificial sweeteners)
- ½ cup fresh or frozen berries (blueberries, strawberries, or raspberries)
- 1 tablespoon honey (optional—skip if your dog is diabetic)
- Silicone ice cube trays or muffin tins
Step-by-Step Instructions
- In a blender or bowl, combine the Greek yogurt, berries, and honey. Blend or mash until smooth.
- Pour the mixture into ice cube trays or silicone molds. If using a muffin tin, fill each cup about halfway.
- Freeze for 2-3 hours until completely solid.
- Pop the cubes out of the molds and serve immediately. Store extras in the freezer in a sealed bag.
Why You’ll Love It
These yogurt cubes are like doggy ice cream—creamy, fruity, and so refreshing. They’re perfect for hot days, teething puppies, or just as a special treat. Mochi goes absolutely bonkers for these, and they’re so simple that even my husband can make them. (That’s saying something.) I once added a little bit of peanut butter to the mix, and Mochi almost lost her mind with happiness. Try it and watch the tail wagging begin. 🙂
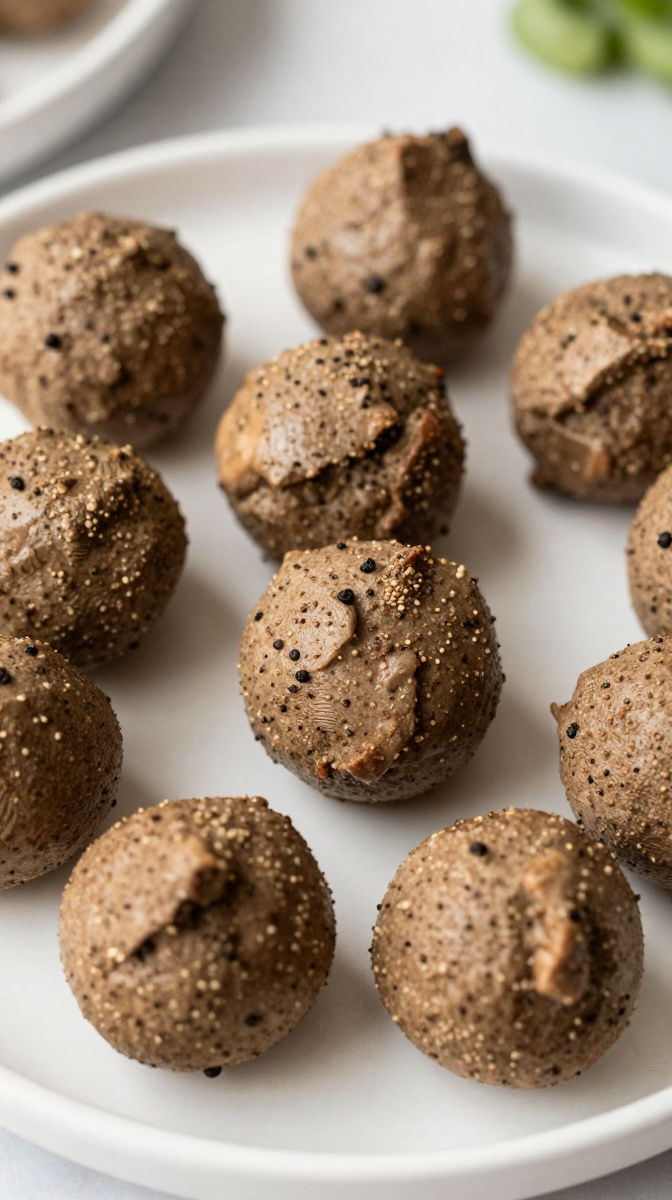
5. Chicken & Liver Training Bites
These are the secret weapon for training sessions. They’re tiny, smelly, and absolutely irresistible to dogs—perfect for keeping your pup’s attention during obedience practice. They take about 20 minutes total and are worth every second.
Ingredients
- 1 cup cooked chicken, shredded
- ½ cup chicken liver, cooked and mashed
- 1 cup almond flour
- 1 large egg
- 2 tablespoons coconut oil
Step-by-Step Instructions
- Preheat your oven to 375°F. Line a baking sheet with parchment paper.
- In a food processor, combine the shredded chicken, chicken liver, almond flour, egg, and coconut oil. Pulse until a thick paste forms.
- Roll the mixture into small bite-sized balls—about the size of a marble.
- Place the balls on the prepared baking sheet and flatten slightly with your fingers.
- Bake for 12-15 minutes until firm and lightly browned.
- Cool completely before using for training.
Why You’ll Love It
These training bites are like tiny flavor bombs for your dog. They’re so small that you can give them frequently without worrying about overfeeding, and the smell is so enticing that even the most distracted pup will focus on you. I use these for agility training with Mochi, and she never takes her eyes off me. FYI: If you don’t have chicken liver, you can use beef liver or even just extra chicken—they’ll still be delicious.
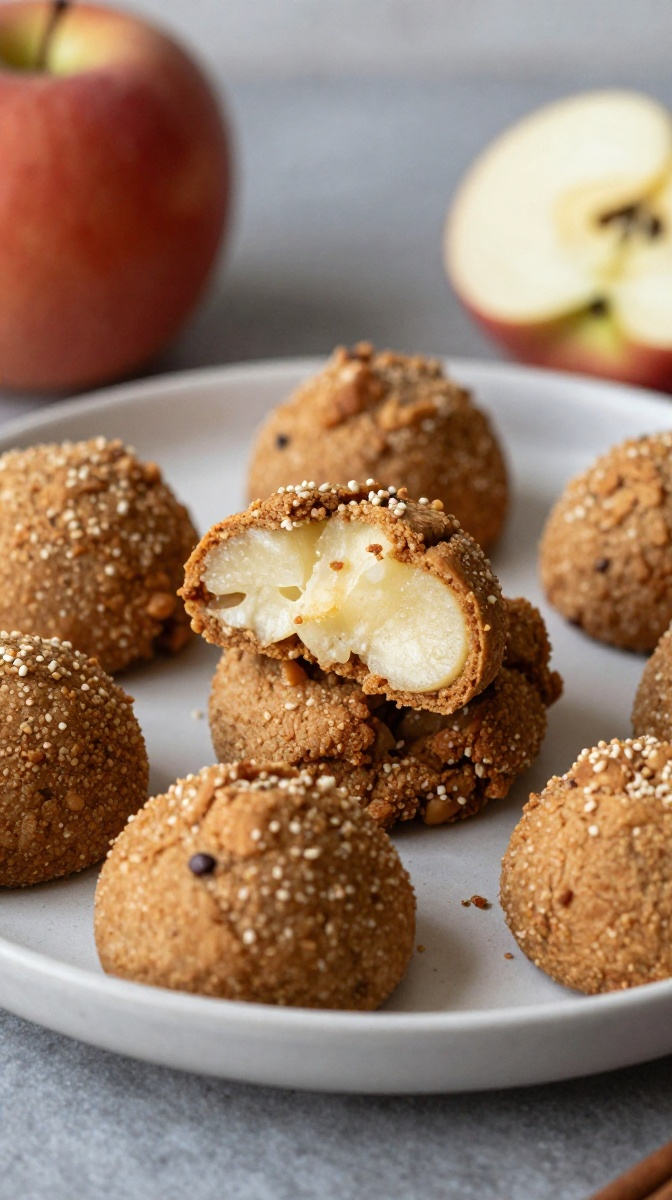
6. Apple Cinnamon Quick Bites
The smell of cinnamon and apples baking will make your whole house feel like a cozy fall day. These soft, chewy bites are perfect for dogs with sensitive teeth or just anyone who loves a gentle treat.
Ingredients
- 1 cup unsweetened applesauce
- 1 ½ cups oat flour
- 1 large egg
- 1 teaspoon cinnamon (safe in small amounts for dogs)
- 2 tablespoons coconut oil, melted
Step-by-Step Instructions
- Preheat your oven to 350°F. Line a baking sheet with parchment paper.
- In a large bowl, combine the applesauce, egg, melted coconut oil, and cinnamon. Mix until smooth.
- Add the oat flour gradually until a soft dough forms.
- Drop spoonfuls of the dough onto the prepared baking sheet and flatten slightly.
- Bake for 12-15 minutes until firm and lightly golden.
- Cool completely before serving.
Why You’ll Love It
These soft bites smell like a cozy bakery and taste amazing to dogs. The applesauce adds natural sweetness without any added sugar, and the cinnamon is a warm, comforting touch. I made these for a friend’s senior dog who had trouble with hard treats, and he gobbled them up like he was a puppy again. Some people add a little vanilla extract, but I think they’re perfect as-is.
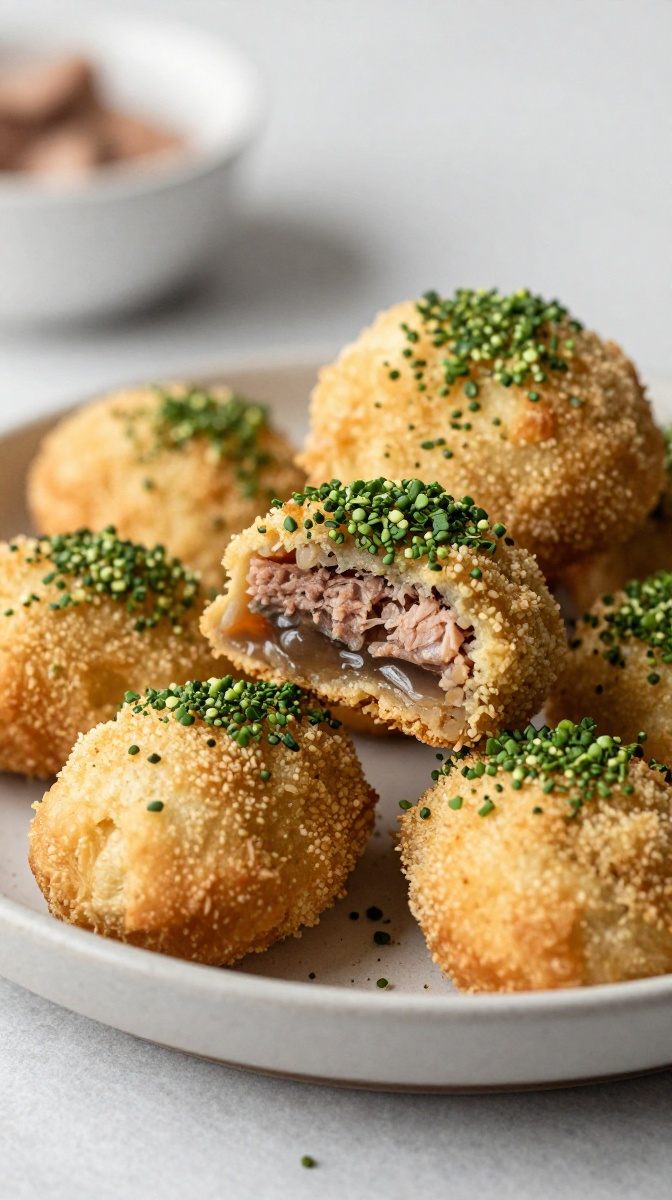
7. Tuna & Parsley Puffs
These puffs are like doggy tuna casserole in treat form—light, airy, and packed with flavor. The parsley helps freshen breath (bonus!), while the tuna is full of healthy omega-3s. They’re ready in about 20 minutes flat.
Ingredients
- 1 can tuna in water, drained
- 1 cup chickpea flour
- 1 large egg
- 2 tablespoons fresh parsley, chopped
- 2 tablespoons olive oil
- ¼ cup water (as needed)
Step-by-Step Instructions
- Preheat your oven to 350°F. Line a baking sheet with parchment paper.
- In a food processor, combine the tuna, chickpea flour, egg, parsley, and olive oil. Pulse until a smooth paste forms. Add water as needed to create a pipeable consistency.
- Fill a pastry bag or ziplock bag with the mixture and pipe small dots onto the prepared baking sheet.
- Bake for 12-15 minutes until puffed and lightly browned.
- Cool completely before serving.
Why You’ll Love It
These puffs are incredibly light and airy—perfect for pups who like a delicate texture. The tuna is packed with healthy fats that support skin and coat health, and the parsley does a great job at freshening breath. I made these for a friend’s dog who had terrible halitosis, and after a few days of eating these, the improvement was noticeable! Just saying, these are functional treats that actually work. 🙂
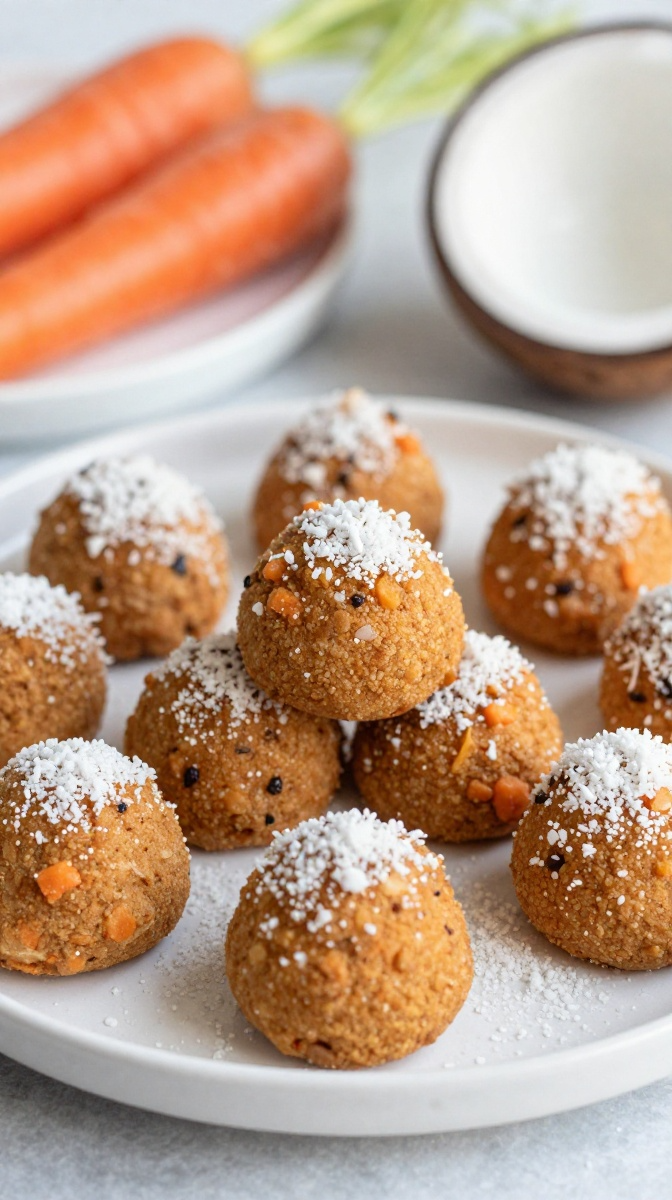
8. Carrot & Coconut Bites
These treats are like little orange and white nuggets of goodness. The carrots add vitamins and a pop of natural sweetness, while the coconut brings healthy fats and a delicious tropical flavor that dogs seem to love.
Ingredients
- 1 cup grated carrots (about 2 medium carrots)
- 1 cup coconut flour
- ½ cup coconut oil, melted
- 2 large eggs
- ¼ cup water (as needed)
Step-by-Step Instructions
- Preheat your oven to 325°F. Line a baking sheet with parchment paper.
- In a large bowl, combine the grated carrots, coconut flour, melted coconut oil, and eggs. Mix until a thick dough forms. Add water if it’s too dry.
- Knead the dough on a lightly floured surface (use coconut flour) for 1-2 minutes.
- Roll out to ¼-inch thickness and cut into small shapes.
- Bake for 15-18 minutes until firm and golden around the edges.
- Cool completely before serving.
Why You’ll Love It
These bites are packed with vitamin A from the carrots and healthy fats from the coconut. They’re grain-free and perfect for dogs with sensitivities. Mochi loves the texture—they’re firm but not too hard, making them great for all ages. I once added a little cinnamon to the mix, and it was a huge hit. Highly recommend.
Quick Tips for 30-Minute Treat Success
Prep Ahead
Measure your dry ingredients the night before. Store them in labeled jars so you can just dump and mix when you’re ready to bake. Total time-saver!
Use the Right Flour
Oat flour, chickpea flour, and almond flour are all great options for quick baking. They don’t need resting time like some grain-based flours do.
Keep It Simple
You don’t need fancy equipment. A bowl, a spoon, and a baking sheet are enough for most of these recipes. I’ve even used a fork to flatten cookies in a pinch.
Cool Completely
This is crucial! Hot treats can burn your dog’s mouth, and they’re also more fragile when warm. Let everything cool on a wire rack before serving.
Store Smartly
Most of these treats keep for:
- 1 week in an airtight container at room temperature
- 2 weeks in the fridge
- 3 months in the freezer
Vet Disclaimer 🐾
Before we wrap up, a friendly reminder:
Always check with your veterinarian before introducing new treats to your dog’s diet, especially if your pup has allergies, health conditions, or is on a special diet.
These homemade dog treats you can make in 30 minutes are made with wholesome ingredients, but every dog is different. Your vet knows your pup’s specific needs best.
Related Articles:
- Grain-Free Dog Treats for Allergies & Sensitivities
- Healthy Pumpkin Dog Treats Your Pup Will Love
- 8 Easy Hot Dog Recipes for a Quick & Delicious Meal
FAQ’s
Honestly? Making homemade treats is one of the most rewarding things you can do for your dog.
You know exactly what’s in them. You control the quality. You skip all the preservatives and artificial junk. And best of all? You get to see your pup’s face light up with pure joy when they get something you made just for them.
These 30-minute recipes prove that you don’t need hours in the kitchen to show your dog some love. From simple cookies to frozen pops, savory bites to sweet treats, there’s something here for every pup and every occasion.
Mochi has tried every single one of these recipes, and I can tell you with absolute certainty: her tail has never wagged harder than when these treats are involved. She’s my taste-tester, my motivator, and my favorite kitchen assistant—even if she does try to sneak bites when I’m not looking.
So go ahead—grab those ingredients, preheat your oven, and make your dog’s day. They deserve it. And honestly? So do you.
Happy baking, and even happier treat-giving! 🐾✨
Got a favorite quick homemade treat? Drop it in the comments—I’m always looking for new ideas to add to my rotation! And if this helped you, pin it to your favorite Pinterest board so other dog parents can find it too.