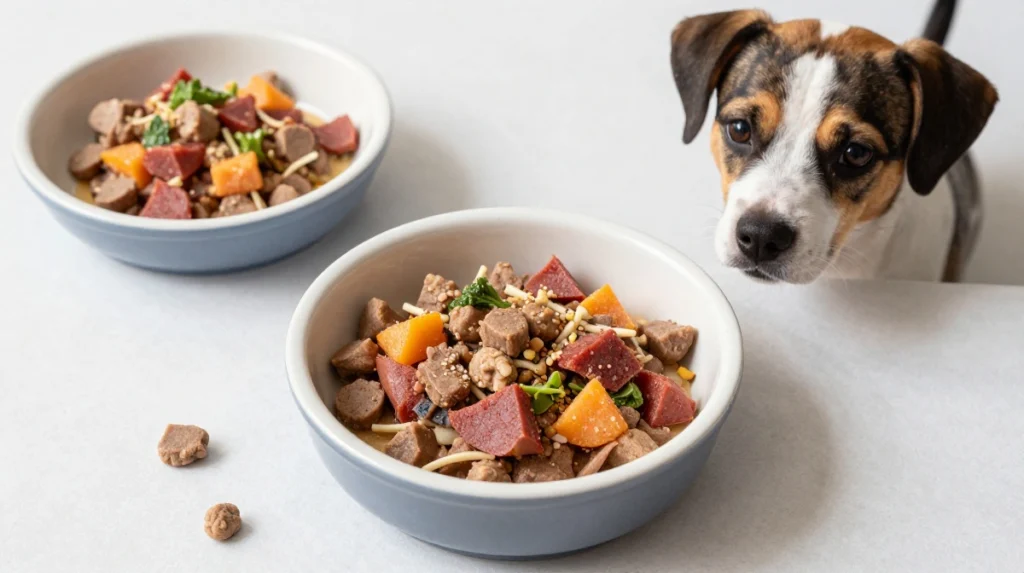
Let’s talk about something that breaks my heart: watching a dog suffer from allergies.
The constant scratching. The red, irritated skin. The digestive upsets that leave both you and your pup miserable. I’ve been there with my golden retriever, Mochi, and trust me—it’s not fun for anyone involved.
After countless vet visits and expensive store-bought “hypoallergenic” treats that did absolutely nothing, I decided to take matters into my own hands. That’s when I discovered the magic of grain-free dog treats made from scratch.
Here’s the thing about commercial treats: they’re often loaded with wheat, corn, and soy—common allergens that can trigger reactions in sensitive dogs. And even the “natural” brands sometimes sneak in grains that your pup can’t tolerate.
Making your own grain-free dog treats gives you total control over what goes into your dog’s body. No mystery ingredients. No hidden fillers. Just pure, wholesome nutrition that actually supports their health.
Before we dive into these recipes, a quick PSA: Always check with your vet before making dietary changes, especially if your dog has known allergies or health conditions. Every pup is different, and your vet knows your dog best.
Now grab your apron (and your dog’s favorite toy for taste-testing) and let’s get cooking! 🙂
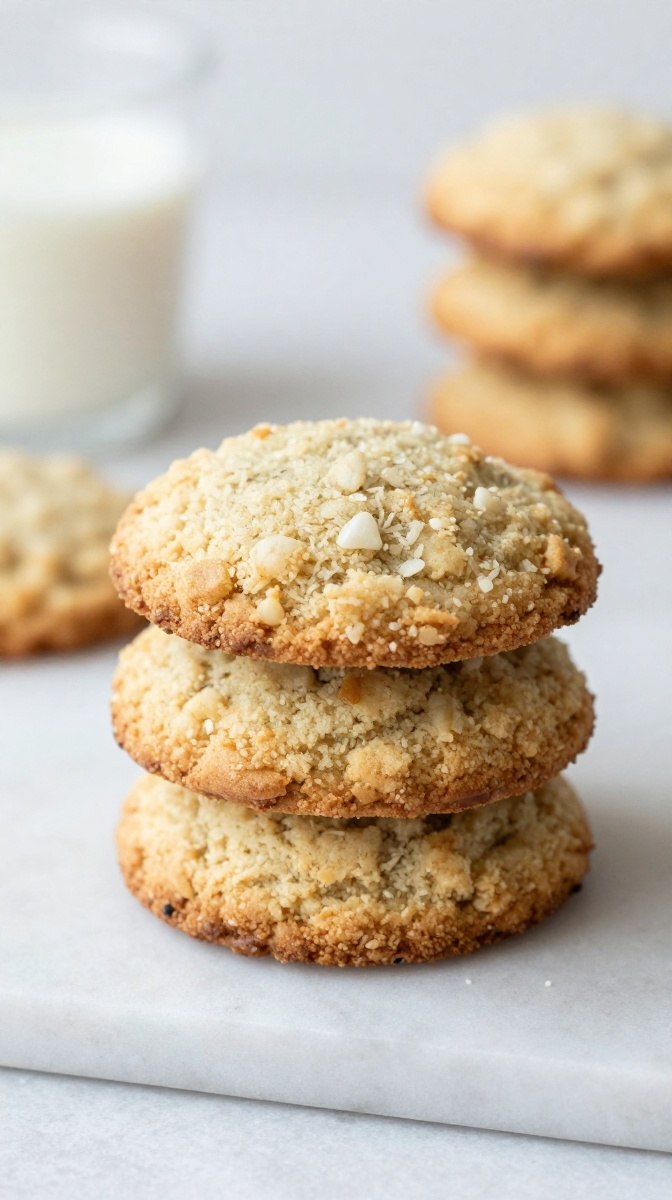
1. Simple Coconut Flour Biscuits
Coconut flour is a game-changer for grain-free baking. It’s low in carbs, high in fiber, and has a naturally sweet flavor that dogs adore. These biscuits are so simple that even I can’t mess them up—and trust me, I’ve messed up a lot of recipes.
Ingredients
- 1 cup coconut flour
- ½ cup pumpkin puree (pure, not pie filling)
- ¼ cup coconut oil, melted
- 3 large eggs
- ¼ cup water (more if needed)
- Pinch of salt (optional)
Step-by-Step Instructions
- Preheat your oven to 325°F. Line a baking sheet with parchment paper.
- In a large bowl, whisk together the coconut flour, pumpkin puree, melted coconut oil, and eggs. The mixture will be thick—that’s normal with coconut flour.
- Add water gradually until a soft dough forms. Coconut flour absorbs a lot of liquid, so don’t panic if it seems dry at first.
- Knead the dough on a lightly floured surface (use coconut flour) for 1-2 minutes.
- Roll out to ¼-inch thickness and cut into your favorite shapes.
- Bake for 18-20 minutes until firm and lightly golden.
- Cool completely before serving to your eager pup.
Why You’ll Love It
These biscuits are ridiculously easy and use just a handful of ingredients. The coconut flour gives them a light, crumbly texture that’s gentle on sensitive stomachs. Mochi goes absolutely nuts for these—she can hear the coconut flour bag opening from across the house. I once added a little cinnamon for variety, and she approved enthusiastically. FYI: Coconut flour is super absorbent, so don’t substitute it 1:1 with other flours unless you’re ready for a kitchen disaster. 🙂
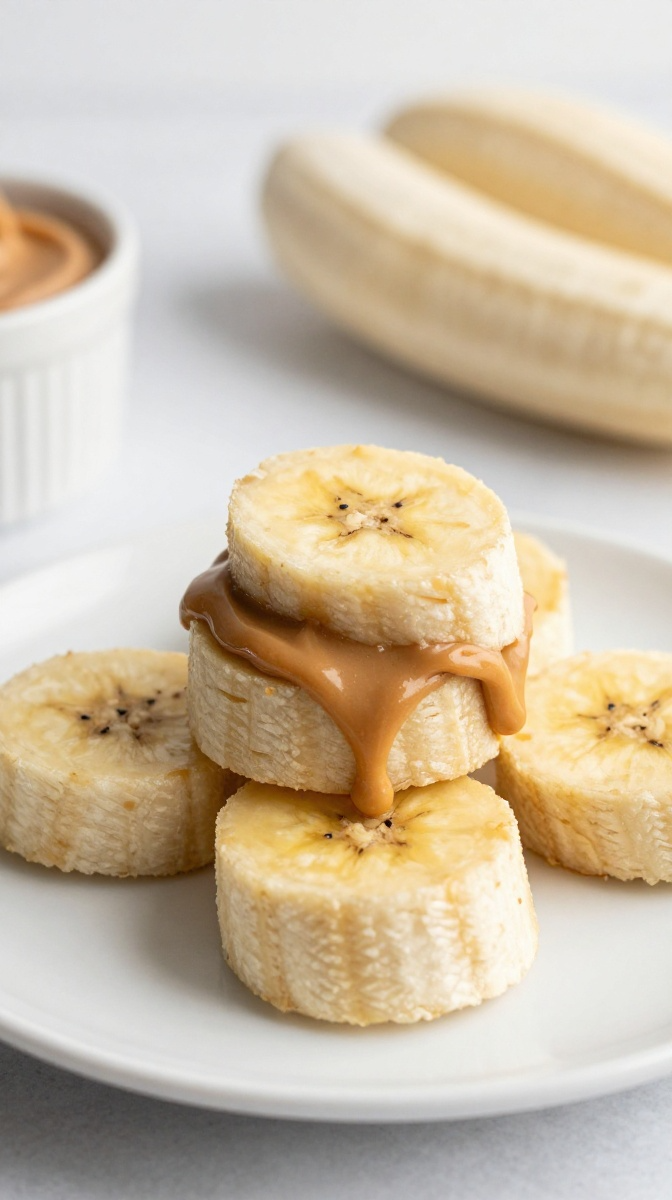
2. Peanut Butter & Banana Bites
These are the dog version of a PB&J sandwich—if the “J” stood for “joy.” The banana adds natural sweetness and potassium, while the peanut butter provides healthy fats and protein. It’s a winning combination that even the pickiest pups can’t resist.
Ingredients
- 1 cup chickpea flour (also called besan or garbanzo bean flour)
- ½ cup peanut butter (xylitol-free—always check the label!)
- 1 large ripe banana, mashed
- 1 large egg
- 2 tablespoons coconut oil, melted
- ¼ cup water (as needed)
Step-by-Step Instructions
- Preheat your oven to 350°F. Line a baking sheet with parchment paper.
- In a large bowl, mash the banana thoroughly until it’s almost a paste. Add the peanut butter, egg, and melted coconut oil. Mix well.
- Add the chickpea flour gradually, stirring to combine. Add water if the dough seems too dry.
- Knead the dough on a floured surface for 2 minutes until smooth.
- Roll out to ¼-inch thickness and cut into shapes. (I like hearts—it makes me feel like a cheesy dog parent, and I’m okay with that.)
- Bake for 15-18 minutes until golden and firm.
- Cool completely before serving.
Why You’ll Love It
Chickpea flour is a fantastic grain-free alternative—it’s high in protein and fiber, and it gives these treats a satisfying texture. The banana and peanut butter combo is basically irresistible to dogs. I made these for a friend’s dog who was a notoriously picky eater, and she gobbled them up like they were the best thing ever. Some people add a drizzle of honey, but I think the banana is sweet enough on its own. Just saying.
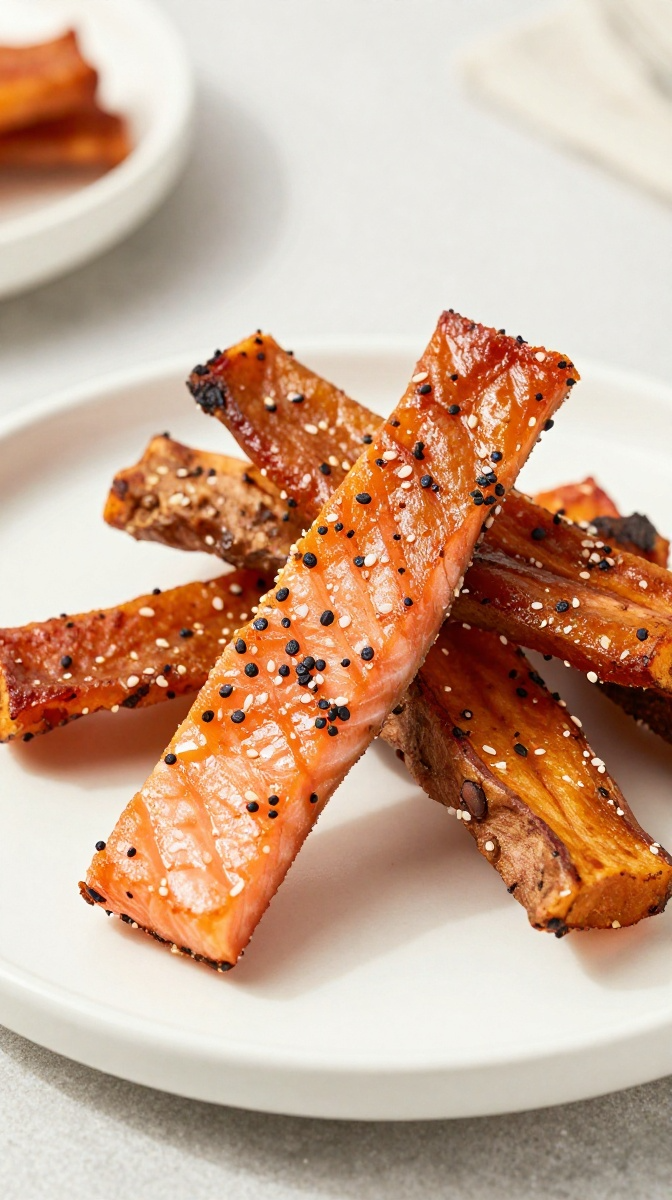
3. Salmon & Sweet Potato Jerky
This is the fancy stuff. The kind of treat that makes other dogs at the park jealous. The salmon is rich in omega-3s that support skin and coat health, while sweet potatoes provide fiber and vitamins. It’s a grain-free treat that actually tastes as good as it smells.
Ingredients
- 1 cup canned salmon, drained and flaked (or 1 cup cooked salmon)
- ½ cup sweet potato puree (canned or homemade)
- 1 ½ cups almond flour
- 1 large egg
- 2 tablespoons fish oil (optional, for extra omega-3s)
Step-by-Step Instructions
- Preheat your oven to 300°F. Line a baking sheet with parchment paper.
- In a large bowl, combine the salmon, sweet potato puree, egg, and fish oil. Mix thoroughly.
- Add the almond flour gradually until a firm dough forms. Almond flour behaves differently than wheat flour—it will feel a bit oily, and that’s perfectly fine.
- Knead the dough on a floured surface (use almond flour) for 2 minutes.
- Roll the dough into small logs about ½ inch thick and 3 inches long.
- Place the logs on the prepared baking sheet and bake for 25-30 minutes, flipping halfway, until firm and slightly browned.
- Cool completely before serving.
Why You’ll Love It
These jerky-style treats are packed with skin-loving nutrients. The omega-3s from salmon help reduce inflammation and promote a shiny, healthy coat. My friend’s dog, who had terrible dry skin, started showing improvement within weeks of switching to these treats. The smell is pretty strong while they’re baking—I’d recommend opening a window unless you want your whole house smelling like a fish market. But hey, your dog will think you’re a hero. 🙂
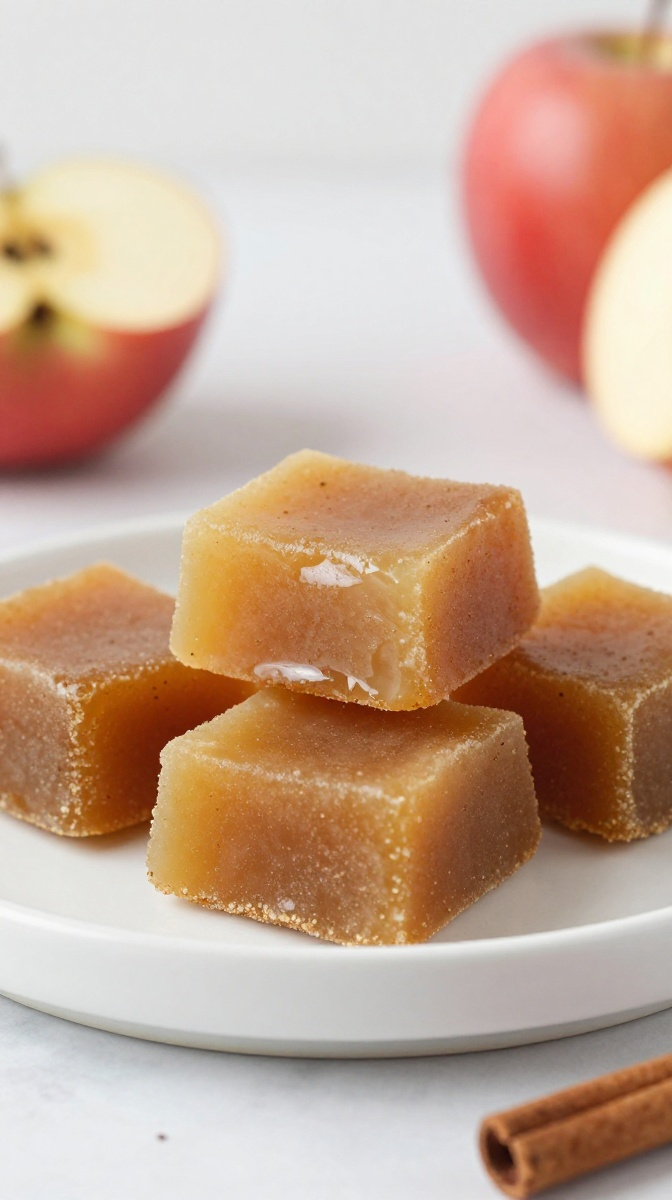
4. Apple Cinnamon Soft Chews
These soft, chewy treats are perfect for senior dogs or pups with dental issues. The apple adds a hint of sweetness, while the cinnamon provides a warm, comforting flavor that dogs seem to love.
Ingredients
- 2 cups almond flour
- 1 cup unsweetened applesauce
- 1 large egg
- 2 tablespoons coconut oil, melted
- 1 teaspoon cinnamon (safe for dogs in small amounts)
- ½ cup chopped dried apple (unsweetened, no added sugar)
Step-by-Step Instructions
- Preheat your oven to 325°F. Line a baking sheet with parchment paper.
- In a large bowl, combine the applesauce, egg, melted coconut oil, and cinnamon. Mix until smooth.
- Add the almond flour gradually, stirring until a soft dough forms. Fold in the chopped dried apple.
- Drop spoonfuls of the dough onto the prepared baking sheet and flatten slightly with the back of a spoon.
- Bake for 15-18 minutes until the edges are golden and the centers are set.
- Cool completely before serving. These will stay softer than other treats, which makes them perfect for sensitive mouths.
Why You’ll Love It
These soft chews are like a gentle hug for your dog’s taste buds. The texture is perfect for older dogs who struggle with crunchy treats, and the flavors are mild enough for sensitive systems. I made these for Mochi after she had some dental work done, and she licked the bowl clean. Some people add ginger for extra anti-inflammatory benefits, but I think the apple-cinnamon combo is perfect on its own.
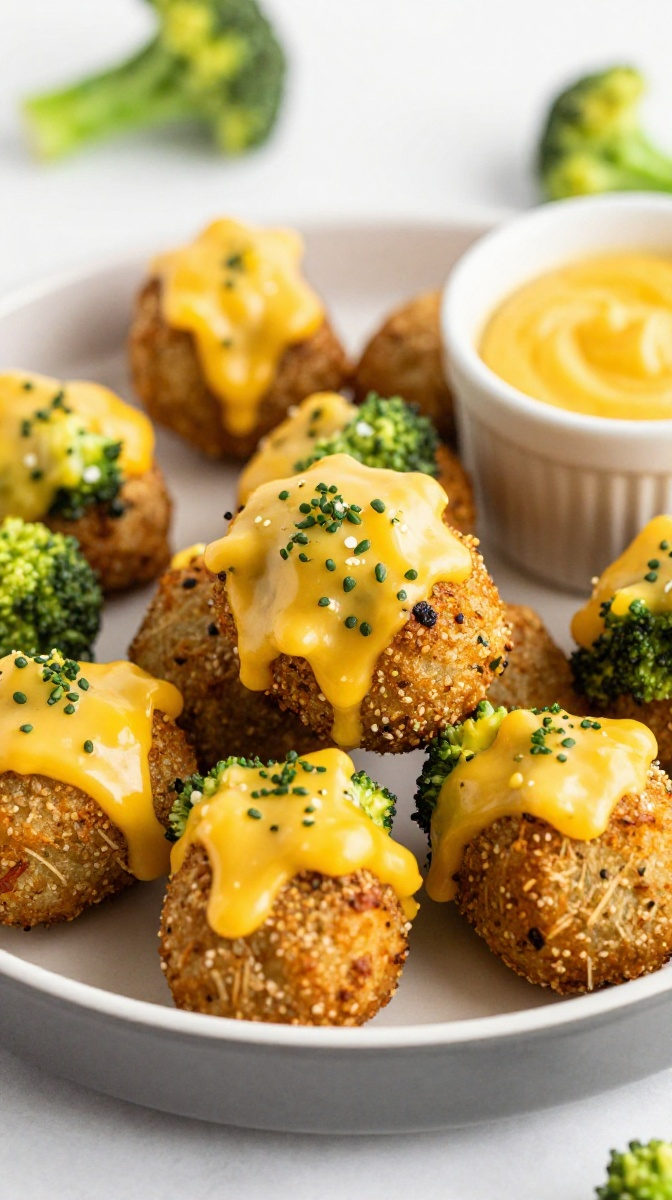
5. Cheesy Broccoli Bites
Okay, stay with me—broccoli in dog treats sounds weird, but it works. Broccoli is packed with vitamins C and K, and when you pair it with cheese? Your dog will be doing backflips. These are the “hidden veggies” treats that even picky eaters can’t resist.
Ingredients
- 1 ½ cups chickpea flour
- ½ cup shredded cheddar cheese (low-fat is fine)
- ½ cup finely chopped broccoli (steamed and cooled)
- ¼ cup plain Greek yogurt
- 1 large egg
- 2 tablespoons olive oil
Step-by-Step Instructions
- Preheat your oven to 350°F. Line a baking sheet with parchment paper.
- Steam the broccoli until tender (about 5 minutes), then chop it very finely. Let it cool completely.
- In a large bowl, combine the chickpea flour, cheese, cooled broccoli, Greek yogurt, egg, and olive oil. Mix until a stiff dough forms.
- Knead the dough on a floured surface for 2 minutes until smooth.
- Roll out to ¼-inch thickness and cut into small shapes.
- Bake for 15-20 minutes until golden and firm.
- Cool completely before serving.
Why You’ll Love It
These treats are a sneaky way to get vegetables into your dog’s diet. The cheese masks the broccoli flavor so well that your pup won’t even know they’re eating something healthy. My nephew’s dog, who refuses to eat any vegetable in its natural form, devours these like candy. FYI: You can swap cheddar for parmesan if your dog prefers a stronger cheese flavor—just adjust the amount since parmesan is saltier.
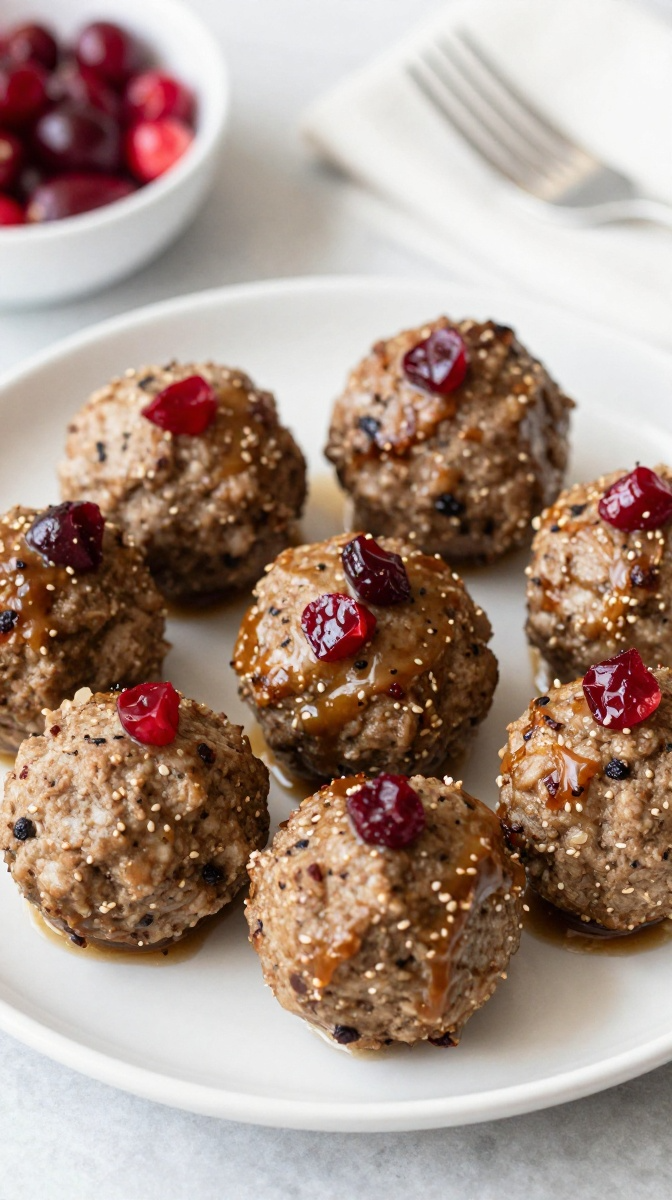
6. Turkey & Cranberry Meatballs
Mini meatballs for dogs? Yes, please. These are perfect for training sessions because they’re small, smelly, and absolutely irresistible. The turkey is lean and easy to digest, while the cranberries add antioxidants and a festive pop of flavor.
Ingredients
- 1 lb ground turkey (lean)
- ½ cup almond flour
- ¼ cup dried cranberries, chopped (unsweetened)
- 1 large egg
- 2 tablespoons coconut oil, melted
- 1 tablespoon fresh parsley, chopped
Step-by-Step Instructions
- Preheat your oven to 375°F. Line a baking sheet with parchment paper.
- In a large bowl, combine all ingredients and mix thoroughly with your hands—it’s messy, but that’s part of the fun!
- Roll the mixture into small, bite-sized balls about 1 inch in diameter.
- Place the meatballs on the prepared baking sheet and bake for 15-18 minutes until cooked through and browned.
- Cool completely before serving. Store in the fridge for up to 5 days or freeze for a month.
Why You’ll Love It
These meatballs are basically doggy-approved protein bombs. They’re perfect for active dogs, picky eaters, or any pup who deserves a special treat. The turkey is gentle on sensitive stomachs, and the cranberries add a hint of sweetness that dogs seem to love. I made these for a Christmas party (yes, I’m that dog parent), and all the other dogs at the party were incredibly jealous of Mochi. She was totally basking in the attention. 🙂
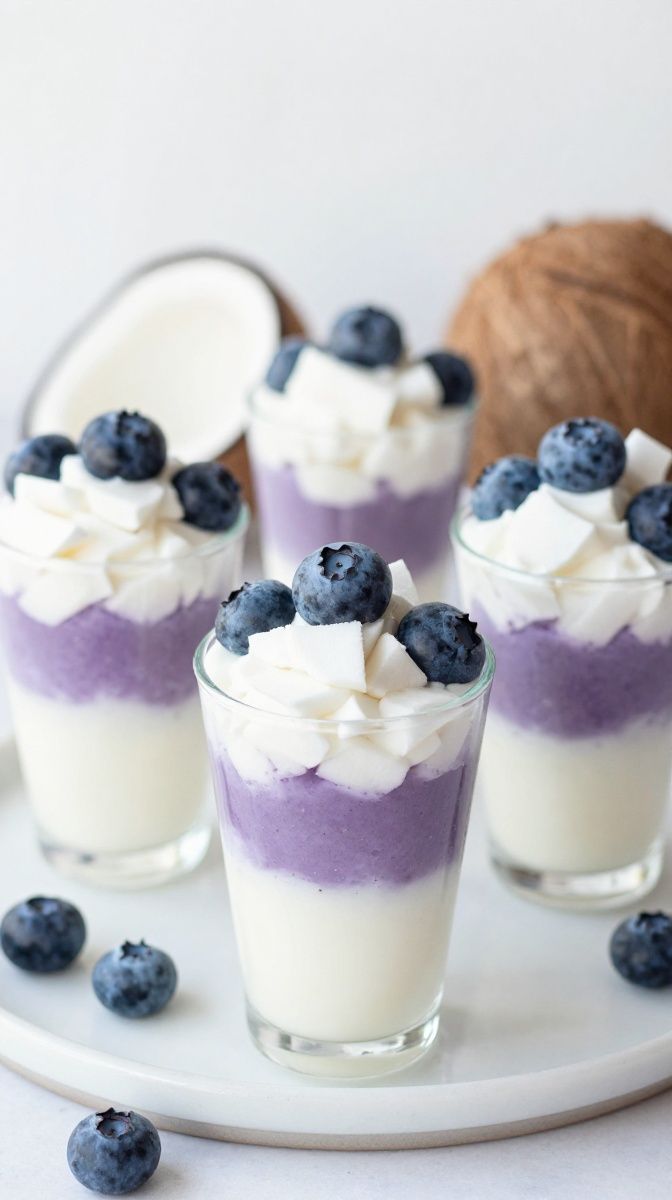
7. Coconut & Blueberry Pops
These frozen treats are like doggy ice cream—but healthier, cheaper, and way easier to make. The coconut milk is rich and creamy, while the blueberries burst with antioxidants. Perfect for hot days or just because your dog deserves something special.
Ingredients
- 1 cup coconut milk (full-fat, from a can)
- ½ cup pumpkin puree
- ½ cup fresh or frozen blueberries
- 1 tablespoon honey (optional—skip if your dog is diabetic)
- Ice cube trays or silicone molds
Step-by-Step Instructions
- In a blender, combine the coconut milk, pumpkin puree, blueberries, and honey. Blend until smooth.
- Pour the mixture into silicone molds or ice cube trays. If you want to get fancy, drop a few extra blueberries into each mold for a burst of color.
- Freeze for at least 4 hours, or overnight, until completely solid.
- Pop the pops out of the molds and serve as a refreshing, grain-free treat.
- Store any extras in the freezer in a sealed bag or container.
Why You’ll Love It
These pops are basically a smoothie bowl for dogs. They’re packed with healthy fats, fiber, and antioxidants—plus they keep your dog hydrated on hot days. Mochi gets so excited when she sees me pulling out the ice cube trays that she starts doing her spinny dance. I’ve even given these to human friends (with a disclaimer), and they said they’d eat them too. Just saying. 🙂
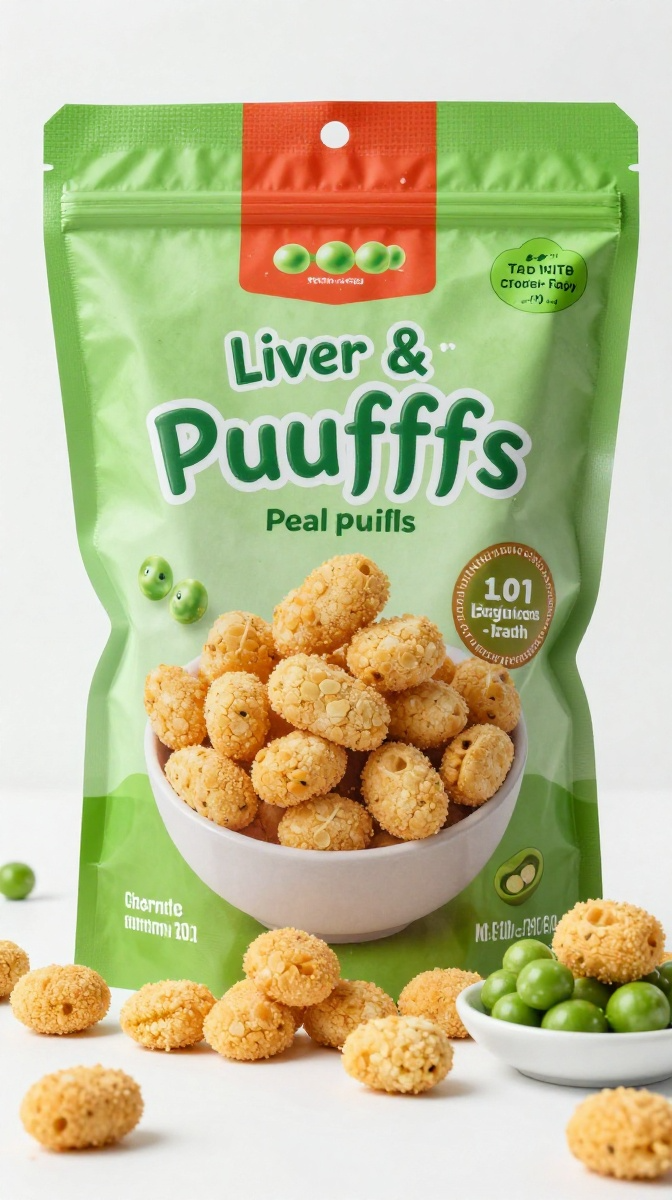
8. Liver & Pea Puffs
Liver is a nutrient powerhouse, and when you combine it with pea flour, you get these light, puffy treats that dissolve in your dog’s mouth. They’re perfect for training because they’re small, fragrant, and ridiculously easy to make.
Ingredients
- 1 lb beef liver, cooked and pureed
- 1 cup pea flour (also called green pea flour)
- 1 large egg
- ¼ cup water (as needed)
Step-by-Step Instructions
- Preheat your oven to 325°F. Line a baking sheet with parchment paper.
- Cook the liver by boiling it in water for 10-12 minutes until firm. Let it cool, then puree it in a food processor until smooth.
- In a bowl, combine the liver puree, pea flour, and egg. Mix until a soft dough forms. Add water if needed.
- Fill a pastry bag or ziplock bag with the mixture and pipe small dots onto the prepared baking sheet.
- Bake for 20-25 minutes until the puffs are firm and slightly browned.
- Cool completely before serving. These store well in an airtight container for up to 2 weeks.
Why You’ll Love It
These puffs are like doggy cheese puffs—light, airy, and completely irresistible. The liver gives them an incredibly savory flavor that dogs go crazy for, while the pea flour keeps them grain-free and high in protein. My neighbor’s dog, who was on a strict elimination diet, was able to eat these without any issues. FYI: The smell during baking is… strong. Open a window, light a candle, do whatever you need to do. The tail wags make it worth it. 🙂
Quick Tips for Grain-Free Baking Success
Choose Your Flour Wisely
Coconut flour is super absorbent—you’ll need less of it than other flours. Almond flour adds richness and moisture. Chickpea flour is high in protein and fiber. Pea flour is great for training treats. Know your flours and adjust liquids accordingly!
Check Those Labels
Always ensure your peanut butter is xylitol-free—this sweetener is toxic to dogs. I learned this the hard way, so please double-check every time.
Watch for Allergies
Just because a treat is grain-free doesn’t mean it’s safe for every dog. Some pups are allergic to chicken, beef, or certain vegetables. Start with a small batch and monitor for reactions.
Storage Matters
Freeze batches for up to 3 months in sealed containers. Refrigerate treats with fresh ingredients (like meatballs or pops) to prevent spoilage.
Vet Disclaimer 🐾
Before we wrap up, let’s do the responsible thing:
Always consult your veterinarian before introducing new foods to your dog’s diet, especially if your pup has known allergies, medical conditions, or is on a special diet.
Grain-free treats are wonderful alternatives, but they’re not a one-size-fits-all solution. Your vet can help you determine what’s best for your individual dog.
Related Articles:
- Healthy Pumpkin Dog Treats Your Pup Will Love
- 8 Easy Hot Dog Recipes for a Quick & Delicious Meal
- Recipes with Hot Dog Buns (Don’t Waste Them!)
FAQ’s
Honestly? Making your own grain-free dog treats is one of the most rewarding things you can do as a pet parent.
You get to skip the expensive store-bought options filled with questionable ingredients. You control exactly what goes into your dog’s body. And best of all? You get to see that look of pure joy on your pup’s face when they realize you made something special just for them.
Whether your dog has allergies, sensitivities, or you just want to avoid grains altogether, these recipes prove that healthy treats can taste amazing too.
Mochi has been on a grain-free diet for over a year now, and the difference has been incredible. Her scratching has decreased significantly, her coat is shinier, and her tummy troubles are practically a thing of the past.
The recipes I’ve shared here are just the beginning. Once you get comfortable with grain-free baking, you’ll start experimenting with other ingredients—and your pup will be the happiest taste-tester in the world.
So go ahead—preheat that oven, measure out some almond flour, and show your sensitive pup some love. They deserve treats that make them feel as good as they taste. 🙂
Happy baking, and may your dog’s allergies stay far, far away! 🐾✨
Got a favorite grain-free treat recipe? Drop it in the comments—I’m always looking for new ideas! And if this helped you, pin it to your favorite Pinterest board so other dog parents with sensitive pups can find it too.