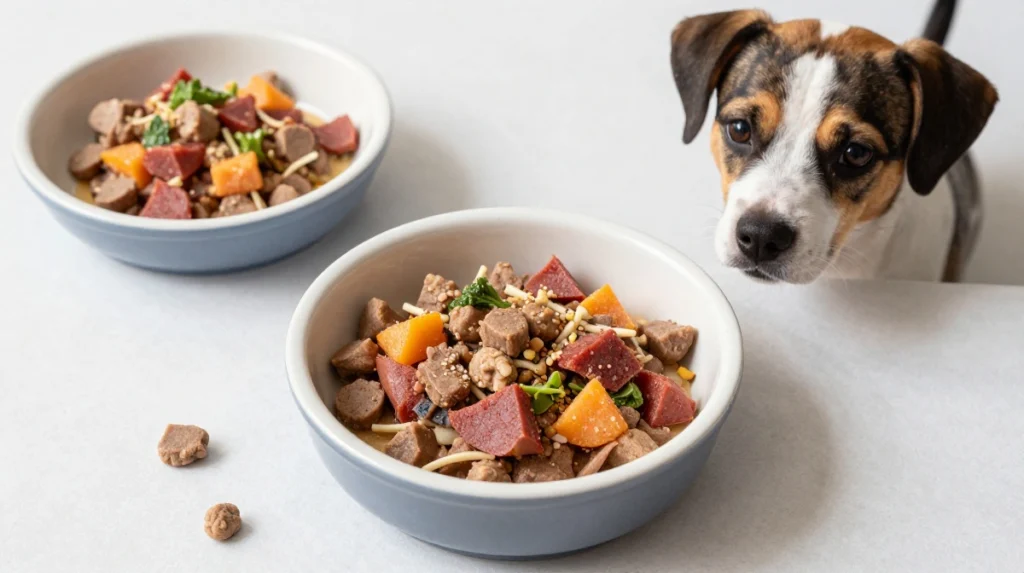
Let’s be real for a second. How many times have you caught your dog giving you that look—you know the one. The head tilt, the pleading eyes, the slight whimper that says, “Really? Another boring milk bone?”
I’ve been there. My golden retriever, Charlie, once literally turned his back on a store-bought biscuit. Dramatic? Absolutely. But also… fair. We expect our furry friends to get excited about the same dried-out cookies day after day, while we’re over here sipping lattes and eating artisanal cheese.
Something had to change.
So I started experimenting in the kitchen. And let me tell you—the results were nothing short of revolutionary. Charlie went from unimpressed to doing literal backflips (okay, clumsy spins) whenever I opened the treat jar.
FYI: These recipes aren’t just delicious—they’re packed with real, wholesome ingredients that’ll make you feel like the world’s best dog parent.
Ready to become your pup’s personal chef? Let’s get cooking! 😄
1. Peanut Butter & Banana “Bark-ery” Bites
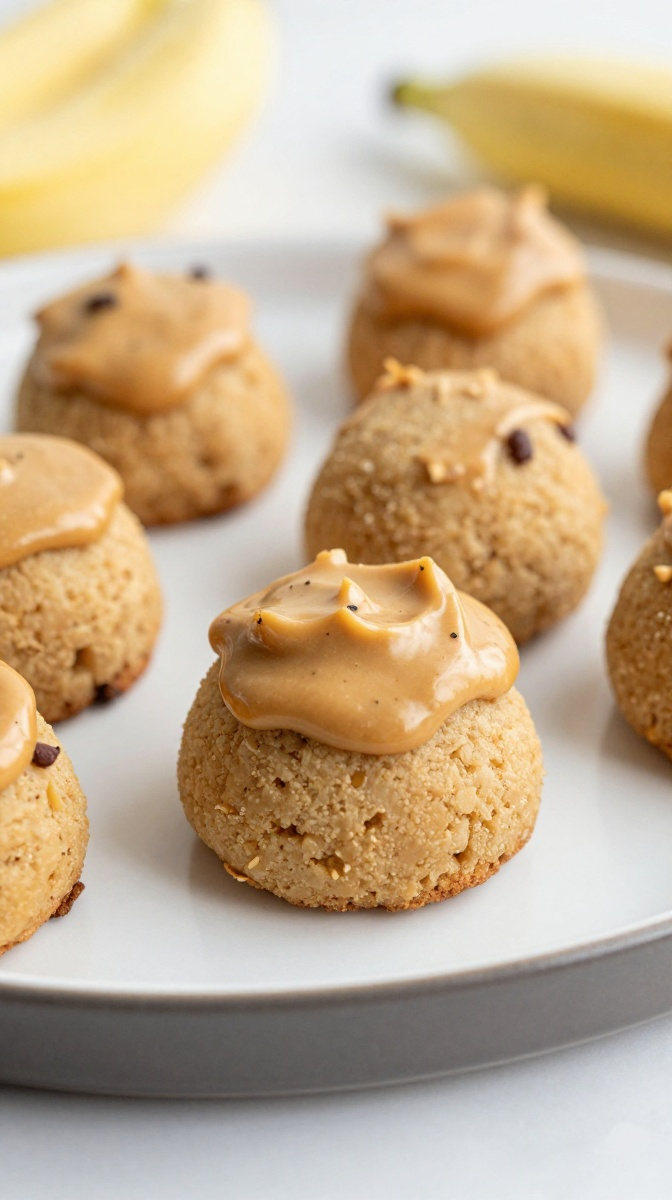
Why This Recipe Rocks: Three ingredients. Ten minutes of prep. Zero guilt. These little bites are so simple, you’ll wonder why you ever bought treats in the first place.
Ingredients:
- 2 ripe bananas (the spottier, the better—trust me on this)
- 1 cup rolled oats (not the instant kind—we’re going old-school here)
- ¼ cup natural peanut butter (make sure it’s xylitol-free—this is non-negotiable, folks)
Step-by-Step Instructions:
- Preheat your oven to 350°F and line a baking sheet with parchment paper. (Because who wants to scrub pans after baking? Not me.)
- Mash those bananas until they’re basically a smooth, lumpy paste. I use a fork and channel my inner frustration—works like a charm.
- Add the peanut butter and stir until combined. The mixture should look like chunky baby food at this point. That’s good—we’re on the right track.
- Fold in the oats slowly. The dough will be sticky, but that’s exactly what we want. If it’s too wet to handle, add an extra tablespoon of oats.
- Roll into 1-inch balls and place them on your baking sheet. Flatten each one slightly with a fork (hello, classic peanut butter cookie vibes).
- Bake for 15 minutes or until the edges turn golden brown. Your kitchen will smell like a peanut butter paradise.
- Let them cool completely before serving. (I know, the waiting is the hardest part—Charlie paces the entire time.)
Why You’ll Love It:
These bites are chewy, subtly sweet, and packed with potassium from the bananas. Plus, oats are fantastic for digestion. I once swapped the banana for applesauce, and while Charlie still liked them, the texture wasn’t as satisfying. Bananas are the MVP here—don’t skip ’em!
Pinterest-friendly image prompt: A close-up shot of golden, fork-flattened peanut butter bites on a rustic wooden board, with a single banana and jar of peanut butter blurred in the background. 80-90% food dominance. Warm natural lighting. 9:16 ratio.
2. Sweet Potato “Chews” with a Coconut Twist
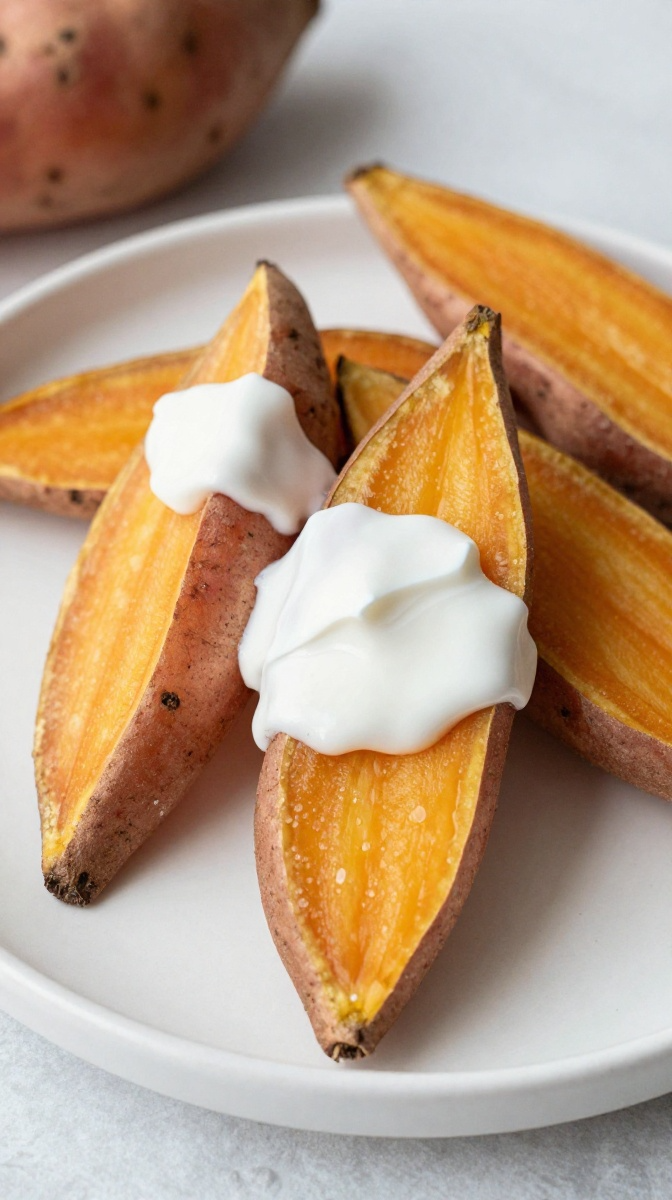
Why This Recipe Rocks: Ever paid $15 for dehydrated sweet potato strips at the pet store? Yeah, me too. Never again. These homemade chews are cheaper, healthier, and ridiculously easy.
Ingredients:
- 2 large sweet potatoes (orange-fleshed ones work best)
- 2 tablespoons coconut oil (melted)
- ½ teaspoon cinnamon (optional, but highly recommended for that je ne sais quoi)
Step-by-Step Instructions:
- Preheat your oven to 250°F. Yes, low and slow is the name of the game here.
- Wash and peel your sweet potatoes. (I used to leave the skin on, but Charlie wasn’t a fan—picky eater, I know.)
- Slice them into ¼-inch thick rounds or long strips—whatever your pup prefers. Just make sure they’re uniform so they bake evenly.
- Toss the slices in melted coconut oil and sprinkle with cinnamon if you’re feeling fancy.
- Arrange them in a single layer on a baking sheet lined with parchment paper. No overlapping—these need room to breathe.
- Bake for 2.5 to 3 hours, flipping halfway through. You’ll know they’re ready when they’re chewy but not crispy. IMO, the texture matters more than the color.
- Cool completely and store in an airtight container.
Why You’ll Love It:
Sweet potatoes are packed with fiber and beta-carotene, which supports eye health. And the coconut oil? It gives them a subtle tropical flavor that dogs go nuts for. Just don’t eat them all yourself—I may or may not have snagged a few while “testing” them. 😉
Pinterest-friendly image prompt: Top-down shot of golden sweet potato chews arranged in a neat spiral pattern on a dark slate plate. Drizzled with a tiny bit of coconut oil for shine. Soft, diffused lighting. 9:16 ratio, food takes up 85% of the frame.
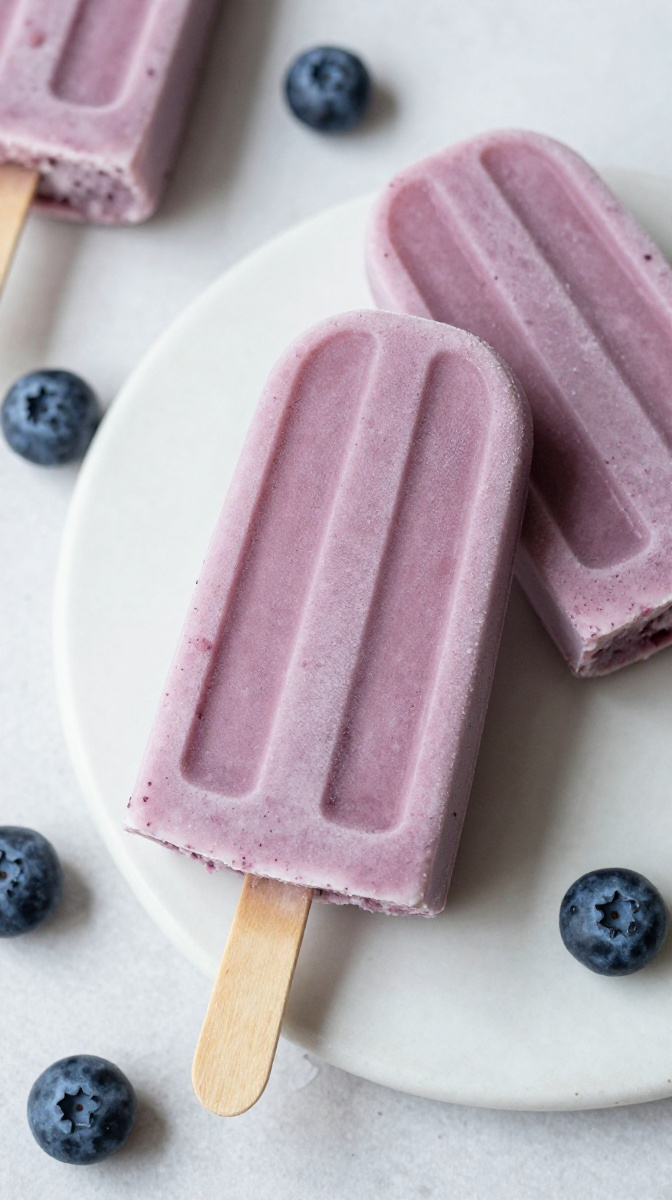
3. Blueberry & Yogurt Frozen “Pup-sicles”
Why This Recipe Rocks: Summer heat + bored pup = chaos. These frozen treats are a lifesaver when temperatures soar. Plus, they’re ridiculously photogenic.
Ingredients:
- 1 cup plain Greek yogurt (full-fat, please—no low-fat nonsense here)
- ½ cup fresh or frozen blueberries (organic if you’re feeling extra)
- 1 tablespoon honey (local raw honey is my go-to)
Step-by-Step Instructions:
- Toss everything into a blender and blitz until smooth. The mixture should be thick but pourable.
- Pour into silicone molds or ice cube trays. (I use bone-shaped molds because… well, duh.)
- Tap the tray gently on the counter to remove air bubbles—nobody wants pockmarked pup-sicles.
- Freeze for at least 4 hours, though overnight is even better.
- Pop them out and serve immediately. Watch your dog’s mind get blown.
Why You’ll Love It:
These are basically doggy smoothie pops. The probiotics from yogurt support gut health, and blueberries are antioxidant powerhouses. Sometimes I add a tablespoon of pumpkin puree for a fall twist—just saying, it’s a game-changer.
Pro tip: If your dog is picky like mine, try adding a dollop of peanut butter to the bottom of each mold before pouring the mixture. Pure genius.
Pinterest-friendly image prompt: A close-up of vibrant blueberry-yogurt pup-sicles in bone-shaped molds, freshly popped and glistening. Blueberries scattered around for a pop of color. Bright, fresh aesthetic. 9:16 ratio, food fills 90% of the image.
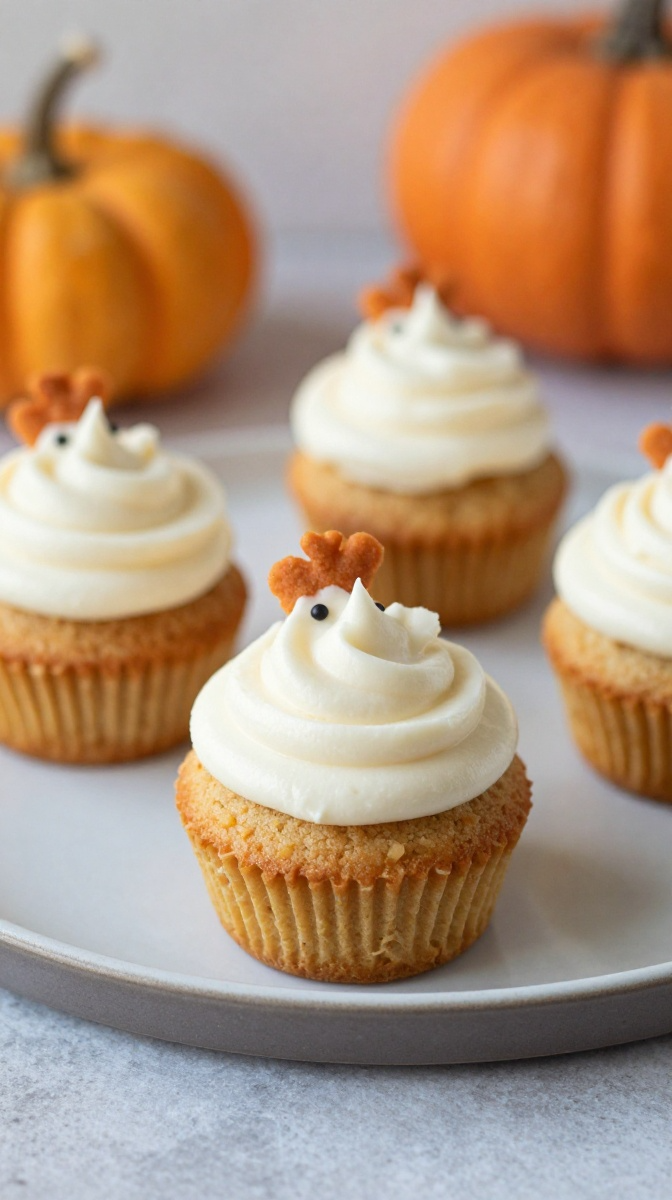
4. Chicken & Pumpkin “Pup-cakes” with Cream Cheese Frosting
Why This Recipe Rocks: Because sometimes, your dog deserves a celebration. Birthday? Gotcha Day? Tuesday? These mini cupcakes make every day feel special.
Ingredients:
- 1 cup whole wheat flour
- ½ cup canned pumpkin puree (not pie filling—watch out for added sugar)
- ¼ cup unsweetened applesauce
- 1 egg
- ¼ cup cooked, shredded chicken (plain, no salt or seasoning)
- For the Frosting: 4 oz cream cheese (softened), 2 tablespoons plain Greek yogurt
Step-by-Step Instructions:
- Preheat your oven to 350°F and line a mini muffin tin with paper liners.
- In a large bowl, whisk together the flour, pumpkin, applesauce, egg, and shredded chicken. The batter will be thick and slightly lumpy—that’s the texture we’re after.
- Spoon the batter into the muffin cups, filling each about ¾ full.
- Bake for 18–20 minutes or until a toothpick comes out clean.
- While they cool, whip up the frosting: combine cream cheese and yogurt until smooth and creamy.
- Pipe or spread the frosting onto each cooled pup-cake. Add a tiny sprinkle of shredded chicken on top for that chef’s kiss finishing touch.
Why You’ll Love It:
These moist, savory cakes are a total crowd-pleaser. The pumpkin aids digestion, and the chicken adds a protein punch. I made these for Charlie’s 5th birthday and he was so overjoyed, he actually cried. (Okay, I cried. But he got emotional too—let me have this.)
Warning: Do not leave these unattended on the counter. Charlie once counter-surfed an entire batch. I wasn’t even mad; I was impressed.
Pinterest-friendly image prompt: A close-up of a frosted pup-cake with a tiny chicken sprinkle on top, surrounded by more pup-cakes in the background. Creamy, dreamy frosting and warm cupcake tones dominate. 9:16 ratio, food covers 85% of the frame.
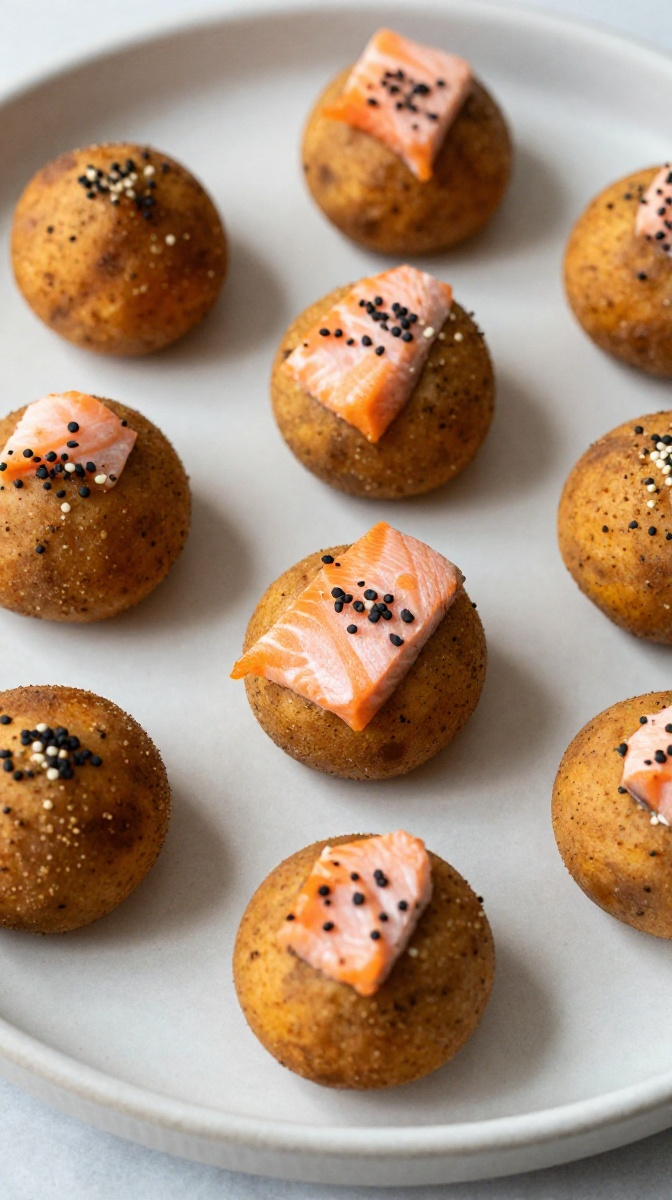
5. Salmon & Sweet Potato “Bark-tastic” Bites
Why This Recipe Rocks: Fish-based treats are seriously underrated. They’re packed with omega-3s for a shiny coat and healthy skin. Plus, these little gems are grain-free if that’s your thing.
Ingredients:
- 1 can wild-caught salmon (drained and flaked—check for bones!)
- 1 cup sweet potato puree (or mashed cooked sweet potato)
- 1 egg
- ½ cup coconut flour (or almond flour, if you prefer)
Step-by-Step Instructions:
- Preheat your oven to 375°F and line a baking sheet with parchment paper.
- In a mixing bowl, combine the salmon, sweet potato puree, and egg. The mixture will be wet—embrace it.
- Gradually add the coconut flour until a dough forms. You might need a bit more or less depending on moisture levels; I usually eyeball it.
- Roll the dough into small balls and arrange them on the baking sheet. Flatten slightly with your fingers.
- Bake for 15–18 minutes, flipping once halfway through for even browning.
- Let cool completely before serving—these are fragile when hot but firm up beautifully as they cool.
Why You’ll Love It:
The salmon flavor is intoxicating to dogs. And the combo of coconut flour and sweet potato makes these bites highly digestible. One time I swapped salmon for sardines, and Charlie basically followed me around for three days straight afterward. Moral of the story: fish = love.
Pinterest-friendly image prompt: A close-up of golden-brown salmon bites on a textured white plate. Small pieces of flaked salmon and sweet potato visible in the bites. A subtle sheen of natural oils. 9:16 ratio, food takes up 90% of the frame.
Related Articles:
- 5 Easy Dog Biscuit Recipes for Homemade Love
- DIY Healthy Dog Treats Your Pet Will Love
- 10 Fun & Themed Dog Treats (For Every Season)
Some Thoughts Before You Get Baking
Here’s the thing about making homemade dog treats: you’ll mess up. That first batch might be too dry. Maybe you’ll burn a few. I definitely set off the smoke alarm once (don’t ask).
But you know what? Your pup won’t care.
They’ll devour every single one of your “mistakes” like they’re gourmet delicacies. And that, my friend, is the beauty of homemade goodies.
A few final tips before you go:
- Store most treats in an airtight container in the fridge for up to two weeks
- Freeze them for longer storage (up to 3 months—just thaw before serving)
- Always check with your vet if you’re introducing new ingredients, especially if your dog has allergies
- Adjust portion sizes based on your dog’s size. My 70-pound golden eats like a horse; your 10-pound chihuahua definitely doesn’t need a whole pup-cake
Ready to Get Cookin’?
So, which recipe are you trying first? The peanut butter bites? The frozen pup-sicles? Honestly, I’d make all five and have a tasting party. Who says taste tests are just for humans?
Just remember: the most important ingredient is love—and maybe a little bit of peanut butter for good measure. 😉
Now go forth, put on your chef hat, and get ready to be showered with slobbery kisses and endless tail wags. Happy baking, my friend!
P.S. If your dog suddenly starts giving you the side-eye because you’re not making treats fast enough, just remember—you’re a rock star for even trying. And honestly, your pup probably loves you more for it.
Now, who’s ready to be the most popular dog parent on the block? 🐾