
Let’s be honest—the kitchen is the heart of the home, but it’s also the messiest room in the house. Between cooking, eating, and living, it doesn’t take long for things to get out of hand. I’ve been there. Standing in a kitchen that looks like a tornado hit, wondering how I’m supposed to find the energy to clean it all up.
Here’s the thing—cleaning doesn’t have to be a full-scale production. I’ve discovered some absolute game-changing hacks that’ll transform your kitchen cleaning routine from dread to done. We’re talking simple ingredients, minimal effort, and results that’ll make your kitchen shine.
I’ve tested every single one of these methods in my own kitchen (yes, the one that’s survived multiple dinner parties and a toddler). Some worked brilliantly. Others were total flops that I’ll save you from experiencing. Consider this your curated collection of kitchen-cleaning wisdom—minus the trial and error.
So grab a cup of coffee (or something stronger), put on some music, and let’s tackle that messy kitchen together. Future you will be grateful. 😉
1. The “Microwave Steam” Clean
Clean Your Microwave in 5 Minutes Flat
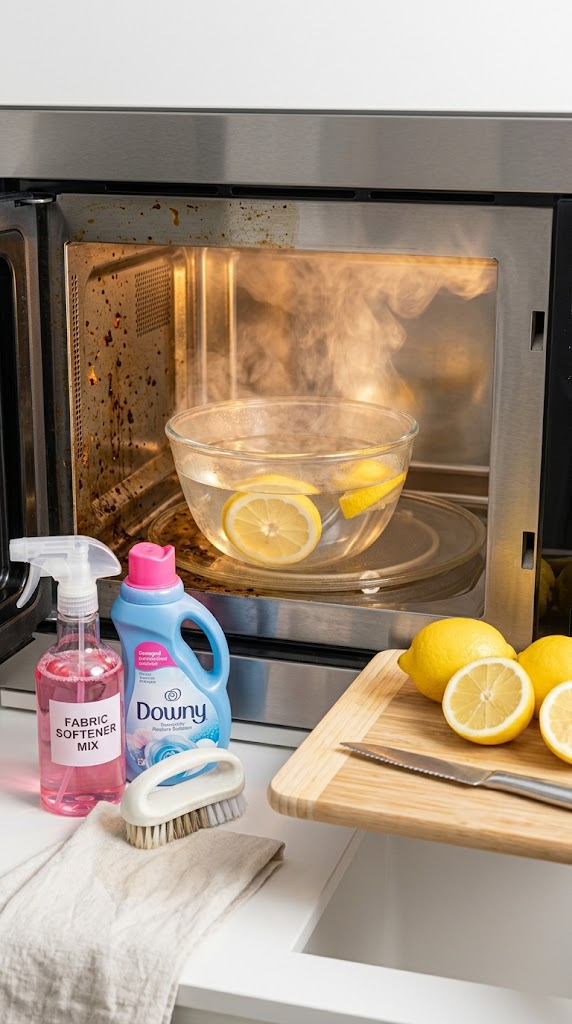
Why It’s Awesome: Microwave cleaning is the worst—splattered food, stubborn grease, and that mysterious smell. But a simple bowl of water and lemon transforms your microwave in minutes. The steam loosens everything, and you barely have to scrub.
Ingredients
- 1 lemon (cut in half)
- 1 cup water
- Glass bowl (microwave-safe)
- Microfiber cloth or sponge
Step-by-Step Instructions
- Prep the bowl. Fill your glass bowl with water. Squeeze the juice from half a lemon into the water, then drop the lemon halves in too.
- Microwave on high. Place the bowl in your microwave and run it on high for 3-5 minutes. The water will boil and create steam that fills the interior. Keep the door closed for another minute after it stops.
- Let it cool. Carefully remove the hot bowl. The steam should have loosened all the stuck-on food.
- Wipe it down. Use a damp microfiber cloth or sponge to wipe away the loosened grime. Everything should come off easily with minimal effort.
- Buff to shine. Use a dry cloth to buff the interior. Your microwave will look and smell like new—like a fresh lemon grove.
Why You’ll Love It
Because it works like magic. I used to dread cleaning my microwave, spending ages scrubbing at dried-on food. Now it takes 5 minutes flat. The lemon leaves a fresh scent that covers any lingering odors. IMO, this is the best kitchen cleaning hack ever. Who doesn’t love a method that practically cleans itself?
2. The “Stovetop Shine” Secret
Baking Soda & Vinegar Stovetop Cleaner
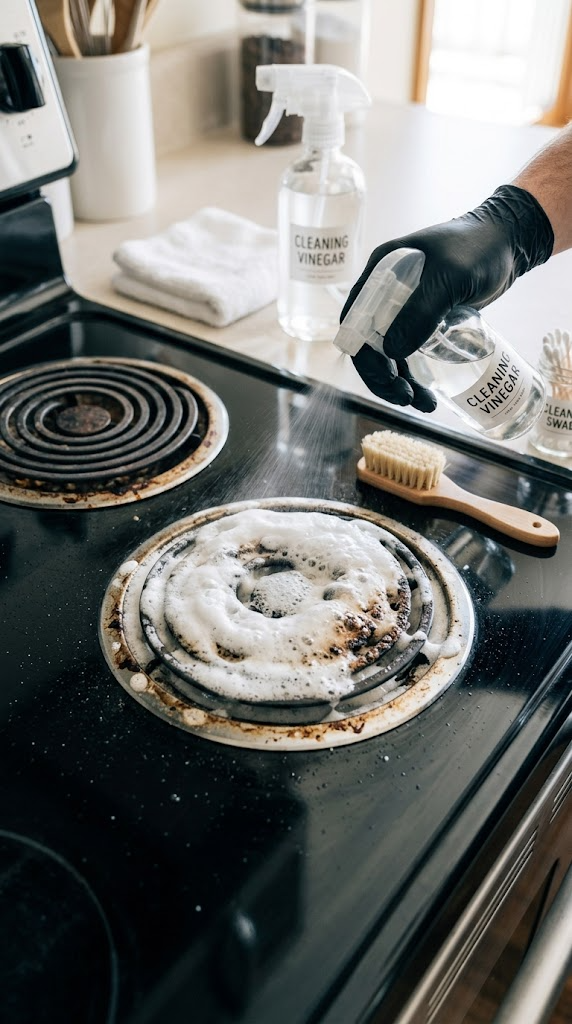
Why It’s Awesome: Stovetops get nasty—grease, spills, burnt-on food. But baking soda and vinegar come to the rescue again. This dynamic duo lifts grease effortlessly, leaving your stovetop looking brand new without harsh chemicals.
Ingredients
- 1/2 cup baking soda
- 1/4 cup white vinegar
- Water (as needed)
- Scrub sponge or brush
- Microfiber cloth
Step-by-Step Instructions
- Remove debris. Wipe away any loose food particles or grease from your stovetop. This prevents scratching when you scrub.
- Make the paste. In a small bowl, mix the baking soda with enough water to form a thick paste. The consistency should be like toothpaste—not too runny.
- Apply the paste. Spread the paste generously over your stovetop, focusing on greasy spots and burnt-on food.
- Spray with vinegar. Lightly spray white vinegar over the paste. You’ll see it fizz and bubble—this reaction is breaking down the grease.
- Let it sit. Allow the mixture to sit for 10-15 minutes. For stubborn spots, leave it for 30 minutes.
- Scrub gently. Use a scrub sponge or brush to gently scrub away the grime. The paste should lift everything off easily.
- Wipe and shine. Use a damp microfiber cloth to wipe away the residue. Buff with a dry cloth for a streak-free shine.
Why You’ll Love It
Because it’s natural and incredibly effective. I once had a stovetop that looked like it had been through a war—burnt-on spaghetti sauce, grease splatters, everything. This hack brought it back to life. Just be careful with glass stovetops—use a gentle touch to avoid scratching.
3. The “Lemon & Salt” Cutting Board Scrub
Remove Stains and Odors Naturally
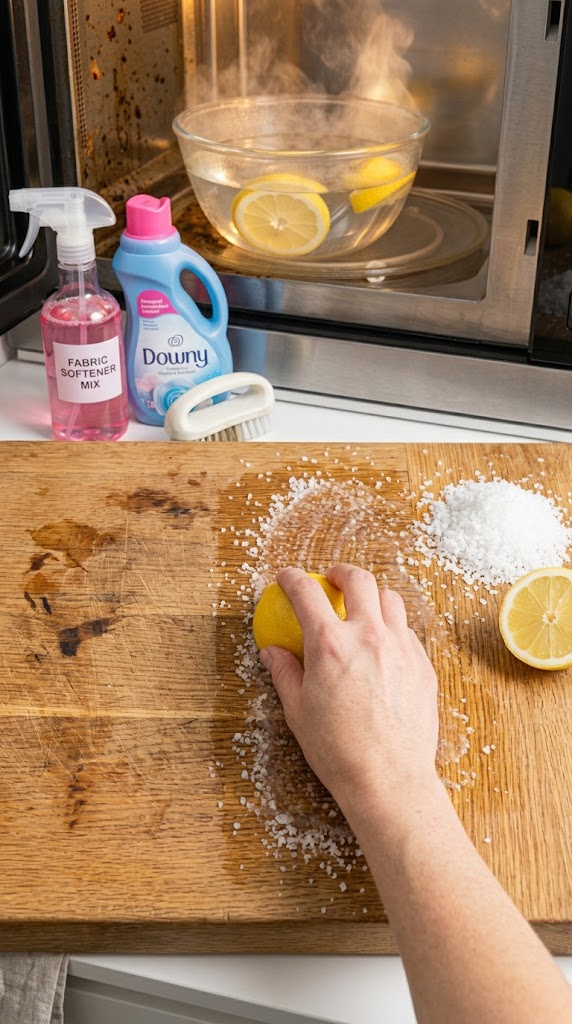
Why It’s Awesome: Cutting boards take a beating—knife marks, stains, and lingering smells from garlic and onions. But lemon and salt combine to create a powerful scrub that cleans, whitens, and deodorizes naturally. It’s like a spa day for your cutting board.
Ingredients
- 1/2 cup coarse salt (kosher or sea salt)
- 1 lemon (cut in half)
- Warm water
- Microfiber cloth
Step-by-Step Instructions
- Rinse the board. Run your cutting board under warm water to remove loose debris and food particles.
- Sprinkle salt. Sprinkle a generous layer of coarse salt over the entire surface of the cutting board.
- Scrub with lemon. Take one half of the lemon and rub it directly over the salt, squeezing slightly to release the juice. The lemon juice will mix with the salt, creating a powerful cleaning paste.
- Work it in. Use the lemon half to scrub the board in circular motions. Focus on stained areas and deep knife marks. The salt acts as an abrasive, while the lemon dissolves stains and odors.
- Let it sit. Allow the mixture to sit for 5-10 minutes. This gives the lemon time to work on stubborn stains and smells.
- Rinse and dry. Rinse the board under warm water to remove the salt and lemon. Dry thoroughly with a cloth.
- Oil if needed. For wooden boards, apply a light coat of mineral oil to condition the wood and prevent cracking.
Why You’ll Love It
Because it’s natural, smells amazing, and actually works. I used to throw away cutting boards when they got too stained. Now I just give them a lemon and salt treatment, and they look almost new. Plus, it’s satisfying to see the stains disappear before your eyes. Who knew cleaning could be so satisfying?
4. The “Dishwasher Pod” Sink Scrub
Sparkling Stainless Steel in Minutes
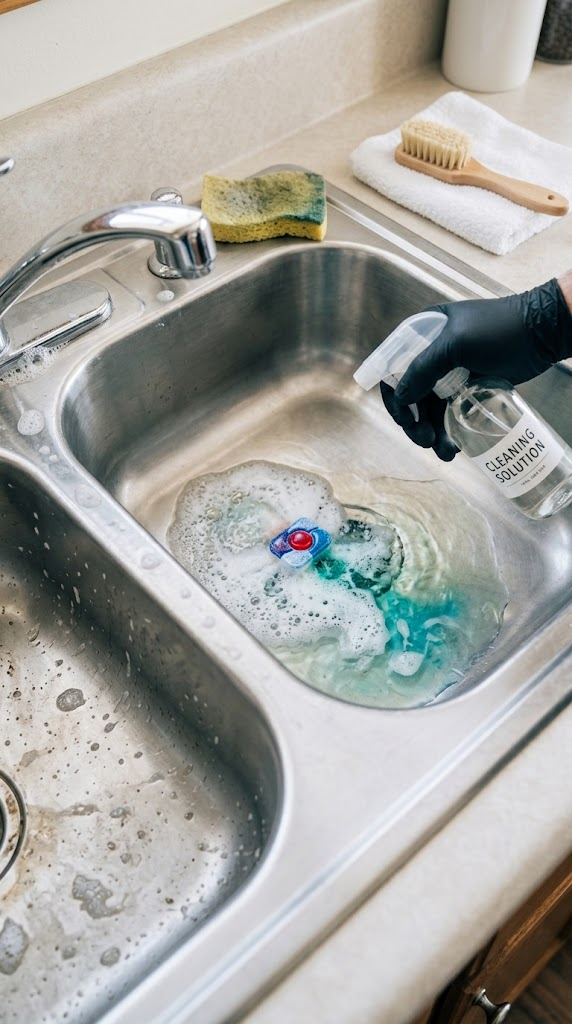
Why It’s Awesome: Your kitchen sink works hard and shows it—water spots, grease film, and dull stainless steel. But a simple dishwasher pod and warm water transform your sink from drab to fab in minutes.
Ingredients
- 1 dishwasher tablet (any brand)
- Warm water
- Scrub sponge
- Microfiber cloth
Step-by-Step Instructions
- Wet the sink. Run warm water over your sink to wet the surface and remove loose debris.
- Add the tablet. Place a dishwasher tablet directly into the sink basin. Pour a little warm water over it to activate.
- Let it fizz. Allow the tablet to dissolve and fizz for 2-3 minutes. The enzymes will start breaking down grease and grime.
- Scrub the sink. Use a scrub sponge to work the soapy water all over the sink—walls, bottom, and edges. The tablet’s powerful cleaning agents will tackle stains and water spots.
- Pay attention to corners. Use the sponge to reach into corners and around the drain. This is where grime tends to hide.
- Rinse thoroughly. Rinse the sink with warm water to remove all soap residue. Don’t leave any behind—you don’t want soap scum.
- Buff to shine. Use a dry microfiber cloth to buff the sink to a brilliant shine. Your sink will look like it just came out of a showroom.
Why You’ll Love It
Because it’s quick and effective. I used to spend ages scrubbing my sink with special cleaners. Now I just grab a dishwasher pod, and my sink sparkles in 5 minutes. FYI, this works on both stainless steel and ceramic sinks. Just be careful with delicate finishes—test a small area first.
5. The “Coffee Filter” Glass Cleaner
Streak-Free Windows and Surfaces
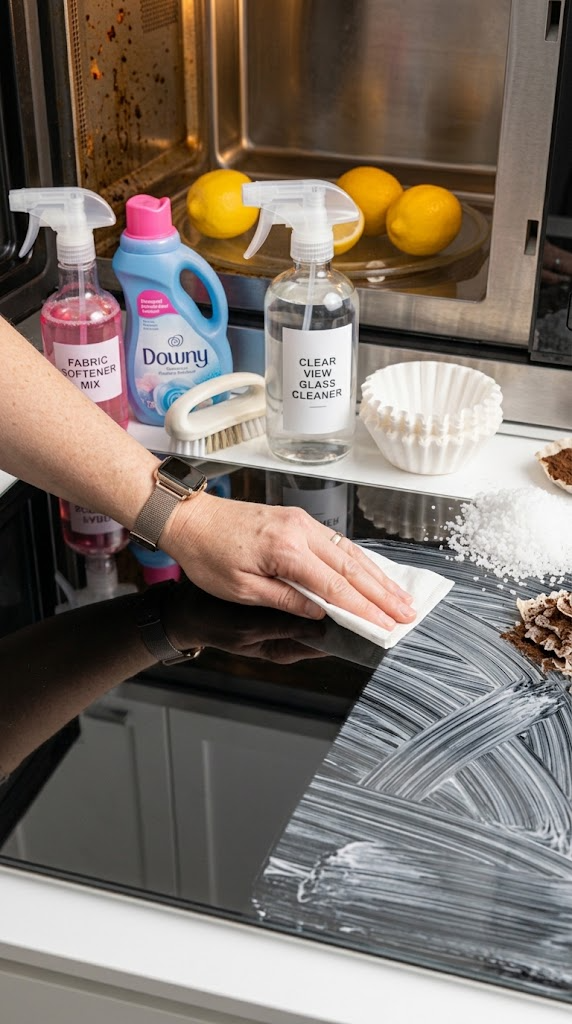
Why It’s Awesome: Coffee filters aren’t just for coffee—they’re lint-free and streak-free, making them perfect for cleaning glass. Say goodbye to paper towels leaving lint on your mirrors and windows.
Ingredients
- Coffee filters (unused, the standard basket type)
- Glass cleaner (or a vinegar-water solution)
- Spray bottle (if making your own)
Step-by-Step Instructions
- Choose your cleaner. Use your favorite glass cleaner or make your own by mixing equal parts white vinegar and water in a spray bottle.
- Spray the surface. Lightly spray the glass surface—mirror, window, or glass stove top. Don’t oversaturate.
- Grab a coffee filter. Take a clean, unused coffee filter. It’s lint-free and won’t leave streaks.
- Wipe in a Z-pattern. Use the coffee filter to wipe the glass in a Z-shaped pattern. This prevents streaks and ensures even coverage.
- Flip and buff. Flip to a clean section of the coffee filter and buff the glass to a brilliant shine.
- Check for streaks. Inspect the glass from different angles. If you see streaks, wipe again with a fresh coffee filter.
- Dispose easily. When you’re done, simply toss the coffee filter. No lint, no streaks, no fuss.
Why You’ll Love It
Because coffee filters are amazing for cleaning. They’re absorbent, lint-free, and cheap. I used to go through endless paper towels, always ending up with lint on my mirrors. Now I use coffee filters, and my windows and mirrors are streak-free every time. It’s the little things, right?
Bonus: The “Quick Wipe” Routine
5-Minute Daily Habit for a Clean Kitchen
Want to keep your kitchen looking great between deep cleans? Try this 5-minute daily routine:
- Wipe countertops. Use a damp cloth to wipe down all counter surfaces.
- Clean the stovetop. Quickly wipe away any spills or grease splatters.
- Empty the sink. Remove any dishes or debris and give the sink a quick scrub.
- Sweep the floor. A quick sweep prevents crumbs from building up.
- Take out the trash. Empty the bin if it’s starting to smell.
Related Articles:
- 5 Sofa Cleaning Hacks to Refresh Your Furniture
- 5 Quick Car Cleaning Hacks Every Driver Should Know
- 5 Oven Cleaning Hacks That Make the Job Easy (Finally!)
The Final Clean
There you have it—five easy kitchen cleaning hacks that actually work. No expensive products required. No hours of scrubbing. Just simple, effective solutions using things you probably already have at home.
The best part? These hacks tackle the most common kitchen problems—grimy microwaves, greasy stovetops, stained cutting boards, dull sinks, and streaky windows. With these tricks in your arsenal, you can keep your kitchen looking and smelling fresh with minimal effort.
So next time you’re dreading that kitchen clean-up, remember these hacks. Grab some baking soda, vinegar, or even a coffee filter, and get to work. Your kitchen will thank you—and so will your future self. 😉