Let’s be honest—cleaning the oven ranks right up there with root canals and stepping on Legos. It’s the chore we all avoid until the smoke alarm starts screaming during preheating. I’ve been there. I’ve stared at that baked-on cheese and wondered if I should just buy a new oven instead.
But here’s the good news—you don’t need to suffer through hours of scrubbing or breathe in toxic fumes. I’ve discovered some absolute game-changing hacks that transform this dreaded task into something almost bearable. We’re talking natural ingredients, minimal elbow grease, and results that’ll make your oven look brand new.
I’ve tested every single method in my own kitchen (yes, I’m that dedicated). Some worked brilliantly. Others were total disasters that I’ll save you from experiencing. Consider this your curated collection of oven-cleaning wisdom—minus the trial and error.
So grab a cup of coffee (or something stronger), put on some music, and let’s tackle that grimy oven together. Trust me, future you will be grateful. 😉
1. The “Baking Soda & Vinegar” Power Combo
The Natural Heavy-Duty Cleaner
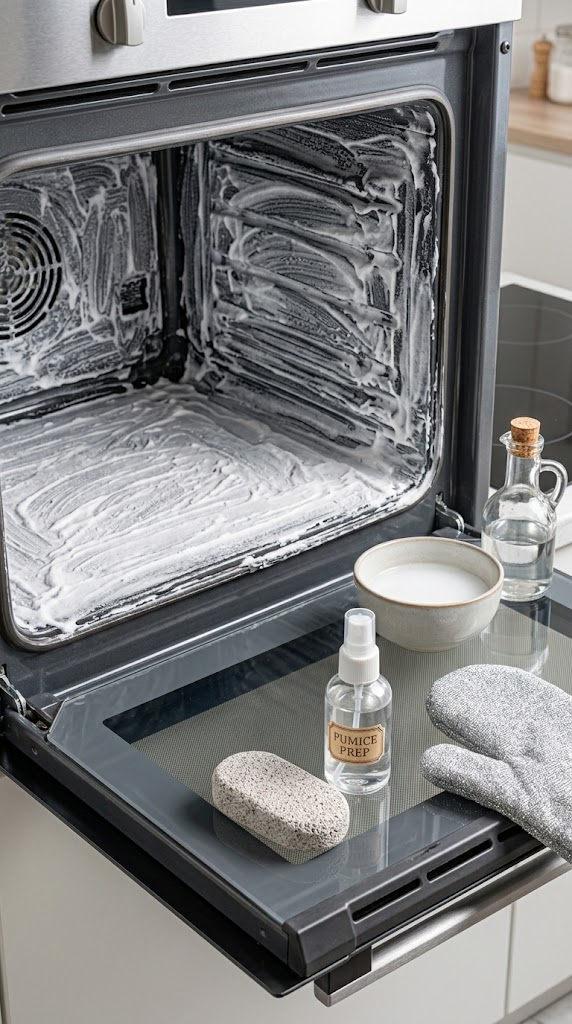
Why It’s Awesome: This classic duo tackles even the most stubborn baked-on grease without harsh chemicals. It’s cheap, effective, and uses ingredients you probably already have in your pantry. Who doesn’t love a solution that saves money and avoids toxic fumes?
Ingredients
- 1 cup baking soda (you might need more for larger ovens)
- 1/2 cup white vinegar (in a spray bottle)
- Water
- Rubber gloves (optional, but highly recommended)
Step-by-Step Instructions
- Remove the racks. Take out your oven racks and set them aside. You’ll clean these separately later.
- Create the paste. In a small bowl, mix the baking soda with just enough water to form a spreadable paste. Aim for a thick, toothpaste-like consistency—not too runny, not too dry.
- Apply the paste. Spread the paste all over the interior of your oven. Pay special attention to the bottom, sides, and particularly greasy spots. Don’t worry about getting it perfectly smooth—lumpy is fine.
- Let it sit. Leave the paste on for at least 12 hours—overnight works perfectly. For really grimy ovens, leave it for 24 hours. This gives the baking soda time to break down the grease.
- Spray and scrub. Spray white vinegar over the paste. You’ll hear a satisfying fizzing sound as the vinegar reacts with the baking soda. Let it fizz for a few minutes, then wipe everything down with a damp cloth. The grime should come off easily.
- Rinse and shine. Use a clean, damp cloth to remove any residue. Your oven should look sparkling clean. Finish by wiping everything dry.
Why You’ll Love It
Because it’s basically magic. The combination of baking soda and vinegar creates a chemical reaction that lifts grease without harsh scrubbing. I once let a particularly messy oven sit for 24 hours, and the grime practically wiped away with a paper towel. FYI, this method works on glass oven doors too—just be gentle!
2. The “Steam Cleaning” Hack
No Chemicals, Just Water Power
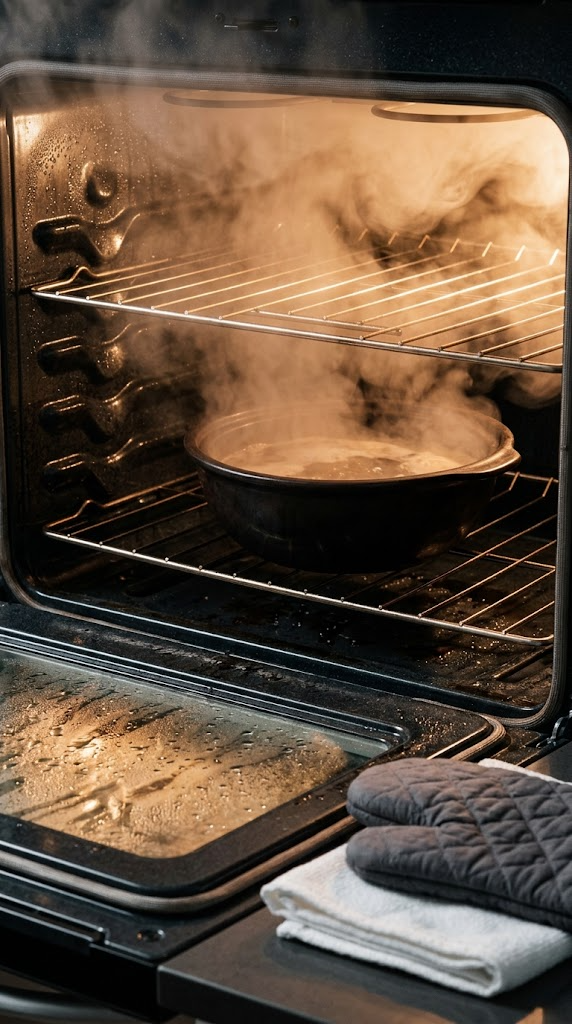
Why It’s Awesome: Sometimes the simplest solutions are the best. This method uses nothing but water and heat to loosen stuck-on grime. It’s perfect for maintenance cleaning between deep cleans and works wonders on fresh spills.
Ingredients
- 1 large oven-safe bowl (glass or ceramic works best)
- Water
- Lemon slices or vinegar (optional, for fresh scent)
Step-by-Step Instructions
- Preheat the oven. Set your oven to 250°F (120°C). This is low enough to create steam but won’t burn anything.
- Fill the bowl. Fill your oven-safe bowl with water. For a fresh scent, add a few lemon slices or a splash of white vinegar to the water.
- Place it inside. Put the bowl on the bottom rack of your preheated oven. Close the door and let it steam for 20-30 minutes.
- Turn off the heat. After steaming, turn off the oven and let it cool down slightly. Keep the door closed—you want the steam to continue working.
- Wipe it down. Once the oven has cooled enough to touch safely, open the door and wipe down the interior with a damp cloth. The steam should have loosened the grime, making it easy to remove.
- Tackle stubborn spots. For any remaining stubborn spots, use a gentle scrubbing sponge. The steam will have softened everything up nicely.
Why You’ll Love It
Because it’s the easiest method ever. No chemicals, no scrubbing, no toxic fumes. The steam gently lifts grime, and the whole process takes minimal effort. IMO, this is the perfect way to maintain your oven between deep cleans. Ever wondered why this works so well? The steam softens the baked-on grease, making it release from the oven walls effortlessly.
3. The “Lemon & Salt” Scrub
Natural Freshness with a Kick
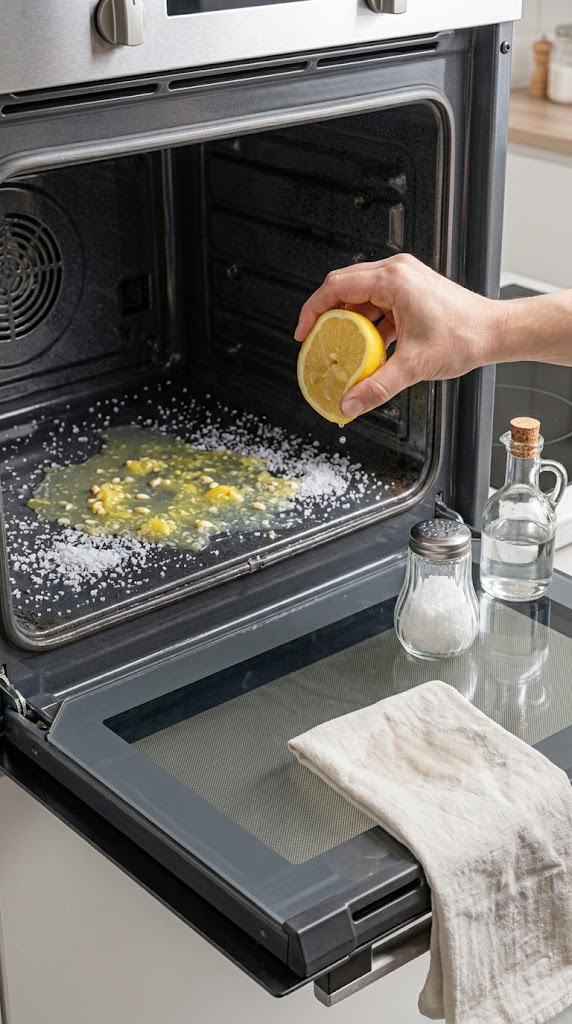
Why It’s Awesome: Lemons aren’t just for lemonade—they’re natural degreasers with a fresh scent that’ll make your kitchen smell amazing. Combine them with salt, and you’ve got a gentle abrasive that tackles grime without scratching your oven’s surface.
Ingredients
- 3-4 lemons (cut in half)
- 1/2 cup coarse salt (kosher salt or sea salt works best)
- Water
- Rubber gloves (to protect your hands from citrus acid)
Step-by-Step Instructions
- Prep the lemons. Cut your lemons in half. Squeeze the juice into a small bowl, saving the squeezed lemon halves.
- Salt the surface. Sprinkle the coarse salt generously over the bottom of your oven and any particularly greasy spots.
- Add the lemon juice. Pour the lemon juice over the salt. You’ll see it start to fizz slightly—this is the acid reacting with the grease.
- Scrub with lemon halves. Use the squeezed lemon halves as scrubbers. Rub them directly over the salted areas, using the natural pulp and rind to work the salt into the grime. The combination of salt and lemon creates a gentle but effective abrasive.
- Let it sit. Allow the mixture to sit for 15-20 minutes. The lemon juice will continue breaking down grease while you take a well-deserved break.
- Wipe and rinse. Use a damp cloth to wipe away the salt and lemon mixture. The grease should come off easily. Rinse your cloth frequently.
- Finish with a shine. For extra shine, wipe the oven with a cloth dipped in plain water. Your oven will smell like a summer citrus grove!
Why You’ll Love It
Because it’s natural, smells amazing, and uses ingredients you already have. The salt acts as a gentle abrasive, while the lemon acid dissolves grease without harsh chemicals. I once ran out of commercial oven cleaner and used this method in desperation—now it’s my go-to for light cleaning.
4. The “Automatic Oven Cleaner” Hack
Use Your Oven’s Self-Cleaning Feature Wisely
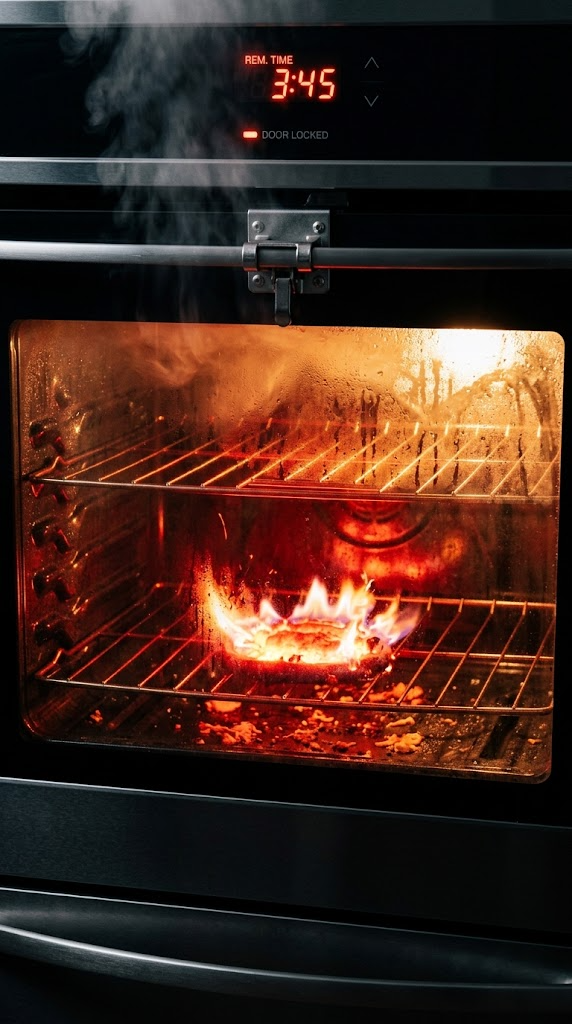
Why It’s Awesome: If your oven has a self-cleaning feature, you’re sitting on a goldmine. But using it incorrectly can damage your oven. Done right, it turns burnt-on crud to ash with zero effort—just be prepared for some heat and a bit of smoke.
Ingredients
- Nothing! Your oven does all the work
- Patience (this takes 2-4 hours)
- Good ventilation (open those windows!)
Step-by-Step Instructions
- Prep the oven. Remove everything inside—racks, pans, thermometer, anything that isn’t fixed. The racks will discolor if you leave them in, so take them out!
- Wipe loose debris. Remove any large chunks of food or grease with a damp cloth. You don’t want them smoking up your kitchen.
- Lock the door. Most ovens will lock automatically once the self-cleaning cycle starts. This is a safety feature—don’t try to force it open.
- Start the cycle. Set your oven to the self-cleaning setting. The cycle usually runs for 2-4 hours, depending on your oven model.
- Let it work. The oven will heat to extremely high temperatures (around 900°F), turning baked-on grime to ash. Open your windows for ventilation—there will be some smoke and a burning smell.
- Cool and wipe. Once the cycle finishes and the oven cools down, open the door and wipe away the ash with a damp cloth. Your oven will be spotless.
Why You’ll Love It
Because it requires zero effort—literally just pressing a button. However, there are caveats. I once tried this on a really dirty oven and my kitchen filled with smoke—not fun. So I’d recommend this method for maintenance cleaning, not for tackling years of built-up grime. FYI, don’t use this method frequently—it can strain your oven’s heating elements.
5. The “Dishwasher Tablet” Hack
Yes, Those Tablets Clean Ovens Too
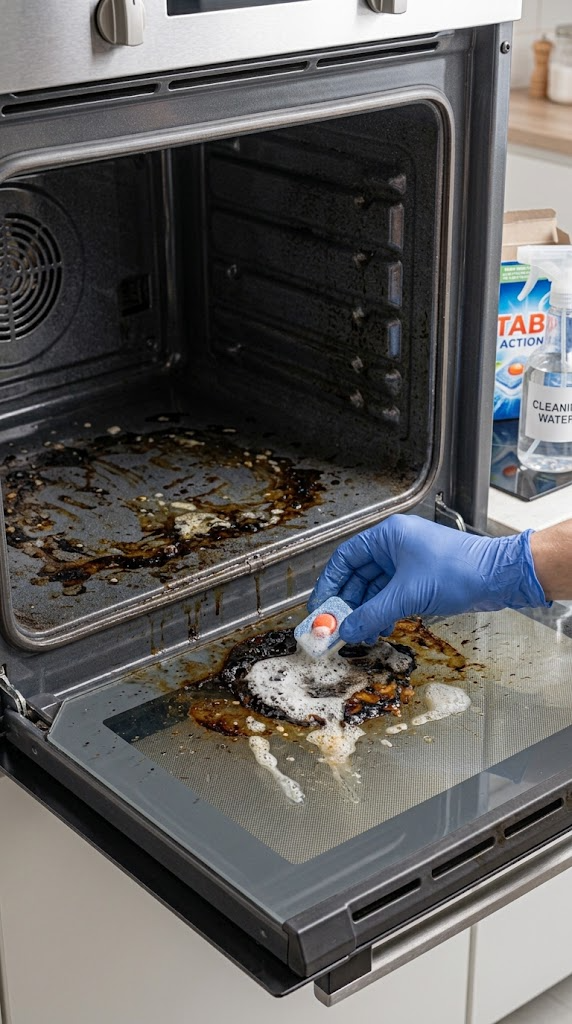
Why It’s Awesome: I know, it sounds crazy—dishwasher tablets for the oven? But trust me, this hack works wonders on stubborn, baked-on grease. The enzymes and surfactants in dishwasher tablets break down food residue like nobody’s business.
Ingredients
- 1 dishwasher tablet (any brand works)
- Warm water (in a spray bottle)
- Rubber gloves (these tablets can be harsh on skin)
Step-by-Step Instructions
- Wet the tablet. Run your dishwasher tablet under warm water to soften it. You want it slightly mushy but not completely dissolved.
- Scrub the grime. Using your gloved hand, rub the wet tablet directly onto the greasy spots and baked-on residue. The tablet will create a thick, foamy paste.
- Let it sit. Allow the paste to sit for 15-20 minutes. The enzymes in the tablet will start breaking down the grease.
- Scrub and wipe. Use a damp sponge or cloth to scrub away the paste and the loosened grime. For stubborn spots, apply more paste and let it sit longer.
- Rinse thoroughly. Wipe the oven interior with clean, damp cloths to remove all residue. Don’t skip this step—you don’t want soap residue baking into your food next time you cook.
- Dry and finish. Wipe everything dry with a clean cloth. Your oven should be gleaming.
Why You’ll Love It
Because it’s a cheap and effective alternative to expensive oven cleaners. I was skeptical at first—a dishwasher tablet? For my oven?—but after seeing the results, I became a believer. Just be careful with painted surfaces, as the tablets can be quite alkaline. And whatever you do, don’t use this on the glass door—stick to the interior for best results.
Bonus Tip: Cleaning the Oven Racks
Don’t forget about those oven racks! Here’s a quick method to get them sparkling:
- Fill your bathtub or a large container with hot water and add 1/2 cup of dish soap.
- Submerge the racks and let them soak for a few hours or overnight.
- Scrub with a sponge and rinse thoroughly. The grime should slide right off!
Related Articles:
- 5 Toilet Cleaning Hacks You Need to Try
- 5 Shower Cleaning Hacks That Actually Work (Say Goodbye to Scrub-Back Pain!)
- 5 Savory Oat & Chicken Dog Treats (Your Pup Will Beg for Bites!)
The Final Sizzle
There you have it—five oven cleaning hacks that actually work. No gimmicks, no expensive products, just simple solutions using things you probably already have in your kitchen.
The best part? You don’t need to spend hours scrubbing or breathe in toxic fumes anymore. These methods are cheap, effective, and (dare I say it) almost satisfying to try. Okay, maybe not satisfying, but definitely less painful than the alternative.
So next time you’re dreading that oven clean-up, remember these hacks. Grab some baking soda, a lemon, or even a dishwasher tablet, and get to work. Your oven will thank you—and so will your smoke alarm. 😉