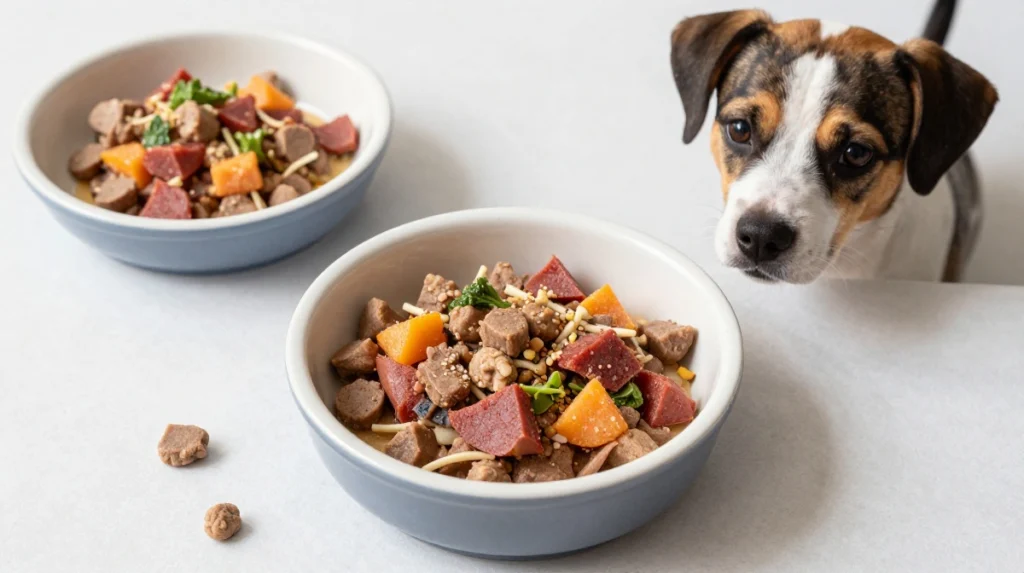
Store-bought dog treats can drain your wallet faster than a Labrador drains a water bowl. You can make a huge batch of tasty, healthy ones at home for under five bucks with stuff you probably already have. Your dog gets better ingredients, you skip the mystery fillers, and the whole process takes less time than a trip to the pet store.
Why Homemade Treats Win Every Time
Commercial treats often cost more per ounce than fancy human snacks. Many pack in preservatives, extra sugar, or questionable binders. When you make them yourself, you control every single ingredient.
Dogs go crazy for simple flavors like peanut butter, banana, and pumpkin. You also avoid the xylitol trap that hides in some “sugar-free” peanut butters. Plus, the smell of baking treats turns your kitchen into a dog magnet for an hour. Worth it.
A full batch usually runs between $2 and $4 depending on what you already have in the pantry. That covers 30 to 50 treats. Not bad.
The Under-$5 Shopping List
You only need a few basics. Check your kitchen first—most people already own half of these.
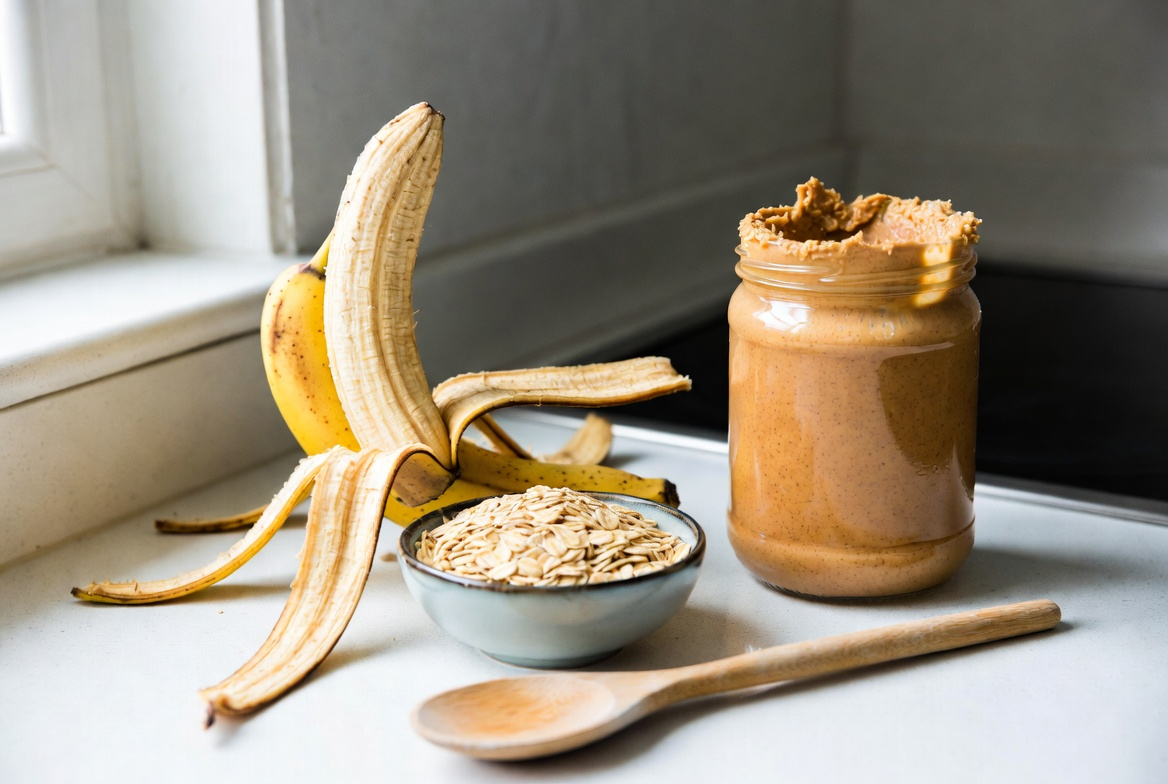
- Ripe bananas (about 50 cents each)
- Natural peanut butter with no xylitol (around $1–2 for the amount you need)
- Old-fashioned oats or plain oat flour (cheap in bulk)
- Optional: canned pumpkin (plain, not pie filling), a carrot, or one egg
Stick to these and you stay well under five dollars for a solid batch. Skip anything with added salt, sugar, or artificial sweeteners.
FYI: Always double-check the peanut butter label. Xylitol kills dogs fast, so only pure peanut butter goes in the mix.
The Easiest 3-Ingredient Recipe
This one needs almost zero skill and still produces treats dogs fight over.
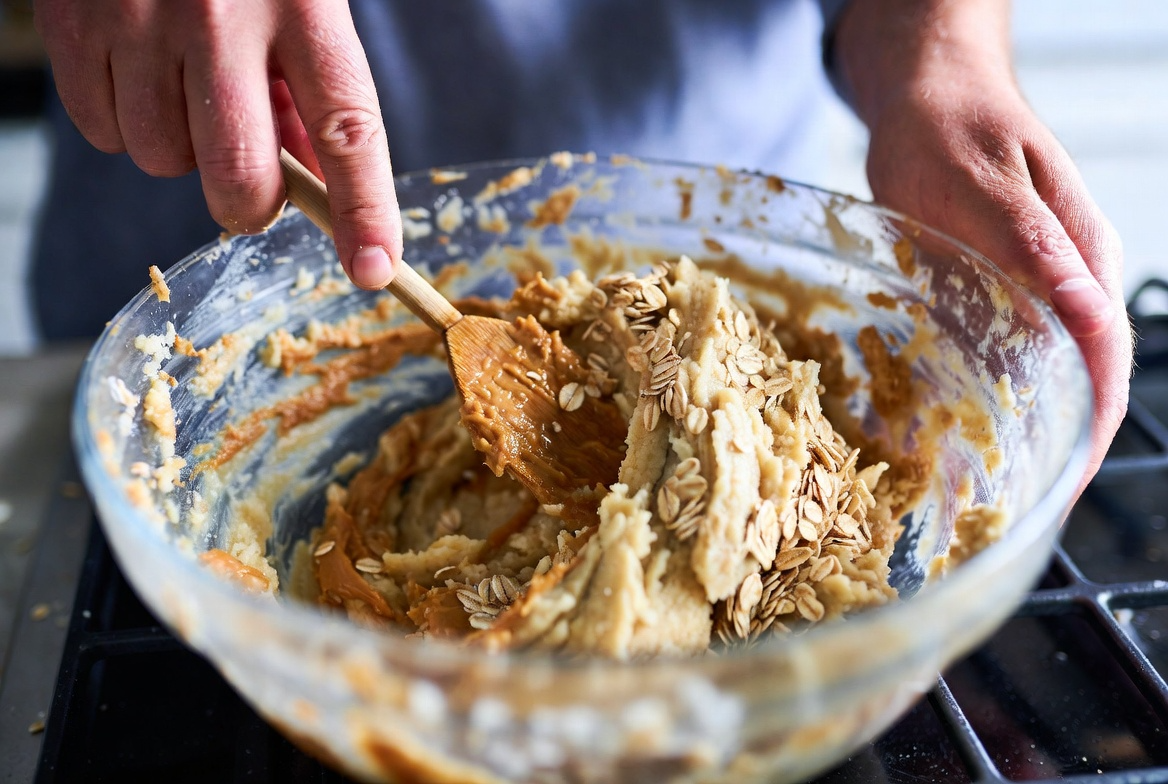
Grab two ripe bananas, half a cup of natural peanut butter, and two cups of oats. Mash the bananas in a bowl until smooth. Stir in the peanut butter until it looks like thick paste. Add the oats a little at a time until the dough holds together and feels slightly sticky but workable.
If it feels too wet, toss in another handful of oats. Too dry? A tiny splash of water fixes it. That’s the entire mixing process.
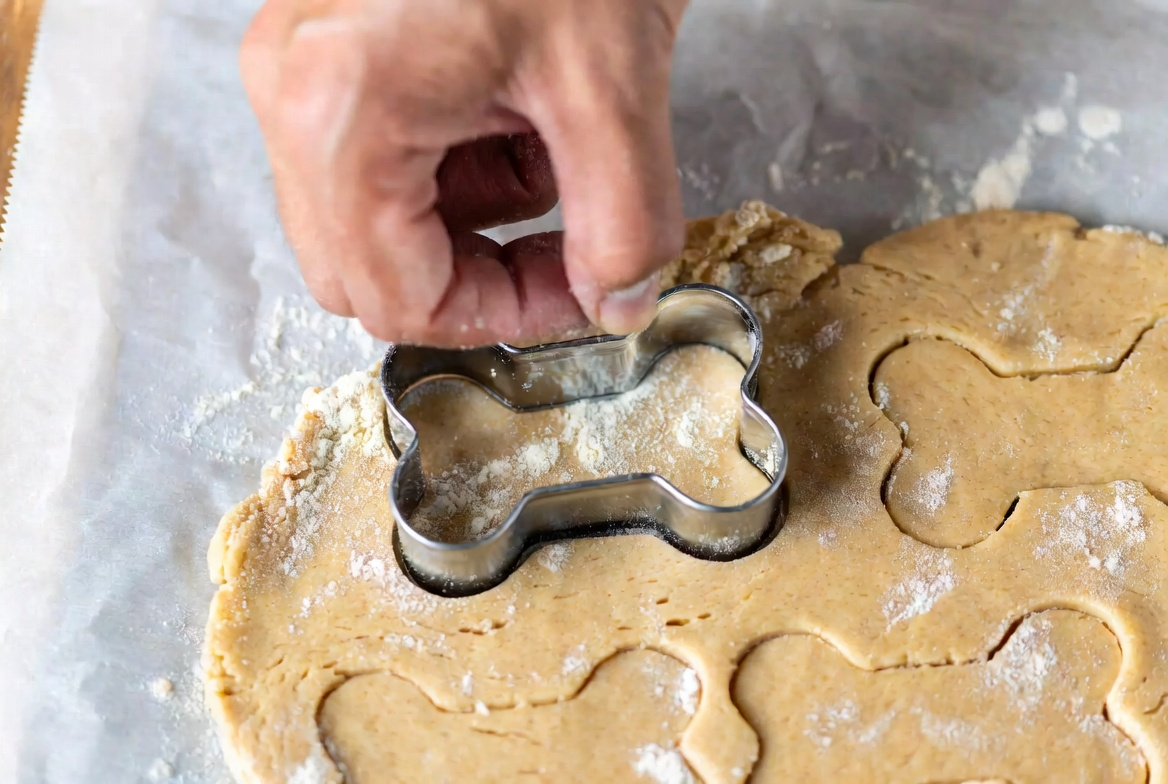
Roll the dough out on a lightly floured surface or between two sheets of parchment. Aim for about a quarter-inch thickness. Use a cookie cutter, knife, or even a bottle cap to cut shapes. Bone shapes look cute, but squares work just as well and waste less dough.
Place the treats on a parchment-lined baking sheet. Bake at 350°F for 20 to 25 minutes until the edges turn golden and the centers feel firm. Let them cool completely on a rack before you hand any over.
This batch usually makes 35 to 45 treats depending on size. Total cost? Around $2.50 if you buy everything from scratch.
Pumpkin and Peanut Butter Variation
Want something a little different? Swap the bananas for half a cup of plain canned pumpkin. Keep the same amount of peanut butter and oats or oat flour.
Pumpkin adds fiber that helps with digestion. The dough feels slightly softer, so you might need an extra spoonful of oats. Mix, roll, cut, and bake the same way—20 to 25 minutes at 350°F.
This version stays under $3 for most people because canned pumpkin costs almost nothing when you buy the plain kind. Dogs that prefer milder flavors often go for these first.
Quick carrot version
Grate one medium carrot and mix it into the basic banana dough. The extra moisture means you may need more oats. The finished treats get a subtle sweetness and a bit of crunch. Still dirt cheap.
Step-by-Step Baking Tips That Actually Matter
Preheat the oven fully before the tray goes in. Uneven heat leads to soft centers or burnt edges.
Use parchment paper. It prevents sticking and makes cleanup stupidly easy.
Check the treats at the 20-minute mark. Smaller shapes finish faster. You want them firm but not rock-hard unless your dog prefers crunchy.
Cool them completely. Warm treats can upset a dog’s stomach, and the texture improves as they firm up.
Store finished treats in an airtight container in the fridge for up to two weeks. For longer storage, freeze them in a single layer then transfer to a bag. They thaw in minutes.
Want softer treats for senior dogs? Bake a few minutes less. Prefer crunchy ones for dental benefits? Leave them in a bit longer or even turn the oven off and let them dry out for an extra ten minutes.
How to Keep the Cost Under Five Dollars Every Time
Buy oats in the bulk bin. A couple of cups costs pennies. Use bananas that are already getting spotty—they’re cheaper and sweeter. Grab the store-brand natural peanut butter and check the price per ounce.
Skip fancy cookie cutters if you don’t own them. A knife or the rim of a glass works fine. One batch feeds a medium dog for weeks of training rewards.
Make a double batch while you’re at it. The oven is already hot, and the extra cost stays tiny. Freeze half for later.
IMO, the real savings show up when you stop buying those $8 bags of tiny store treats every other week.
Safety Rules You Should Never Skip
Only use xylitol-free peanut butter. Read the label every single time.
Skip chocolate, raisins, grapes, onions, garlic, and anything with artificial sweeteners. Those belong nowhere near dog treats.
Introduce new treats slowly. Give one or two and watch for any stomach reaction over the next day.
If your dog has allergies or a sensitive stomach, stick to the simplest banana-oat version first. Pumpkin and carrot versions usually sit well, but every dog is different.
Treats should never replace regular meals. Keep them under 10 percent of daily calories.
FAQ’s
How long do homemade dog treats last?
In an airtight container in the fridge they stay good for about two weeks. In the freezer they last two to three months. Always check for any off smell or mold before serving.
Can I use regular flour instead of oats?
Yes. Whole wheat flour works fine for most dogs. If your dog has grain sensitivities, stick with oat flour or grind plain oats in a blender. Both keep the cost low.
My dog has a sensitive stomach. Which recipe should I try first?
Start with the basic banana, peanut butter, and oat version. It has the fewest ingredients and tends to sit well. Add pumpkin only after you know the simple version works.
Do I need special equipment?
Nope. A mixing bowl, a spoon, a baking sheet, and parchment paper cover everything. Cookie cutters are optional and fun, but not required.
Can puppies eat these treats?
Yes, in smaller sizes and smaller amounts. Soften them a bit more for very young puppies and always check with your vet if your puppy is on a specific diet.
What if the dough feels too sticky or too dry?
Sticky dough needs more oats. Dry dough needs a teaspoon of water or an extra mash of banana. Adjust a little at a time until it rolls easily without falling apart.
Related Articles:
- How to Choose the Right Dog Breed for Your Lifestyle
- 10 Cutest Mixed Breeds You Should Know
- Best Dog Breeds for Allergy Sufferers
The Bottom Line
You can whip up a big batch of homemade dog treats for less than the cost of a fancy coffee. Three basic ingredients, one baking sheet, and about 45 minutes give you weeks of healthy rewards. Your dog gets real food instead of mystery fillers, and you get the satisfaction of watching them go nuts for something you made. Start with the banana-peanut butter-oat version this weekend. Once you see how easy and cheap it is, you’ll wonder why you ever paid store prices.