You know the drill. You hand over a fancy $12 chew, turn around for two seconds, and it’s gone. Crumbs on the floor, dog looking at you like “Got any more?” Yeah, me too. Store-bought long-lasting chews drain the bank account fast, and half the time the ingredient list looks like a chemistry experiment.
Homemade dog chews fix that. You control the ingredients, the thickness, and the toughness. Low-and-slow drying or baking pulls out moisture so these treats take real time to demolish. They’re cheaper, fresher, and free of weird preservatives. Who doesn’t want a chew that keeps a dog busy longer than it takes to brew coffee?
These recipes focus on safe, single-ingredient or simple combinations that dry into satisfying, long-lasting textures. Always supervise, size them right for your dog, and store them airtight. Ready to reclaim some peace (and some cash)? Let’s make chews that actually last.
1. Classic Sweet Potato Chews
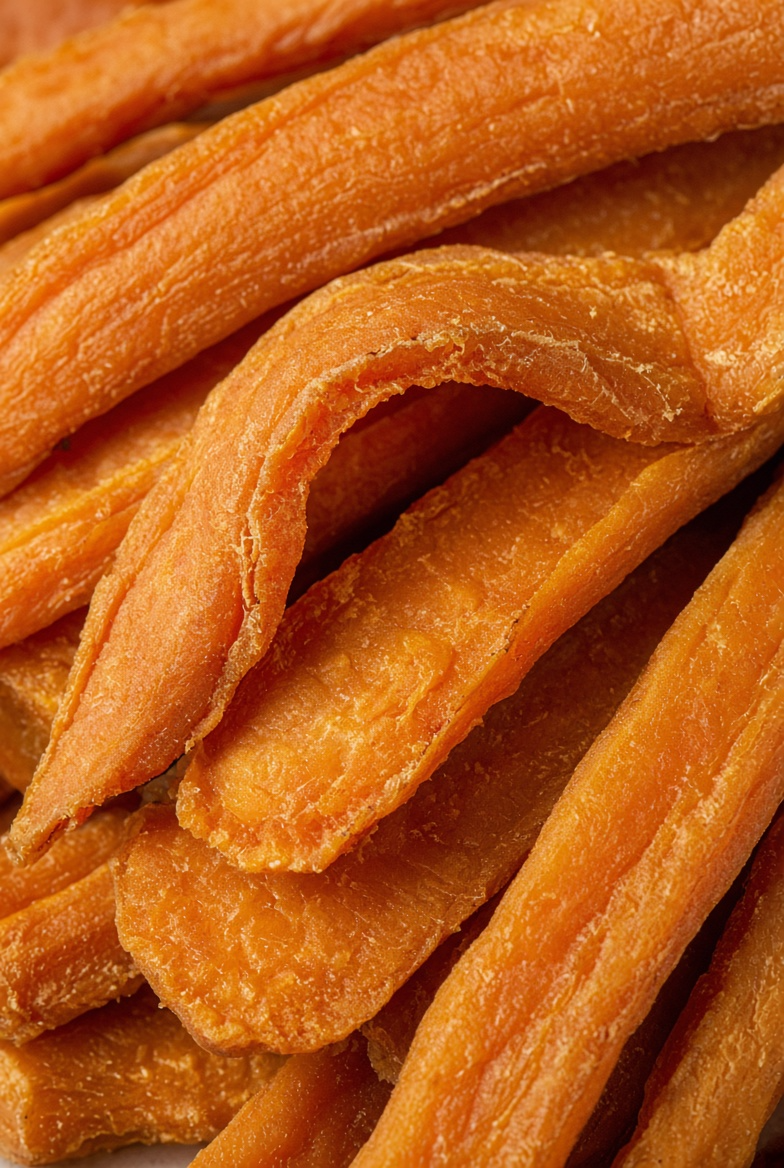
The ultimate starter long-lasting chew. One ingredient, zero fuss, and dogs treat these like gold. They turn leathery and chewy instead of rock-hard.
Ingredients
- 2–3 large sweet potatoes
Step-by-Step Instructions
- Preheat oven to 250°F and line baking sheets with parchment.
- Wash the sweet potatoes well (leave the skin on for extra fiber and toughness).
- Slice lengthwise into ¼-inch thick strips or slabs. Thicker pieces last longer.
- Arrange in a single layer with space between each piece.
- Bake 2½ to 3 hours, flipping halfway. They should feel dry and leathery, not soft or moist.
- For extra durability, turn the oven off and leave the chews inside as it cools.
- Cool completely on a rack. Store in an airtight container for 2–4 weeks at room temperature or longer in the fridge/freezer.
Why You’ll Love It
I once made a double batch and watched my dog work on one strip for a solid 15 minutes. These cost almost nothing and last way longer than most commercial veggie chews. Pure sweet potato—nothing else needed.
2. Chicken Jerky Strips
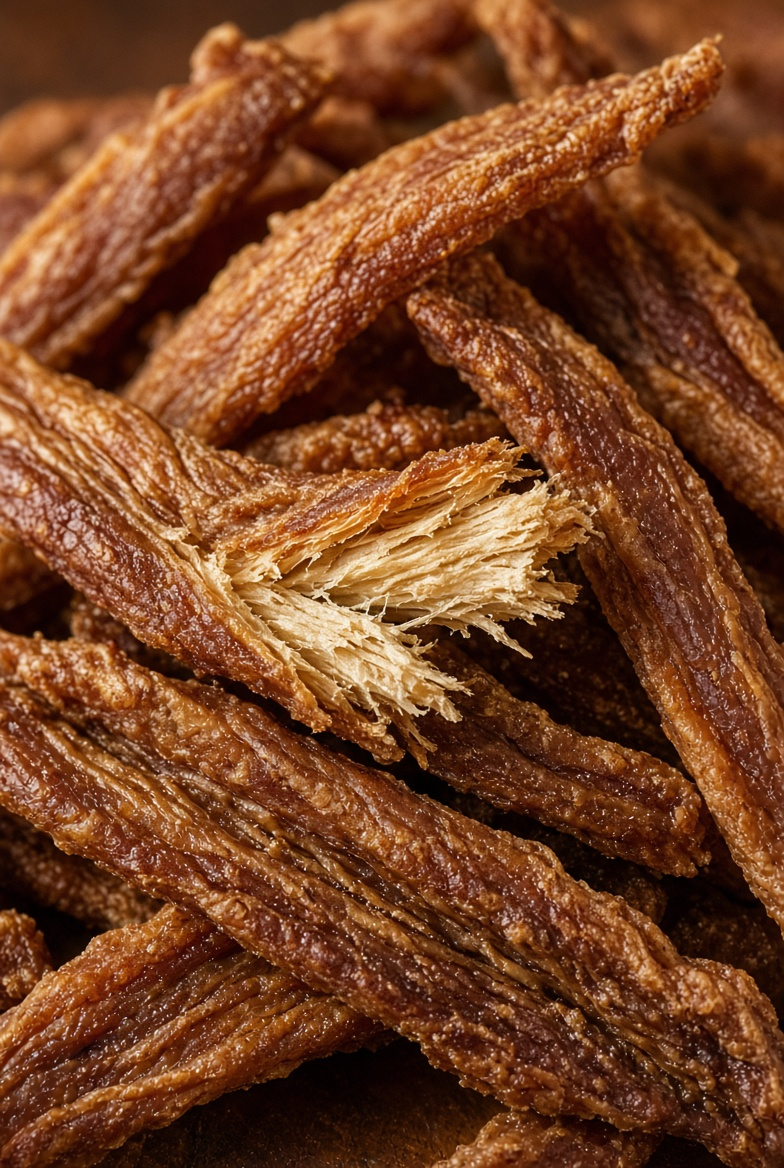
Lean, high-value, and properly dried so they take real effort to finish. These beat store-bought jerky on both price and ingredient quality.
Ingredients
- 1–2 lbs boneless, skinless chicken breast
Step-by-Step Instructions
- Partially freeze the chicken for 20–30 minutes so it slices cleanly.
- Trim all visible fat (fat shortens shelf life and can go rancid).
- Slice into thin, even strips about ¼-inch thick.
- Arrange on parchment-lined sheets or dehydrator trays in a single layer.
- Bake at 170–200°F for 3–4 hours (or dehydrate at 160°F), flipping once, until completely dry and firm with no soft spots.
- Cool fully. Test by bending—a properly dried strip should crack slightly.
- Store airtight in the fridge for up to 2 weeks or freeze for longer.
Why You’ll Love It
My dog goes into full focus mode with these. The thin cut keeps them safe while still lasting. I started making them after sticker shock at the pet store. Now I control the quality and the thickness. Win.
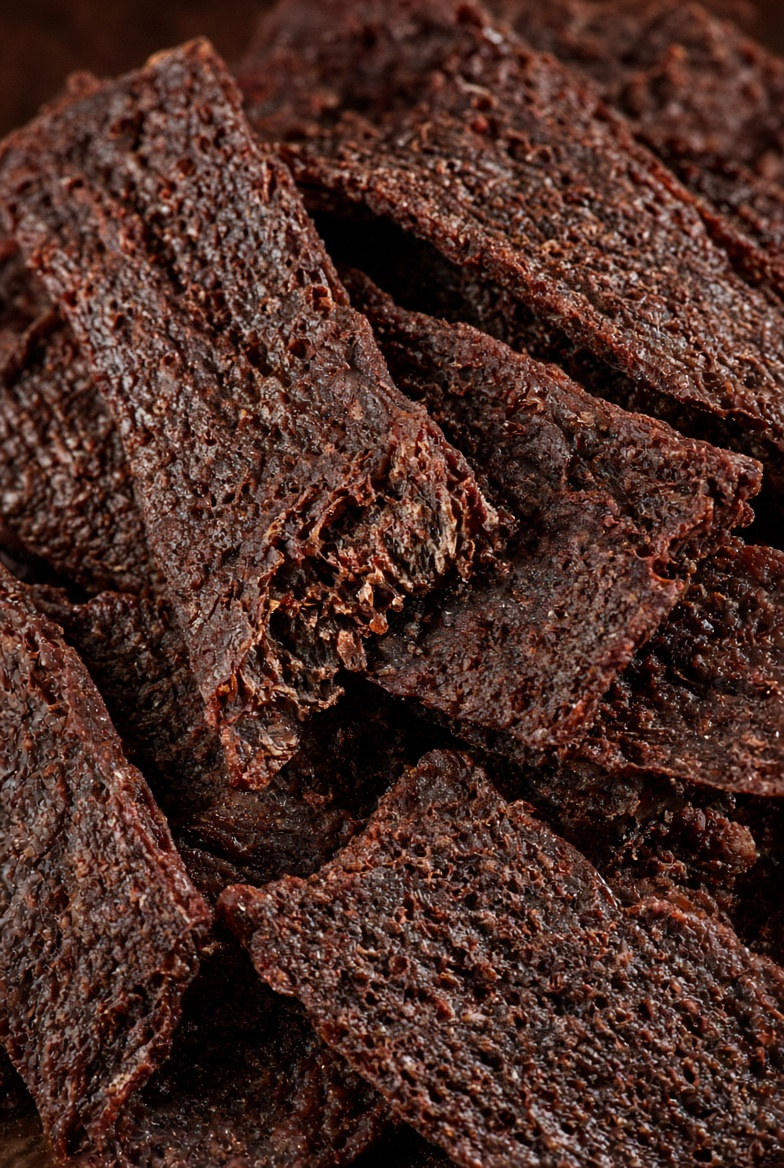
3. Beef Liver Jerky
High-value and nutrient-dense. These dry into tough, flavorful strips that power-chewers actually respect. A little goes a long way.
Ingredients
- 1 lb fresh beef liver
Step-by-Step Instructions
- Rinse the liver and pat dry. Trim any tough membranes.
- Slice into thin ¼-inch strips while still slightly firm (partial freeze helps).
- Lay strips in a single layer on parchment-lined sheets.
- Bake at 200°F for 3–4 hours, flipping occasionally, until dry, dark, and firm throughout.
- Cool completely. They should snap or crack when bent if fully dried.
- Store in an airtight container in the fridge (strong smell) or freeze in portions.
Why You’ll Love It
Liver is pure motivation. I use these for special occasions or when I need serious distraction. The drying time makes them last, and the smell (yes, it’s strong) drives most dogs wild. Just don’t make a huge batch unless you like the aroma lingering. 🙂
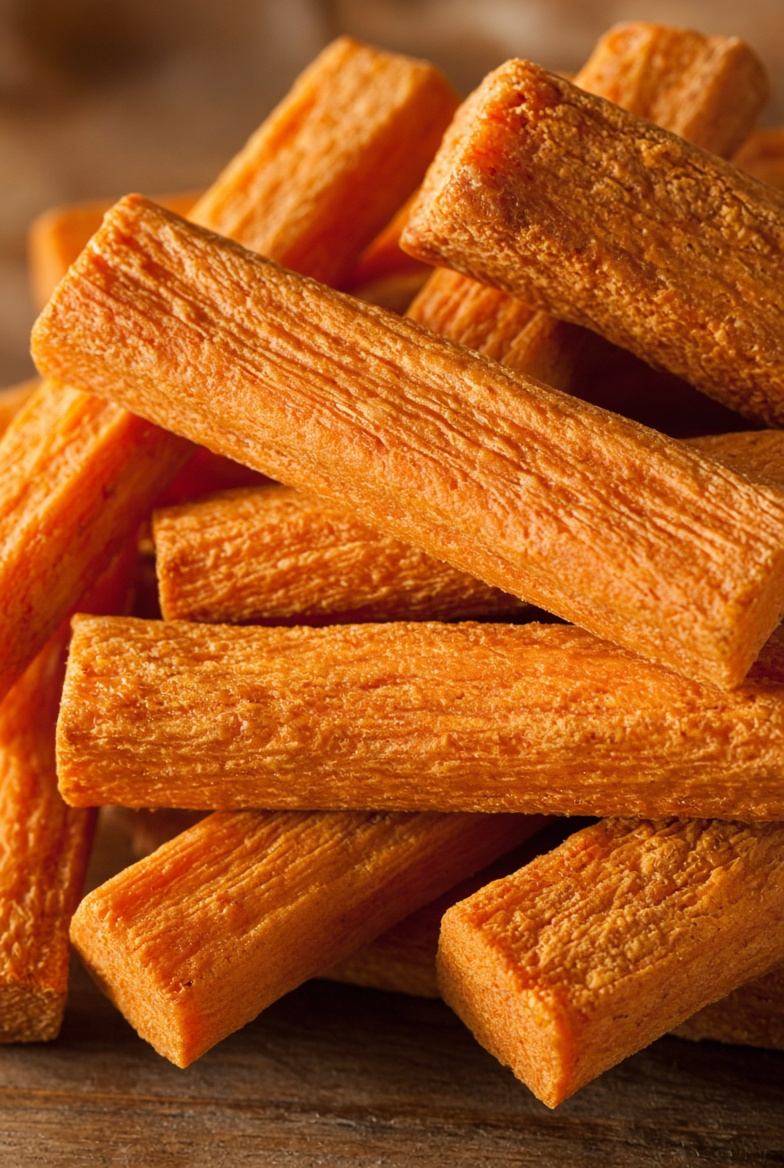
4. Tough Carrot Chews
Simple, low-calorie, and surprisingly durable when baked low and slow. These give dogs something to work on without the calorie load of meat.
Ingredients
- 6–8 large carrots
Step-by-Step Instructions
- Preheat oven to 250°F. Line a baking sheet.
- Peel the carrots and cut into thick sticks or planks about ½-inch thick.
- Arrange in a single layer.
- Bake 2–2½ hours, flipping once, until the carrots feel dry, firm, and leathery.
- Cool completely. They continue to firm up as they cool.
- Store airtight at room temperature for up to 2 weeks or longer in the fridge.
Why You’ll Love It
These are my go-to when I want something lighter. My dog still treats them like a project. They’re cheap, easy, and the low-and-slow method turns ordinary carrots into actual chews. No fancy equipment required.
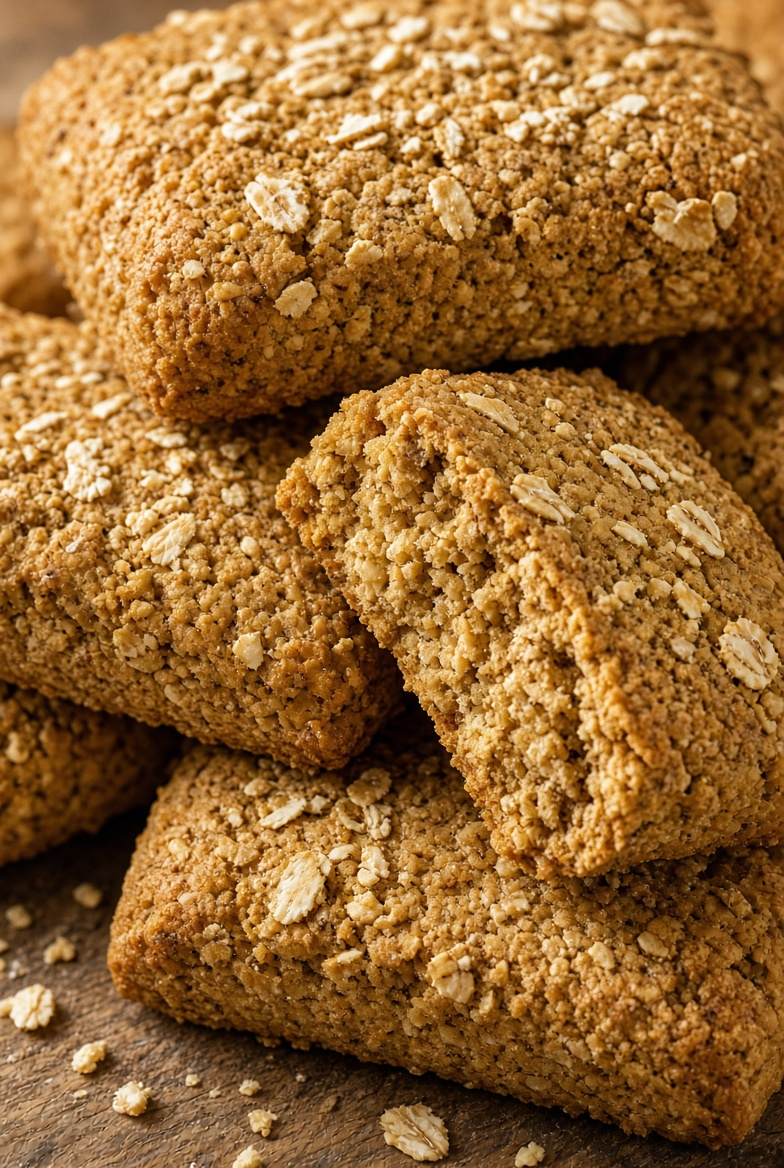
5. Twice-Baked Hard Oat Biscuits
These start as regular biscuits and finish as long-lasting crunchy projects. The second dry-out phase is what makes them durable.
Ingredients
- 2 cups oat flour (or finely ground rolled oats)
- 1 large egg
- ½ cup plain pumpkin puree
- 2 tbsp natural peanut butter (xylitol-free)
Step-by-Step Instructions
- Preheat oven to 350°F. Line a baking sheet.
- Mix the pumpkin, egg, and peanut butter until smooth.
- Stir in the oat flour until a stiff dough forms.
- Roll to ⅓–½ inch thick and cut into sturdy shapes or rectangles.
- Bake 25–30 minutes until firm.
- Turn the oven off and leave the biscuits inside for 1–2 hours (or overnight) to dry completely.
- Cool fully and store airtight. They keep for 2–3 weeks.
Why You’ll Love It
I learned the double-bake trick after a batch disappeared in under a minute. The extra drying time transforms them. These hold up for moderate chewers and store well. Perfect when you want something denser than veggie strips.
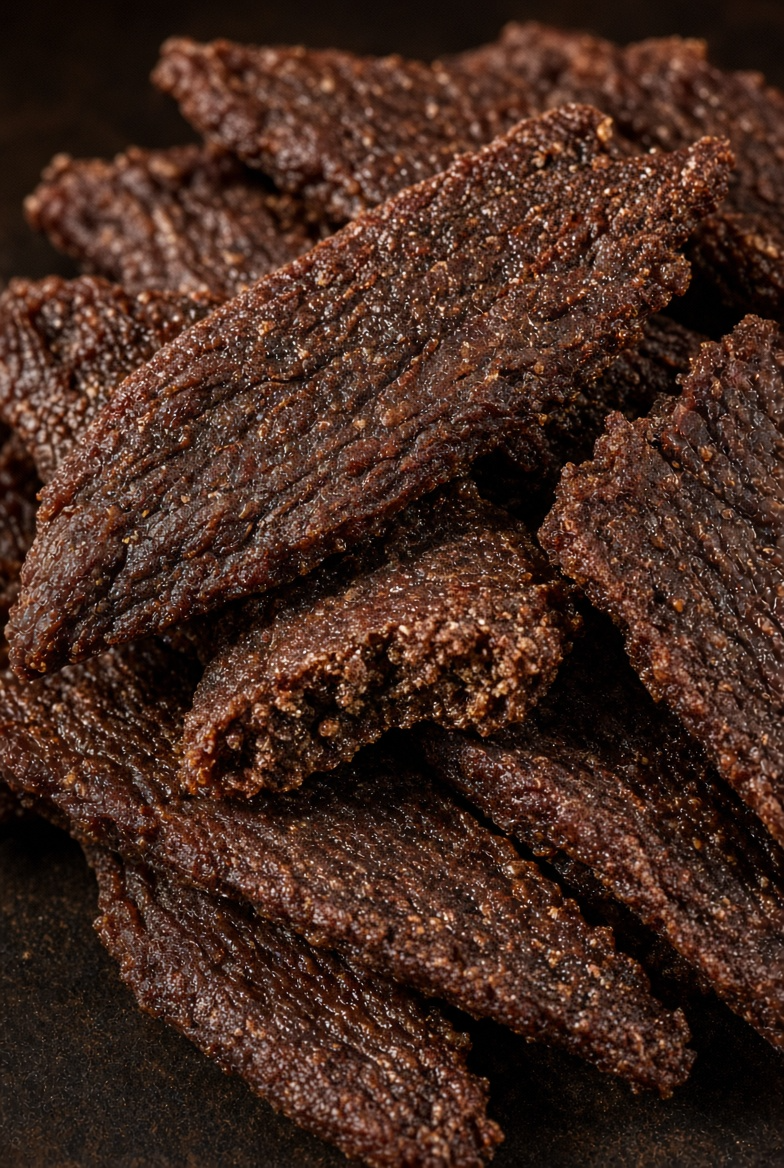
6. Ground Beef Jerky Strips
A denser, longer-lasting option made from lean ground beef. These dry into tough, satisfying strips that take real chewing time.
Ingredients
- 1 lb lean ground beef (90% or higher)
- 2–3 tbsp water (just enough to help it hold)
Step-by-Step Instructions
- Preheat oven to 200°F. Place a wire rack over a parchment-lined sheet.
- Mix the ground beef with just enough water to make it workable.
- Press the mixture thin between two sheets of parchment or wax paper. Aim for ¼-inch thickness.
- Cut into strips or rectangles and transfer carefully to the rack.
- Bake 3–4 hours until completely dry, dark, and matte with no shine or soft spots.
- Cool fully. Test by bending—properly dried pieces crack.
- Store in the fridge for up to a week or freeze for longer.
Related Articles:
- Crunchy Dog Treat Recipes for Teething Puppies
- Soft Dog Biscuit Recipes for Senior Pups
- Freeze-Dried Dog Treat Recipes: The Ultimate Guide
Why You’ll Love It
These became my solution for the power chewer in the house. The ground-meat method lets you control thickness and dryness. IMO, they’re one of the most satisfying homemade long-lasting options once you nail the drying time. Just make sure the beef is lean.
Long-lasting homemade dog chews don’t have to be complicated or expensive. These six recipes remove moisture the right way so your dog actually has to work for the treat. You get better ingredients, better value, and the satisfaction of watching a chew last longer than the time it takes to walk to the fridge.
Start with the sweet potato or chicken versions if you’re new to this. Dry them thoroughly, cool them completely, and store them well. Supervise every session, match the size and toughness to your dog, and enjoy the extra quiet time. Your dog gets a real project, and you get a treat that doesn’t vanish in seconds. That’s the kind of win worth baking for. Go make a batch—those jaws are already waiting.