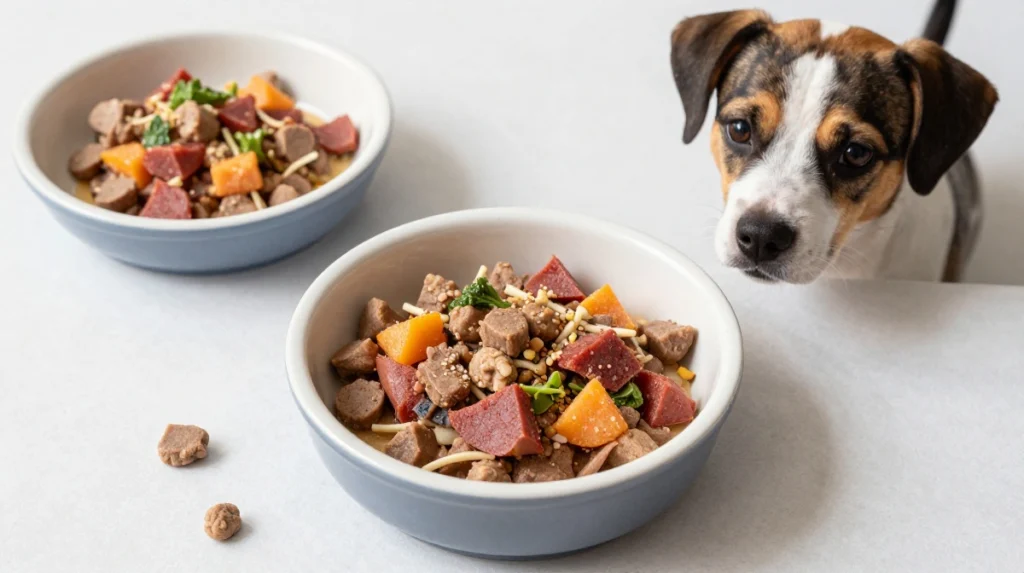
You know that moment when you open a tiny $30 bag of freeze-dried chicken and your dog acts like you just handed over the keys to the treat vault? Yeah. Then you realize the bag is half air and your wallet feels lighter. I hit that wall hard a couple years ago. After dropping way too much cash on commercial freeze-dried treats, I finally caved and got a home freeze dryer. Game changer.
These recipes give you the same lightweight, nutrient-packed, shelf-stable treats without the markup. Freeze-drying locks in flavor and nutrition better than almost any other method, and the finished treats last up to a year in airtight containers if you store them right. Who wouldn’t want that kind of convenience and control?
You’ll need a freeze dryer for true results (Harvest Right is the popular home option). Cycles usually run 18–40 hours depending on moisture and thickness. Prep is quick. The machine does the heavy lifting. Let’s make some magic your dog will lose it over.
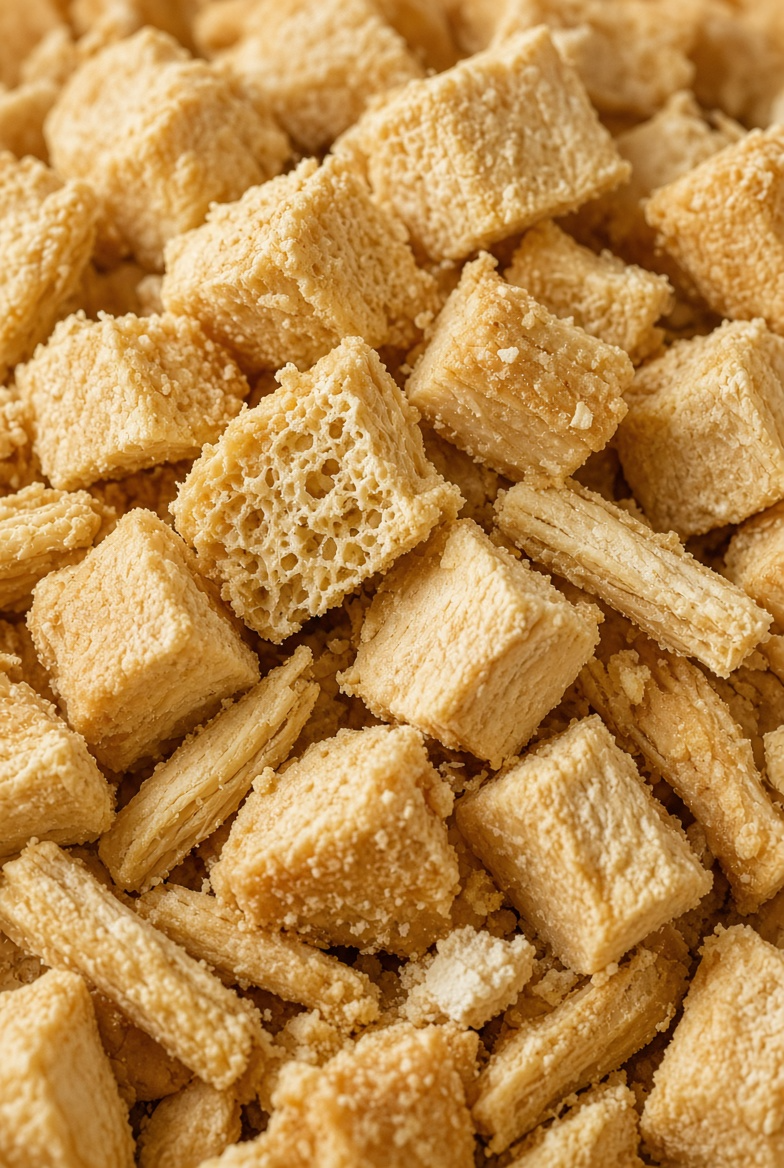
1. Classic Freeze-Dried Chicken Breast Treats
These are the gateway drug of homemade freeze-dried dog treats. Pure protein, zero fillers, and that perfect light crunch dogs go crazy for. Perfect for training or everyday rewards.
Ingredients
- 1–2 lbs boneless, skinless chicken breast
- Optional: a light mist of water if pieces look dry before loading
Step-by-Step Instructions
- Trim every bit of visible fat and connective tissue from the chicken. Fat does not freeze-dry well and can turn rancid.
- Slice the chicken into uniform ¼- to ½-inch cubes or thin strips. Consistent size means even drying.
- Cook the chicken thoroughly (bake at 350°F until it hits 165°F internal) if you want extra safety. Some people freeze-dry raw, but I cook mine.
- Arrange the pieces in a single layer on freeze-dryer trays with space between them so they don’t stick.
- Run the full freeze-dryer cycle (usually 20–30 hours for chicken).
- Test a thick piece by breaking it. It should feel completely dry, light, and warm with no soft center. If needed, run another couple hours.
- Cool to room temperature, then immediately transfer to airtight jars or vacuum-sealed bags.
Why You’ll Love It
My dog once sat by the freeze dryer for the entire cycle like it was a vending machine. These store forever, break into any size, and cost a fraction of the boutique bags. Pure chicken. Nothing else. IMO, this is the one you start with.
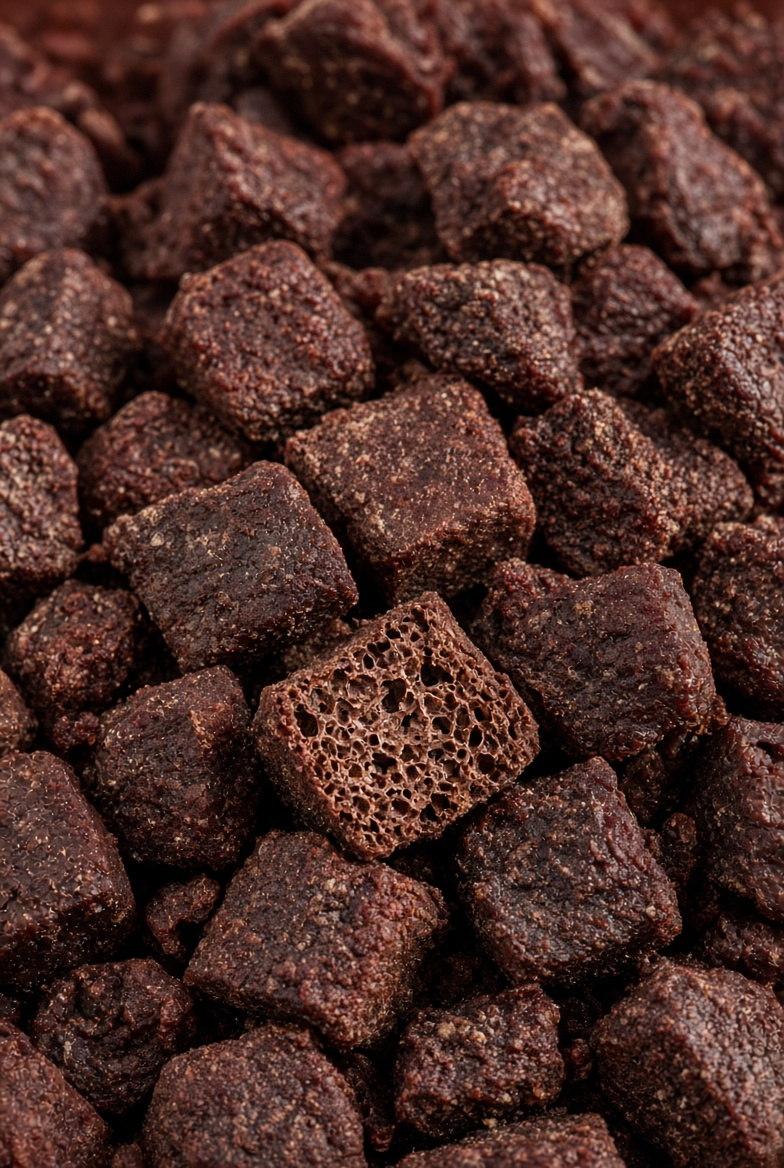
2. High-Value Beef Liver Training Bits
Liver is the ultimate bribe. Intense smell, dense nutrition, and dogs treat it like currency. These tiny bits disappear fast during training sessions.
Ingredients
- 1 lb fresh beef liver
- Optional: a quick blanch if you prefer milder scent
Step-by-Step Instructions
- Rinse the liver under cold water and pat dry. Trim any tough membranes.
- Cut into pea-sized or rice-grain pieces depending on your dog’s size. Smaller pieces dry faster and work better for high-repetition training.
- Optionally blanch in boiling water for 1–2 minutes, then drain and cool. This cuts the strong smell a bit without losing much nutrition.
- Spread in a single layer on trays. No overlapping.
- Freeze-dry for 20–28 hours. Liver has less moisture than muscle meat, so it often finishes sooner.
- Break a piece to check. It should be brittle and completely dry.
- Store in small airtight containers. The smell is powerful, so vacuum sealing helps keep your pantry from smelling like a butcher shop.
Why You’ll Love It
I once used these during a particularly stubborn recall training phase. My dog went from “meh” to Olympic sprinter in three sessions. FYI, a little goes a long way—these are calorie-dense and super rich. Perfect high-value reward.
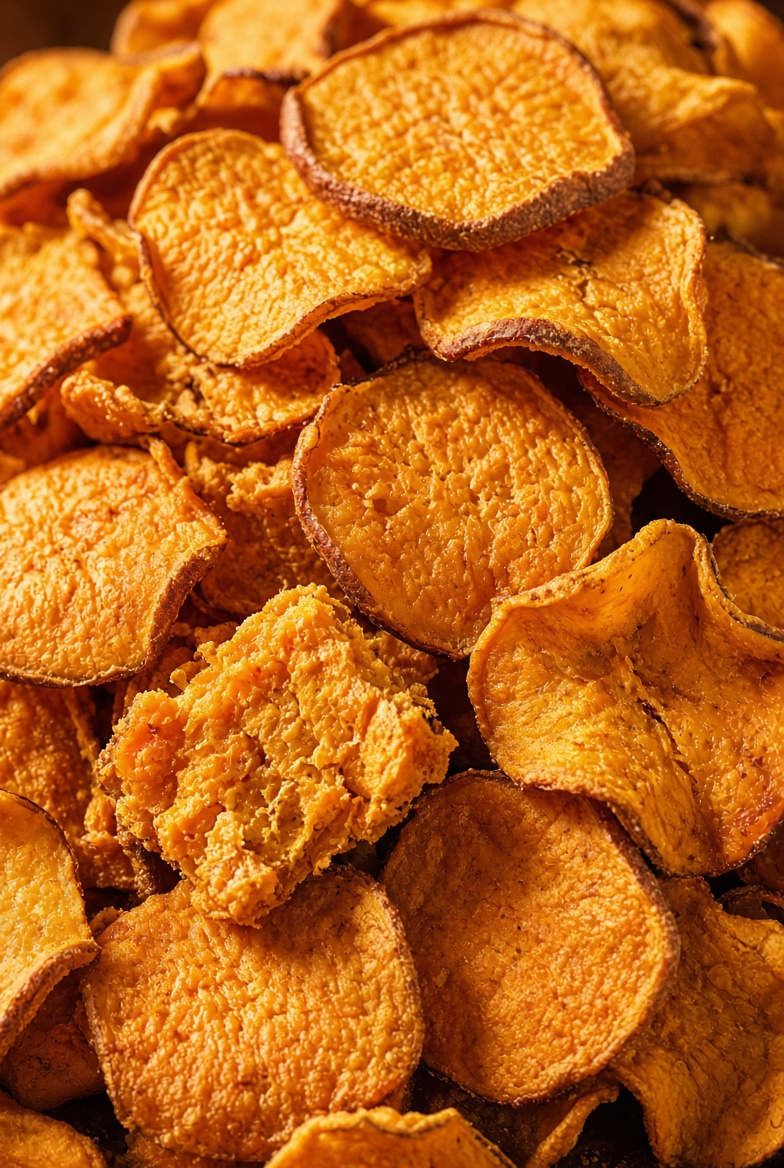
3. Crispy Sweet Potato Rounds
Sweet potato freezes dry into the most satisfying crunchy chip. Fiber, vitamin A, and a natural sweetness dogs actually enjoy. These double as longer-lasting chews if you cut them thicker.
Ingredients
- 2–3 medium sweet potatoes, scrubbed
Step-by-Step Instructions
- Slice the sweet potatoes into uniform ¼-inch rounds or thin sticks. Uniform thickness is everything here.
- No need to cook them first—raw works beautifully and keeps more nutrients.
- Arrange in a single layer on trays with space between slices.
- Run the freeze-dryer cycle. Higher moisture content means this batch often takes 24–36 hours.
- Check doneness by snapping a piece. It should break cleanly with no soft or cold spots.
- Cool completely, then store in airtight containers. They stay crisp for months.
Why You’ll Love It
I started making these after my dog’s vet suggested more fiber. Now she prefers them to most commercial chews. They’re cheap, colorful, and look fancy enough that guests always ask about them. Who knew a root vegetable could cause this much excitement?
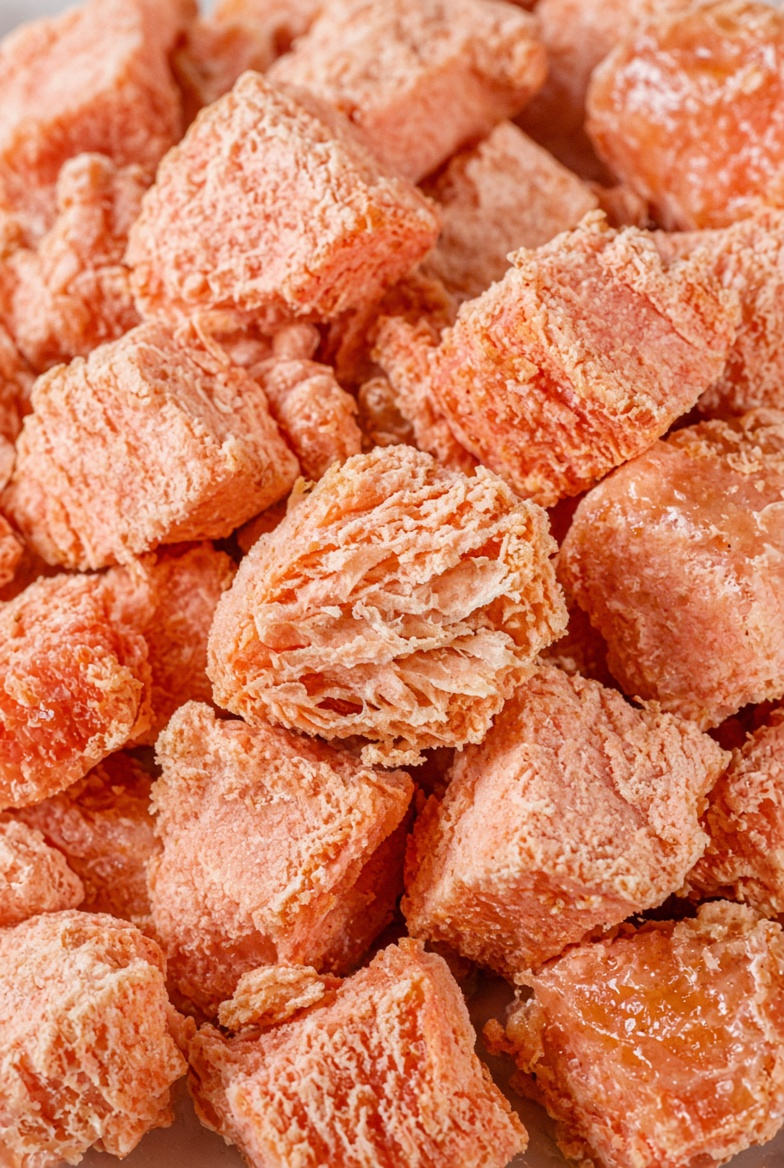
4. Salmon Power Cubes
Omega-3 powerhouse in a lightweight form. Great for coat and skin, and the smell drives most dogs absolutely wild. Use boneless fillets only.
Ingredients
- 1–1½ lbs boneless, skinless salmon fillets
Step-by-Step Instructions
- Check carefully for any remaining bones and remove them.
- Cut into ½-inch cubes.
- Bake or steam until just cooked through (145°F internal) for safety.
- Cool completely, then arrange on trays in a single layer.
- Freeze-dry for 22–32 hours. Fish can finish a bit faster than denser meats.
- Test by breaking a cube—it should be dry, flaky, and lightweight.
- Store in the fridge or freezer for longest freshness because of the natural oils, or vacuum-seal for pantry storage.
Why You’ll Love It
My dog’s coat got noticeably shinier within weeks of rotating these in. The smell is strong (in the best way for dogs, less great for human noses), so I make smaller batches. Still worth every second of the cycle time.
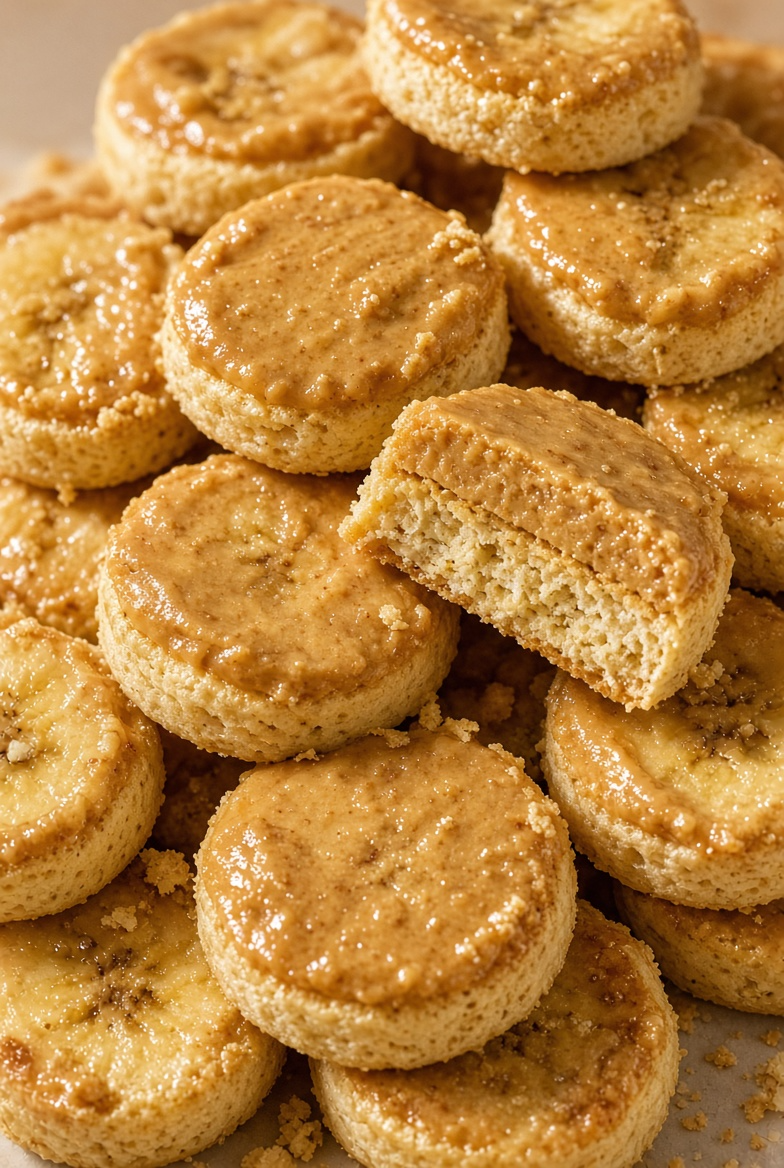
5. Banana Peanut Butter Rounds
A slightly sweeter option that still feels special. Dogs who turn their nose up at plain meat often fall for these. Critical: only xylitol-free peanut butter.
Ingredients
- 3–4 ripe bananas
- 3–4 tbsp natural peanut butter (xylitol-free only—double-check the label)
Step-by-Step Instructions
- Slice bananas into ½-inch rounds.
- Lightly spread a thin layer of peanut butter on one side of each round. Don’t goop it on—too much fat slows drying.
- Place peanut-butter-side up on trays in a single layer.
- Freeze-dry for 24–36 hours. The higher sugar and moisture in banana means a longer cycle.
- Check that everything is completely dry and crisp.
- Cool and store in airtight containers. These can get sticky if any moisture remains, so be thorough.
Why You’ll Love It
I once made a batch without checking the peanut butter label carefully and had a minor panic. Never again. Now I keep a dedicated xylitol-free jar just for dog treats. These are the ones my picky eater actually begs for.
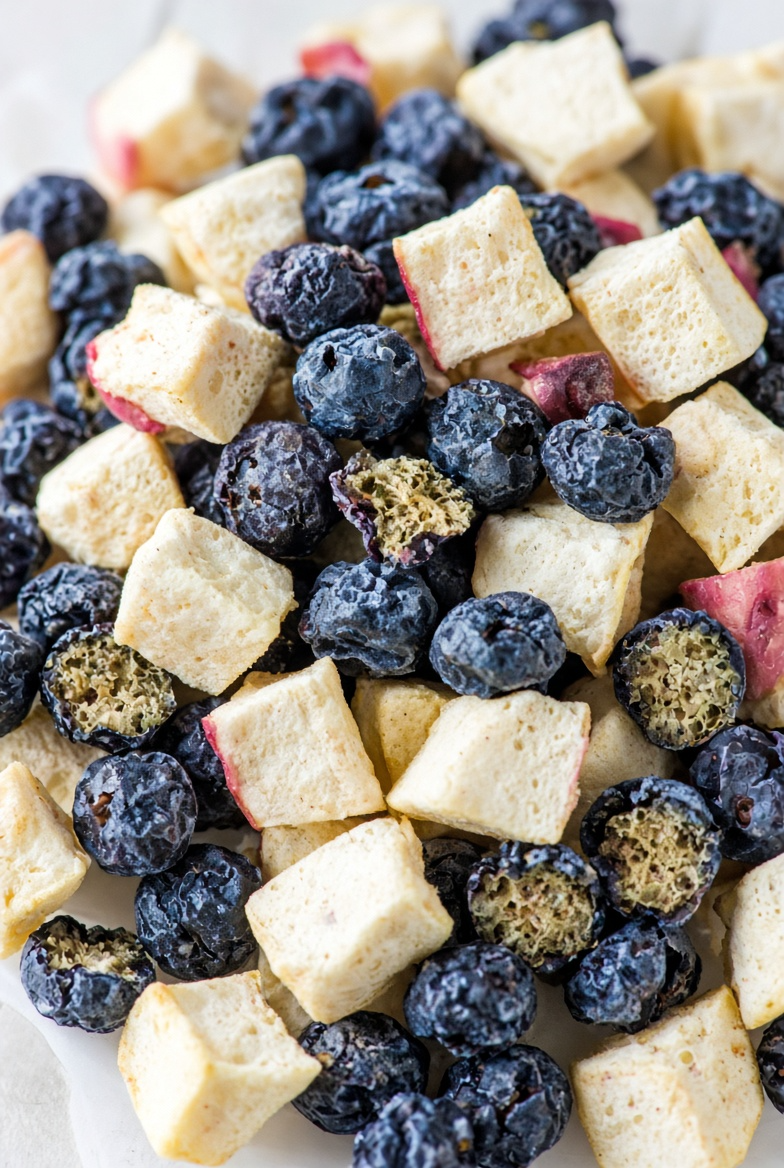
6. Blueberry & Apple Antioxidant Mix
Bright, colorful, and packed with antioxidants. These feel almost fancy. Great low-calorie option for dogs who need more variety without extra richness.
Ingredients
- 2 cups fresh or frozen blueberries
- 2 medium apples, cored and seeds completely removed, sliced thin
Step-by-Step Instructions
- If using frozen blueberries, thaw and pat dry. Leave them whole or cut larger ones in half.
- Slice apples into thin ¼-inch pieces. Remove every seed and core scrap.
- Mix lightly on the trays or keep separate sections if you prefer.
- Arrange in a single layer with space between pieces.
- Freeze-dry for 28–40 hours. Fruit takes longer because of the high water content.
- Test thoroughly—fruit can hide moisture in the center. Everything should feel light and brittle.
- Store immediately in airtight containers. These stay pretty for months.
Related Articles:
- Air Fryer Dog Treat Recipes: A Healthier Twist
- Dog Treat Maker Recipes: Dash & More
- Dehydrator Dog Treat Recipes for Long-Lasting Chews
Why You’ll Love It
I started adding these after reading about the antioxidant benefits. My dog now expects a few mixed into her regular treats. They’re colorful, low-calorie, and make me feel like a slightly better pet parent. Plus they look great in a jar on the counter.
There you have it—six freeze-dried dog treat recipes that give you total control over ingredients, cost a fraction of store-bought, and last for months. The real win is the nutrition: freeze-drying keeps more of the good stuff intact than almost any other preservation method. Your dog gets pure food, you get peace of mind, and the treat jar stays full without constant expensive restocks.
Start with the chicken or liver if you’re new to this. Once you dial in your machine’s timing, the rest becomes easy. Just remember: uniform pieces, no overcrowding, and always test for complete dryness before sealing. Your freeze dryer will earn its keep fast, and your dog will thank you with every single enthusiastic crunch. Now go make a batch—those hopeful eyes are already watching.