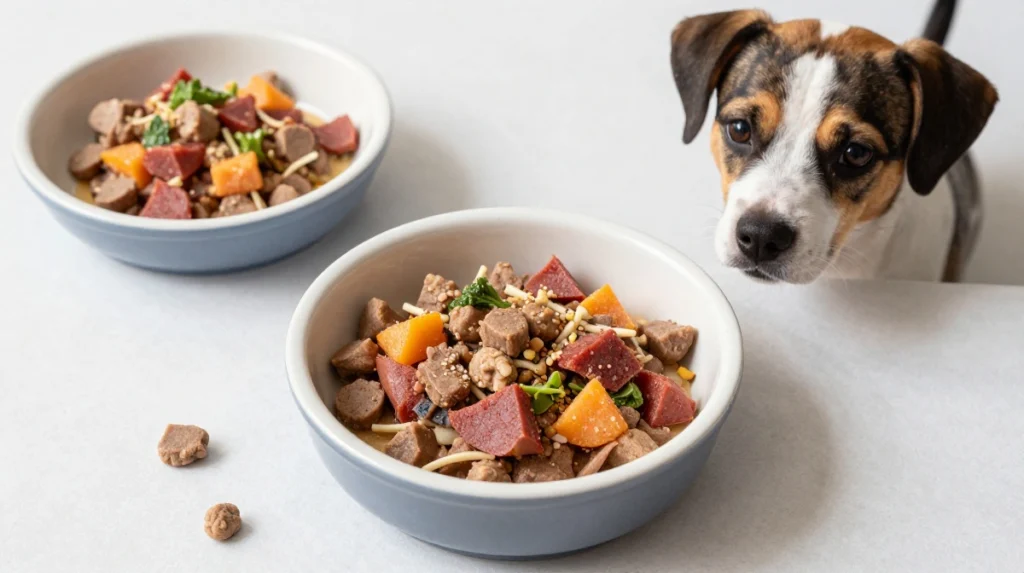
Okay, let’s be real for a second. Summer is basically nature’s way of saying, “Let’s see how many times your dog can pant at you before you feel guilty.” And honestly? I feel that guilt every single time.
You know the look I’m talking about—those big, slightly pitiful eyes staring at you while you’re enjoying your triple-scoop ice cream cone. Meanwhile, your furry best friend is lying on the tile floor, tongue hanging out, radiating pure “I’m melting” energy. It’s enough to make any dog parent cave and share their frozen treats.
But here’s the thing—most human ice cream and popsicles are loaded with sugar, artificial sweeteners (xylitol, anyone? Big no-no), and dairy that will have your dog running for the backyard in record time. And trust me, nobody wants to deal with that aftermath.
So what’s a loving dog parent to do? You make your own healthy dog popsicle recipes for summer, obviously!
I’ve been making homemade frozen treats for my golden retriever, Mabel, for about three years now. What started as a desperate attempt to keep her cool during a brutal July heatwave turned into a full-blown obsession. Seriously, my freezer looks like a dog treat factory exploded in there.
The beauty of these recipes? They’re insanely simple, use ingredients you probably already have, and your dog will love you even more than they already do (if that’s even possible).
And don’t worry—these aren’t those bland, boring “health” treats that your dog will sniff once and walk away from. We’re talking peanut butter banana deliciousness, berry-packed frozen yogurts, and savory options that will make your dog do their happy dance.
Ready to become the most popular person in your dog’s life? Let’s get freezing! 😉
1. Peanut Butter Banana Blast Popsicles
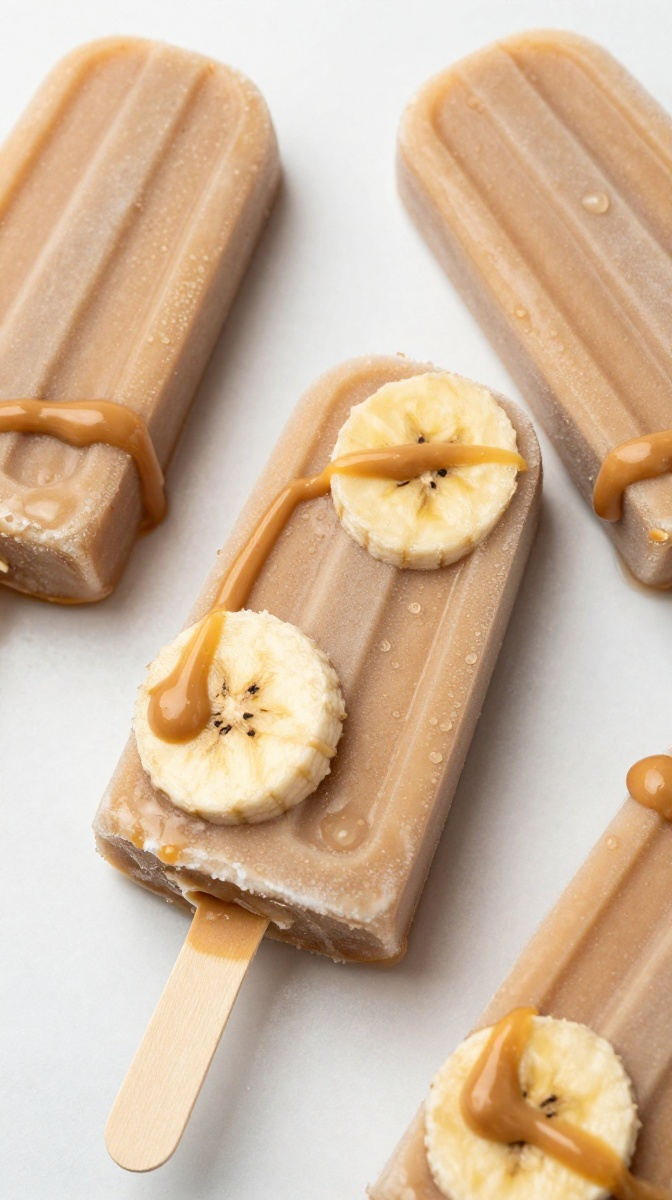
Who doesn’t love the classic combo of peanut butter and banana? This dynamic duo isn’t just delicious—it’s packed with potassium, healthy fats, and protein that will fuel your pup’s summer adventures. Plus, it takes about three minutes to whip up. Three minutes!
Ingredients
- 2 ripe bananas (the spottier, the sweeter)
- 1/2 cup natural peanut butter (make sure it’s xylitol-free—this is non-negotiable, folks!)
- 1 cup plain Greek yogurt (unsweetened)
- 2 tablespoons honey (optional, but gives it that little extra something)
Step-by-Step Instructions
- Toss everything into your blender. Bananas, peanut butter, yogurt, and honey if you’re using it. Don’t overthink it—just dump and go!
- Blend until smooth. You’re looking for a thick, creamy consistency that’s pourable but not watery. If it’s too thick, add a splash of water or unsweetened almond milk.
- Pour the mixture into popsicle molds or silicone ice cube trays. I love using those cute bone-shaped molds I found on Amazon, but regular popsicle molds work perfectly too.
- Insert sticks if you’re using popsicle molds. If you’re using ice cube trays, skip the sticks and just pop them out as bite-sized treats.
- Freeze for 4-6 hours or until completely solid. Overnight is even better if you have the patience.
- Run warm water over the outside of the molds for about 10 seconds to release the popsicles easily.
Why You’ll Love It
These popsicles are basically dessert disguised as a healthy snack. The peanut butter masks any “healthy” taste, and the banana adds natural sweetness that dogs go absolutely nuts for. My Mabel does this little tippy-tap dance whenever she sees me pull out the blender for these.
Pro tip: I once tried this recipe with chunky peanut butter because it’s all I had on hand. Let’s just say Mabel was not a fan of the unexpected texture. Stick with smooth, folks. Smooth is the way to go.
2. Berrylicious Yogurt Pops
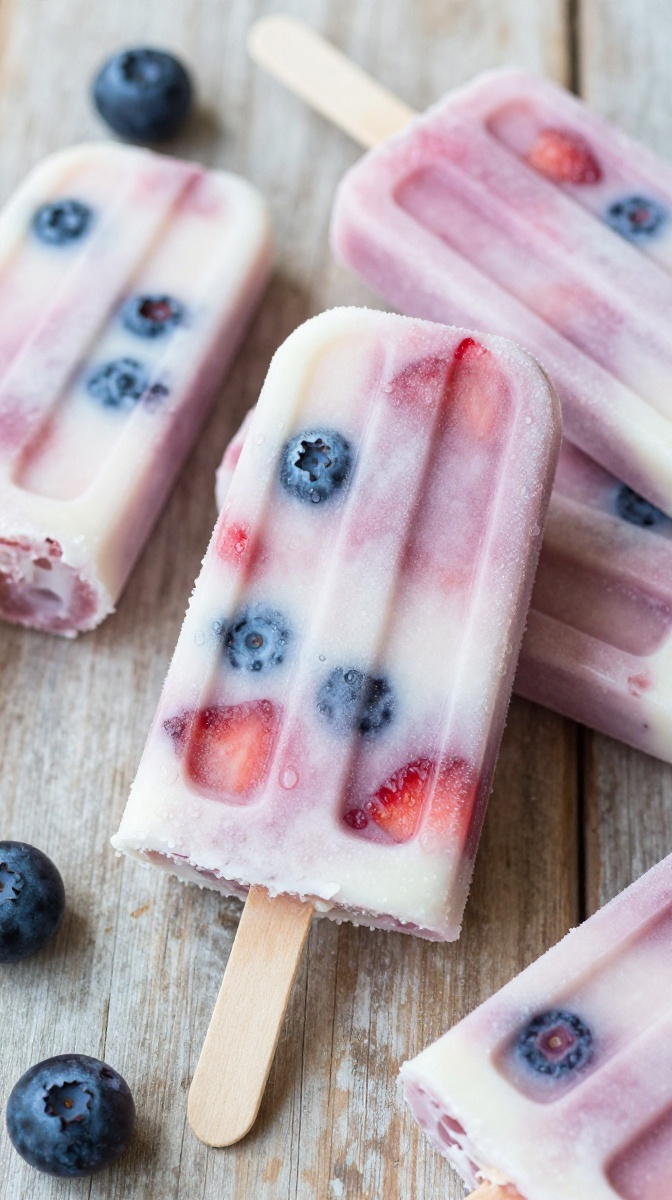
Have you ever watched your dog try to catch a falling blueberry? It’s pure entertainment. Now imagine that same energy with a frozen treat that’s bursting with antioxidants. These berry pops are a nutritional powerhouse, and honestly, they look so gorgeous you might be tempted to eat one yourself (don’t do it, they’re for the pup!).
Ingredients
- 1 cup fresh or frozen blueberries
- 1 cup fresh or frozen strawberries
- 2 cups plain Greek yogurt
- 1/4 cup water or unsweetened coconut water
Step-by-Step Instructions
- Add all ingredients to your blender. Don’t stress about exact measurements—eyeballing it works just fine.
- Blend until smooth. You want a beautiful pink-purple color that looks like a summer sunset. If you want some texture, pulse it a few times instead of running it continuously.
- Pour into your molds of choice. I like to leave a little room at the top because these expand slightly as they freeze.
- Tap the molds gently on the counter to remove any air bubbles. This isn’t crucial for taste, but it makes the pops look prettier and more professional.
- Freeze for at least 5 hours. Again, overnight is ideal if you’re not impatient like me.
- Remove from molds using the warm water trick.
Why You’ll Love It
These pops are gorgeous, and IMO, they’re some of the healthiest options on this list. Berries are packed with vitamins C and K, plus fiber and antioxidants that support your dog’s immune system. And the yogurt? That’s a probiotic powerhouse for healthy digestion.
I’ll let you in on a little secret—I accidentally used vanilla-flavored yogurt once and Mabel went absolutely bonkers for it. Just make sure it’s unsweetened and doesn’t contain xylitol if you try that variation. 🙂
Some people add chia seeds to these, but I find they get stuck in dogs’ teeth and create a mess. Plus, Mabel looks at me like I’ve betrayed her when she gets a seed stuck in her gums. No thanks.
3. Watermelon Mint Refreshers
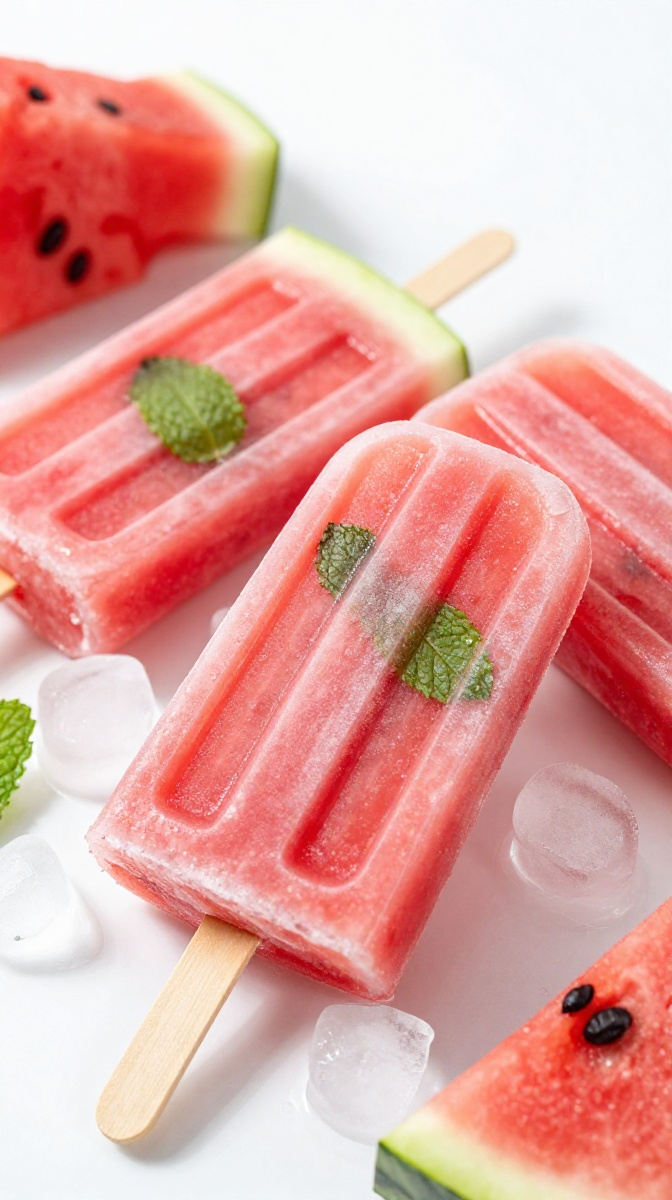
Nothing says summer like watermelon, am I right? This recipe is basically like giving your dog a frozen slice of summer. It’s hydrating, refreshing, and has that “fancy dog treat” aesthetic that’ll make you look like a gourmet pet chef.
Ingredients
- 2 cups seedless watermelon (diced, with rind removed)
- 1/4 cup fresh mint leaves
- 1/2 cup water or unsweetened coconut water
Step-by-Step Instructions
- Remove all seeds from the watermelon. I cannot stress this enough—seeds are not your friend here. They add weird texture and can be a choking hazard.
- Blend the watermelon until it’s completely liquid. This should take about 30 seconds in a decent blender.
- Add the mint leaves and blend until you see tiny green flecks throughout the mixture.
- Pour into molds and freeze. This mixture is quite liquid, so if you’re using molds with stick inserts, I’d recommend freezing for 1 hour first before adding the sticks.
- Freeze for 4-5 hours or until rock solid.
- Unmold using the warm water method.
Why You’ll Love It
This recipe is about 90% water, making it the ultimate hydration hack for hot summer days. It’s ridiculously low-calorie too, so you can spoil your pup without worrying about extra pounds.
Quick story: The first time I made these, I didn’t realize my watermelon had sneaky seeds in it. Mabel ended up with seeds stuck to her face, looking like a sad, messy pirate. Now I’m borderline obsessive about removing every single seed before blending.
Pro tip: For dogs who aren’t huge fans of mint (like my friend’s picky poodle), swap it for basil or skip the herbs entirely. The watermelon alone is delicious enough.
4. Pumpkin Apple Spice Popsicles
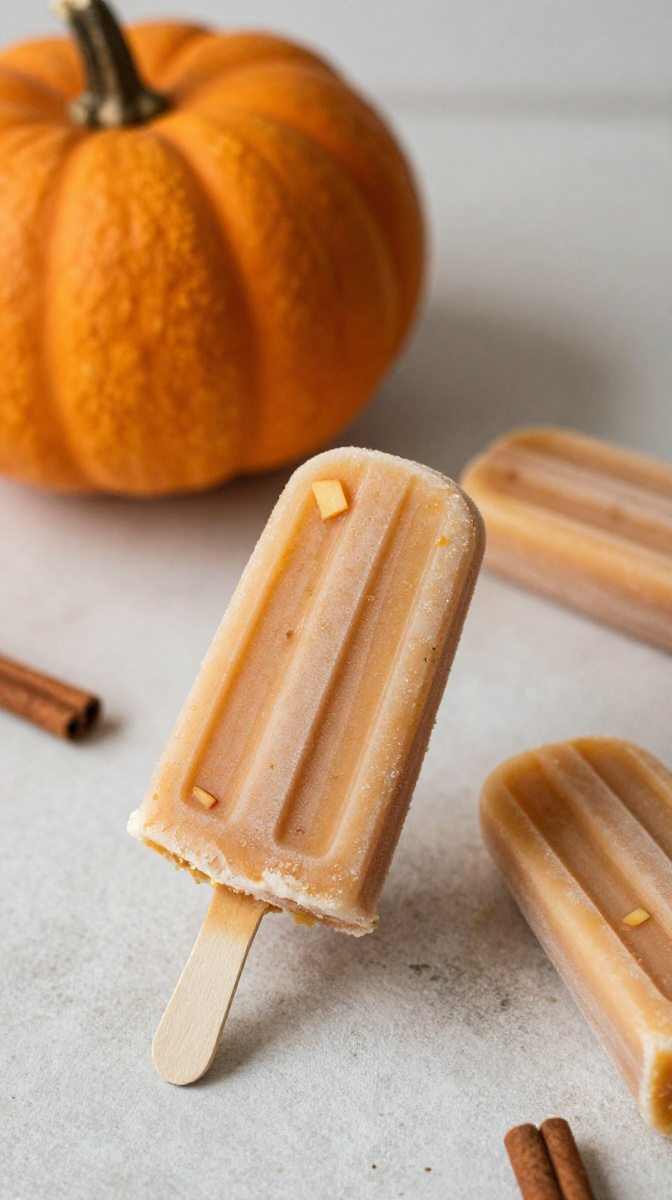
Just because it’s summer doesn’t mean we can’t sneak in some pumpkin goodness! This recipe takes all the cozy vibes of fall and turns them into a cooling summer treat. Plus, pumpkin is a digestive superstar for dogs.
Ingredients
- 1 cup canned pumpkin puree (not pumpkin pie filling!)
- 1 apple (peeled, cored, and chopped)
- 1/2 cup plain Greek yogurt
- 1/4 teaspoon cinnamon (optional but recommended)
- 1/4 cup water
Step-by-Step Instructions
- Chop the apple into small chunks. Don’t go too small—you want some texture in the final popsicle.
- Add the pumpkin and apples to your blender with the yogurt, water, and cinnamon if you’re using it.
- Blend until smooth. The mixture should have a thick, pudding-like consistency. If it’s too thick, add a little more water.
- Pour into molds, leaving a bit of space at the top.
- Freeze for 5-6 hours. These need a bit longer because the pumpkin makes them dense.
- Release from molds and serve immediately.
Why You’ll Love It
Pumpkin is one of those miracle ingredients for dogs. It’s high in fiber, supports digestive health, and can help with both diarrhea and constipation (you’re welcome for that mental image). The apple adds natural sweetness and a hint of crunch.
Here’s the thing about this recipe—I’ve tried it with pumpkin pie filling once when I wasn’t paying attention. Big mistake. HUGE. The spices and sugar in pie filling are NOT dog-friendly. So please, for the love of all things furry, make sure you’re using plain pumpkin puree.
Pro tip: If your dog has a sensitive stomach, skip the cinnamon and keep it super simple. Mabel has an iron gut, but I know plenty of dogs who can’t handle even a pinch of spice.
5. Coconut Water Blueberry Blast
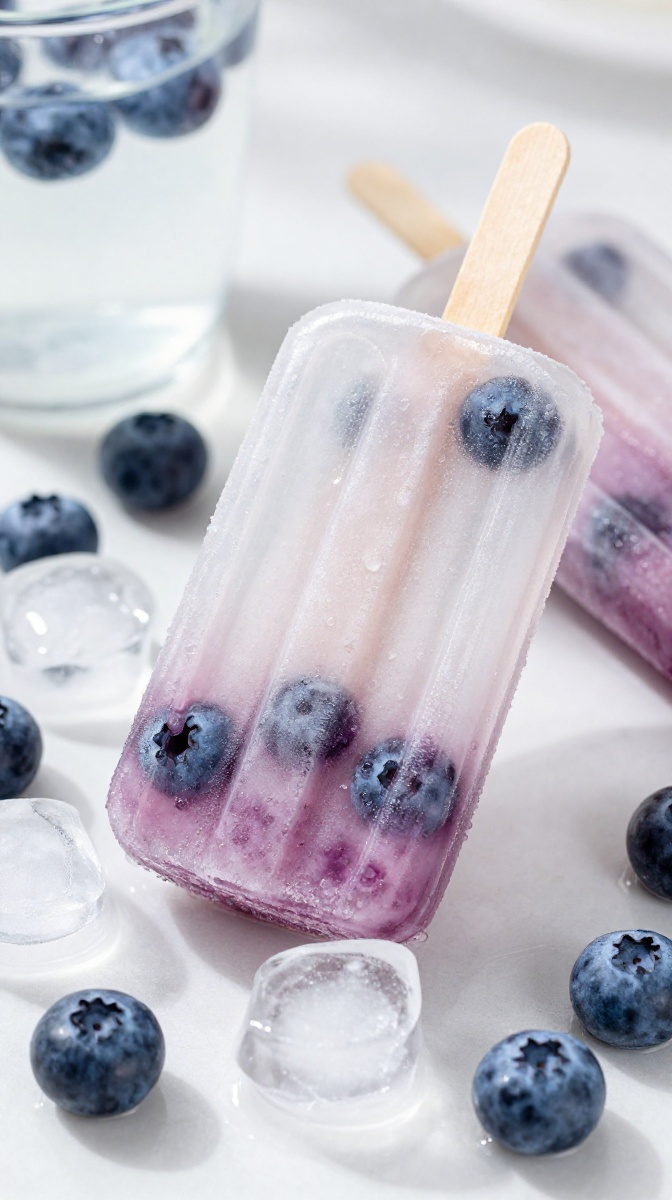
If your dog is anything like mine, they get the zoomies in the middle of the day and then collapse in a panting heap. These coconut water pops are like a sports drink for dogs—hydrating, electrolyte-packed, and ridiculously simple.
Ingredients
- 2 cups unsweetened coconut water
- 1 cup fresh blueberries
- 1/2 cup water
Step-by-Step Instructions
- Add all ingredients to your blender. I know, I know—another blender recipe! But trust me, these are worth the minimal effort.
- Blend on low just until the blueberries are broken down into small pieces. You don’t want a smooth puree here—you want beautiful berry chunks throughout.
- Pour into molds. These are extra liquidy, so be careful not to overfill.
- Freeze for 4-5 hours. If you want those pretty layered look, freeze in stages (pour a layer, freeze for an hour, add another layer, repeat).
- Remove from molds and serve cold.
Why You’ll Love It
This is the simplest recipe on this list—just three ingredients and zero fuss. It’s also the most hydrating option, making it perfect for those scorching days when you’re both melting into puddles.
I’ll be honest—I didn’t think Mabel would like these when I first made them. Coconut water has that slightly earthy taste that not everyone loves. But she went absolutely nuts for them! I think the blueberries do all the heavy lifting flavor-wise.
FYI: Don’t use coconut milk or cream here—it’s too rich and fatty for most dogs. Stick with plain coconut water. Your dog’s stomach will thank you. 🙂
6. Savory Chicken Broth Bites
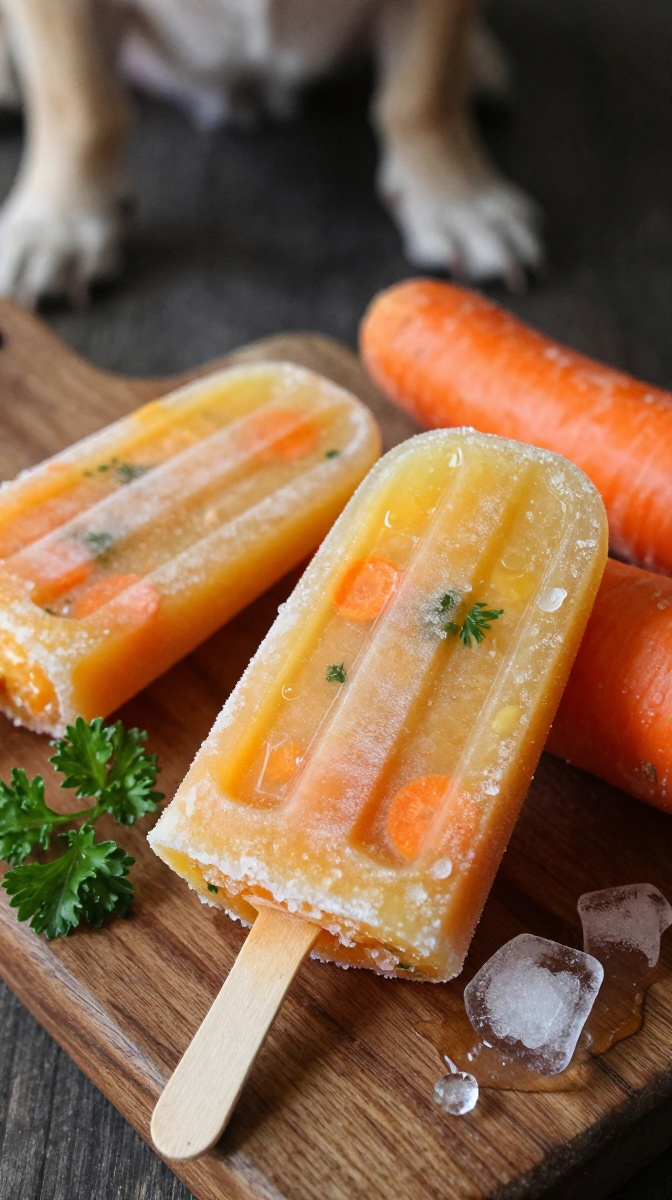
Okay, so these aren’t sweet. And honestly? Your dog might love them even more because of it. These savory popsicles are like a frozen soup course for your pup, and they’re absolute lifesavers for picky eaters or dogs who need extra hydration.
Ingredients
- 2 cups low-sodium chicken broth (make sure it’s onion and garlic-free!)
- 1/2 cup cooked chicken breast, shredded
- 1/4 cup chopped parsley
- 1 carrot, finely shredded
Step-by-Step Instructions
- Prepare the chicken broth. If you’re using homemade broth, fantastic! If you’re using store-bought, check the label carefully for onion, garlic, and excessive sodium.
- Add the shredded chicken and vegetables to the broth.
- Stir everything together thoroughly.
- Pour into molds. I love using small ice cube trays for these so they’re perfect bite-sized portions.
- Freeze for 5-6 hours until completely solid.
- Pop them out and store in a freezer bag for whenever your pup needs a special treat.
Why You’ll Love It
These are perfect for dogs who aren’t into sweet treats (yes, they exist!). They’re also fantastic for senior dogs who might have trouble chewing harder treats. The broth soaks into the chicken and veggie pieces, creating popsicles with delicious texture.
I made these one day when Mabel had an upset stomach and wasn’t eating her regular food. She wouldn’t touch kibble, but she couldn’t resist these frozen broth bites. They kept her hydrated and comforted until she felt better.
Quick warning: Some dogs get messy when eating these outside. Mabel made an absolute disaster on my white couch once. Now she eats them in the backyard like a civilized pup. Learn from my mistakes, folks!
Tips for Popsicle Success: Your Cheat Sheet for Perfect Dog Popsicles
Before you race off to make all six recipes, let me share a few lessons I’ve learned the hard way (because sometimes learning the hard way is the only way).
Popsicle Mold Matters
I’ve tried everything from fancy silicone molds to basic ice cube trays. My favorite? Silicone molds with wooden sticks. They’re super easy to pop out, and your dog looks adorable holding the wooden stick like a tiny frozen lollipop.
Make Them Small Enough
Unless you’re making these specifically for a giant breed, I’d recommend using smaller molds. My neighbor’s Chihuahua couldn’t handle full-sized popsicles, so she cuts them into smaller portions before freezing.
Storage is Key
These popsicles will keep in the freezer for up to 3 months, but let’s be honest—they won’t last that long. I use freezer bags labeled with the flavor and date because I’ve definitely confused watermelon with chicken broth before. Mabel was not impressed.
Watch Your Dog While They Eat
This might sound obvious, but always supervise your dog when they’re eating frozen treats. Popsicle sticks can become choking hazards if your dog gets too aggressive. I always snap the sticks shorter for smaller dogs.
The Leftovers Situation
These are real food treats, so they melt and get messy. Prepare for some doggy drool and maybe a few sticky floors. I find serving them outside is the smartest move when the weather cooperates.
Ingredient Safety Reminder
Always check ingredients against dog-safe lists. No xylitol, no grapes or raisins, no chocolate, no onions or garlic. That’s the holy grail of “what not to feed your dog.”
Related Articles:
- Human-Grade Dog Food Recipes for the Finest Pups
- Holistic Dog Food Recipes for Overall Wellness
- Natural Homemade Dog Food Recipes with Organic Ingredients
Conclusion: Time to Freeze Some Love for Your Favorite Furry Friend
Let’s recap what we’ve cooked up here, shall we?
We’ve got the classic Peanut Butter Banana Blast for the peanut butter fiends. We’ve got the Berrylicious Yogurt Pops for the health-conscious pups. We’ve got the Watermelon Mint Refreshers for ultimate summer hydration. We’ve got the Pumpkin Apple Spice for something a little different. And we’ve got the Coconut Water Blueberry Blast and Savory Chicken Broth Bites to round out the collection.
Six incredible recipes that use simple, wholesome ingredients and take less than ten minutes of active prep time. No sugar, no artificial garbage, no questionable ingredients. Just pure, frozen goodness that your dog deserves.
Here’s the thing about making homemade dog treats—it’s a simple way to show your dog how much you love them. And isn’t that what being a dog parent is all about? Giving them the best, healthiest, tastiest life possible?
So grab those ingredients, fire up the blender, and get freezing! Your dog is going to flip when they see you pulling out the popsicle molds. I’m not kidding—Mabel starts circling my feet the second she hears me open the freezer.
One last reminder: I’m not a vet, just a dog mom who loves experimenting in the kitchen. Always check with your vet before introducing new foods to your dog’s diet, especially if they have health conditions.
Now go make some memories (and popsicles)! Your four-legged best friend is waiting. 😉
This article contains affiliate links that support my dog’s treat addiction. All opinions, recipes, and hilarious mishaps are entirely my own.