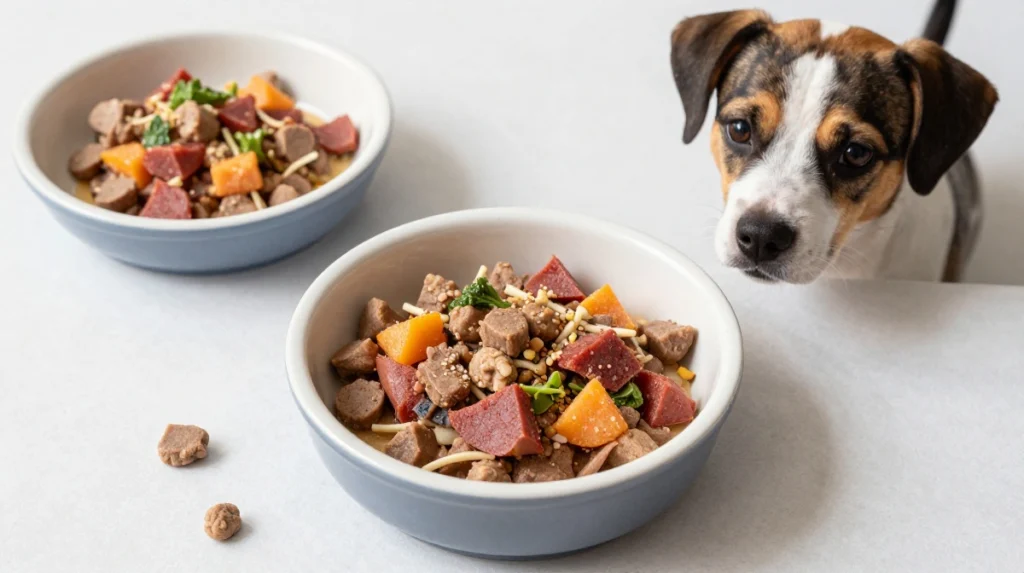
You’ve stared at the back of a kibble bag and thought, “I could do better than this.” Same. Commercial dry food is convenient, but the ingredient list sometimes reads like a chemistry experiment. Making your own dry dog food (the homemade version of kibble) gives you control over every bite.
Fair warning right up front: true factory kibble gets extruded under high heat and pressure. What we’re making here is baked or dehydrated dry food that ends up crunchy and shelf-stable for a while. It works great as a full meal for some dogs, a topper for others, or just a high-value treat. Nutritional balance is the hard part. Most homemade recipes need a proper canine multivitamin/mineral supplement or input from a veterinary nutritionist to avoid long-term gaps. Always check with your vet before switching. These recipes use safe, common ingredients and stay free of onion, garlic, and other no-gos.
I tested batches in my own kitchen. Some came out perfectly crunchy. One batch I under-dried and it went soft in two days—lesson learned. Ready to try? Here are six approachable homemade dry dog food recipes that actually work.
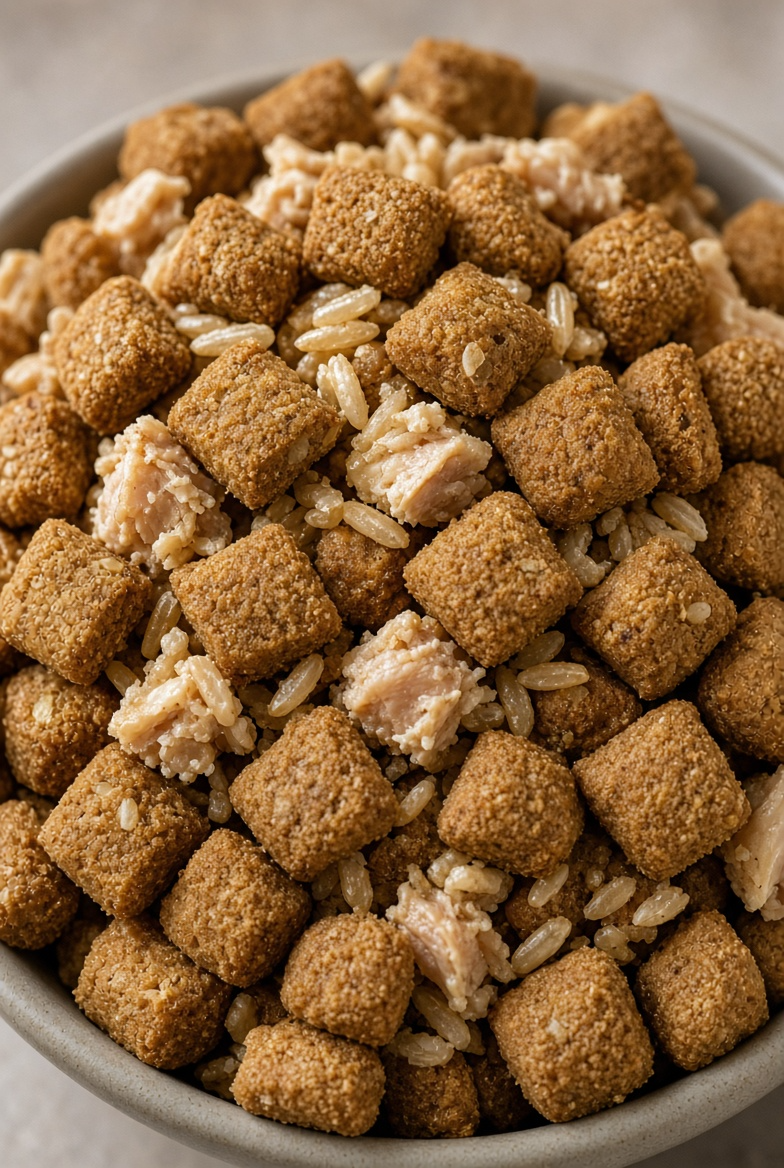
1. Classic Chicken & Brown Rice Baked Kibble
This is the reliable starter recipe. Lean chicken, brown rice, and simple veggies turn into crunchy little bites that smell way better than anything from a bag.
Ingredients
- 2 lbs boneless skinless chicken breast or thighs, cooked and finely chopped or pureed
- 2 cups cooked brown rice
- 1 cup finely chopped carrots
- 1 cup chopped green beans
- ½–1 cup whole wheat or oat flour (as needed for dough)
- 1–2 tbsp olive oil or fish oil
- Canine multivitamin/mineral powder (per package or vet guidance)
Step-by-Step Instructions
- Preheat oven to 250°F (or lowest setting). Line baking sheets with parchment.
- Puree or finely chop the cooked chicken. Mash or puree the cooked veggies.
- Mix chicken, rice, veggies, oil, and supplement in a large bowl.
- Add flour a little at a time until you get a firm, rollable dough.
- Roll the dough thin (about ¼ inch) on a floured surface or press onto the sheet. Score into small kibble-sized squares with a pizza cutter.
- Bake 2–3 hours, flipping halfway, until completely dry and hard. Cool fully before storing.
Why You’ll Love It
This one tastes like actual food instead of dusty pellets. My dog crunched through the first batch like it was a special occasion. The brown rice keeps it filling, and the low-and-slow bake creates real crunch without burning. Store in an airtight container for up to two weeks or freeze longer.
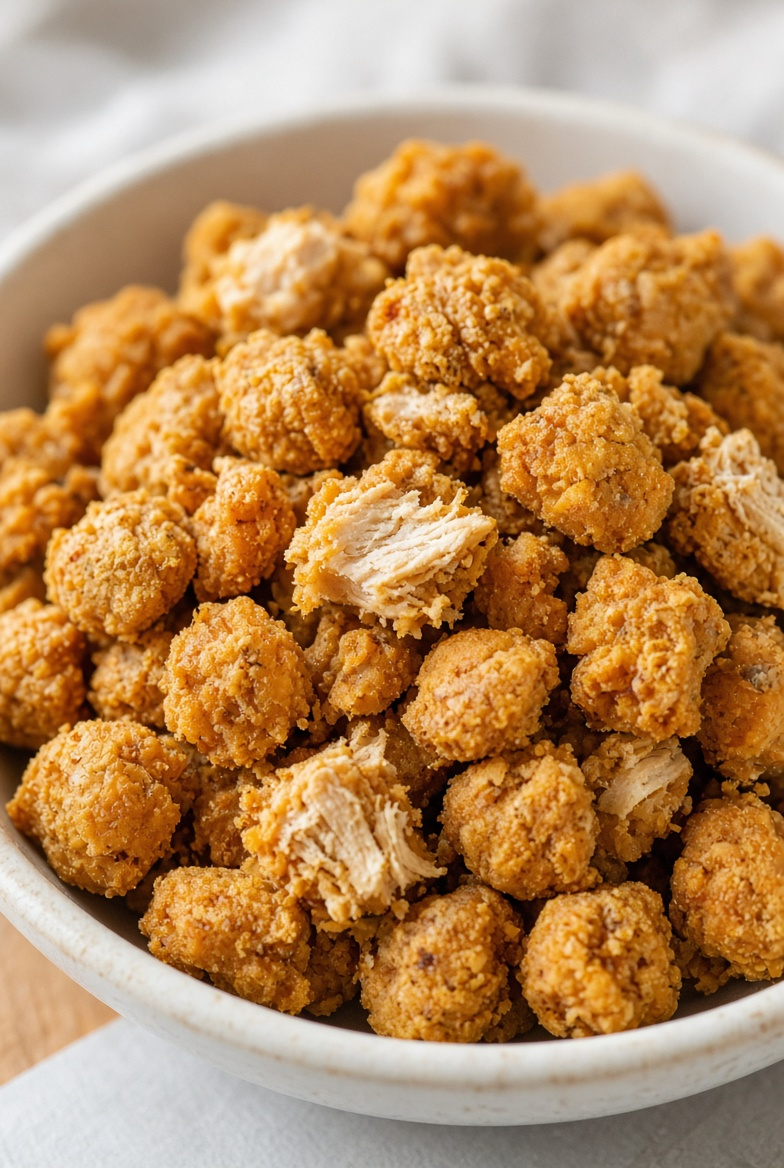
2. Turkey & Sweet Potato Crunchy Bites
Sweet potato adds natural sweetness and fiber that dogs go crazy for. Turkey keeps it lean. These dry out beautifully and hold their shape.
Ingredients
- 2 lbs lean ground turkey, cooked and crumbled
- 2 cups cooked mashed sweet potato
- 1 cup rolled oats or oat flour
- ½ cup chopped spinach or parsley
- 1 egg
- 1 tbsp fish oil
- Canine supplement powder
Step-by-Step Instructions
- Preheat oven to 250°F. Line sheets with parchment.
- Mix the cooked turkey, mashed sweet potato, oats, spinach, egg, oil, and supplement until it forms a stiff dough.
- Roll out to ¼-inch thickness or scoop small portions and flatten.
- Cut into bite-sized pieces.
- Bake 2–2½ hours, flipping once, until hard and dry all the way through.
- Cool completely on a rack.
Why You’ll Love It
The sweet potato makes these slightly sweeter and more aromatic. Dogs that usually sniff kibble and walk away tend to stick around for these. I once skipped the oat and the pieces crumbled too easily—flour or oats really help the structure. Great texture once fully dried.
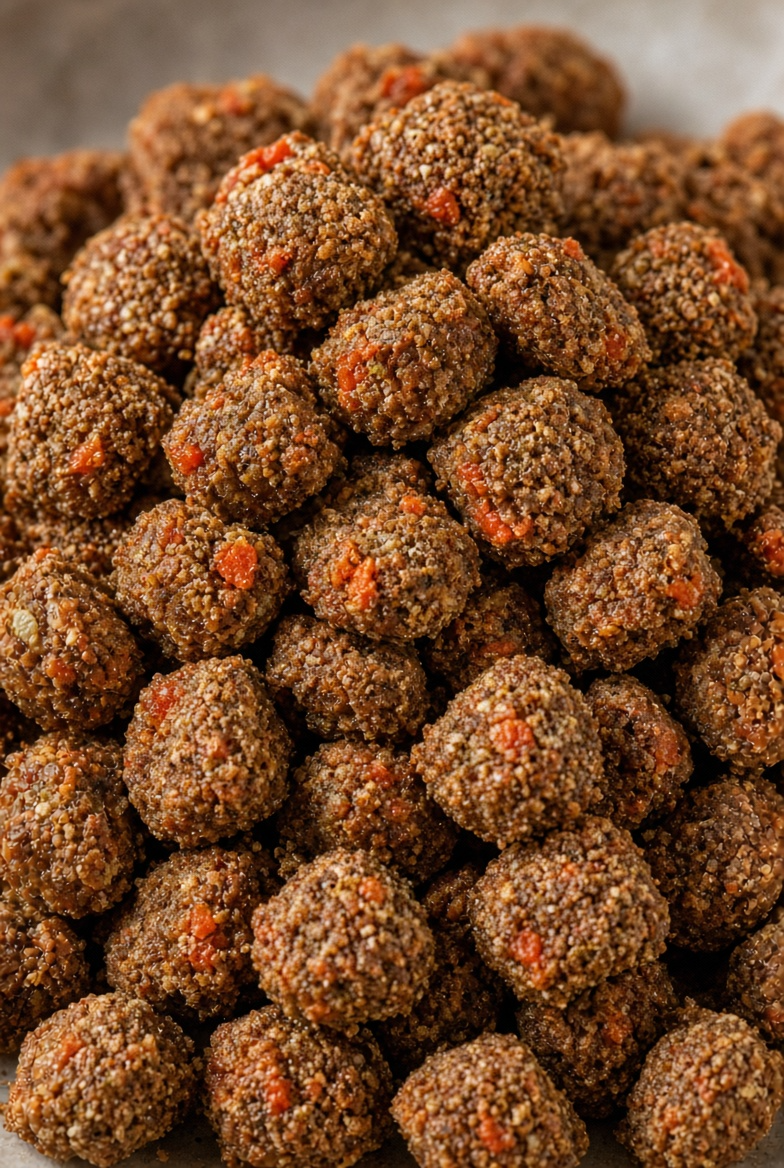
3. Lean Beef & Veggie Dry Morsels
For dogs that prefer red meat, this version delivers solid protein with soft-cooked veggies that dry into crunchy little nuggets.
Ingredients
- 2 lbs lean ground beef (90/10 or leaner), cooked and drained
- 1 cup finely chopped carrots
- 1 cup chopped zucchini or green beans
- 1½–2 cups whole wheat or rice flour
- 1–2 eggs
- 1 tbsp olive oil
- Canine multivitamin powder
Step-by-Step Instructions
- Preheat oven to 250°F.
- Combine cooked beef, chopped veggies, eggs, oil, and supplement.
- Stir in flour until you have a firm dough that holds shape.
- Roll thin and score into small squares, or form pea-to-marble-sized pieces.
- Bake 2½–3 hours, turning halfway, until completely dry and hard.
- Cool fully before bagging.
Why You’ll Love It
Beef gives a richer aroma that many dogs prefer. The veggies disappear into the mix but still add nutrients and fiber. These store well and travel easily. Just make sure you dry them thoroughly—any remaining moisture shortens shelf life fast.
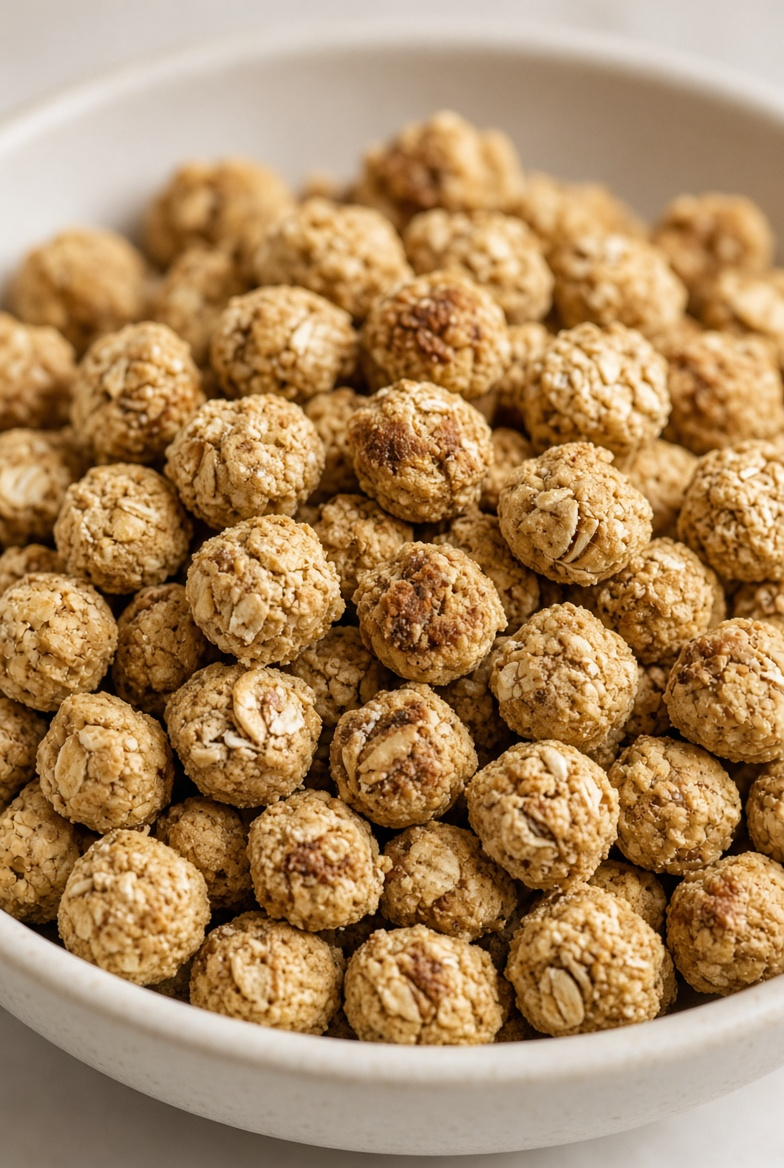
4. Simple Egg & Oat Dry Pellets
This lighter option works well if you want something grain-friendly and quick to mix. Eggs bind everything and add quality protein.
Ingredients
- 4 large eggs
- 2 cups rolled oats (or oat flour)
- 1 cup whole wheat or rice flour
- ½ cup unsweetened applesauce or pure pumpkin
- 2 tbsp olive oil
- Optional: small amount of finely grated carrot
- Canine supplement
Step-by-Step Instructions
- Preheat oven to lowest setting (around 170–200°F) or use a dehydrator.
- Whisk eggs, then mix in oats, flour, applesauce, oil, and supplement.
- Form a stiff dough. Roll thin and cut into small pellets or squares.
- Arrange in a single layer.
- Bake or dehydrate 2–4 hours until completely dry and crisp.
- Cool and store airtight.
Why You’ll Love It
This one is surprisingly simple and holds together well. The oats give a nice toasty flavor once dried. I like it as a lighter option or training treat. It dries faster than the meat-heavy versions, which is a win on busy days.
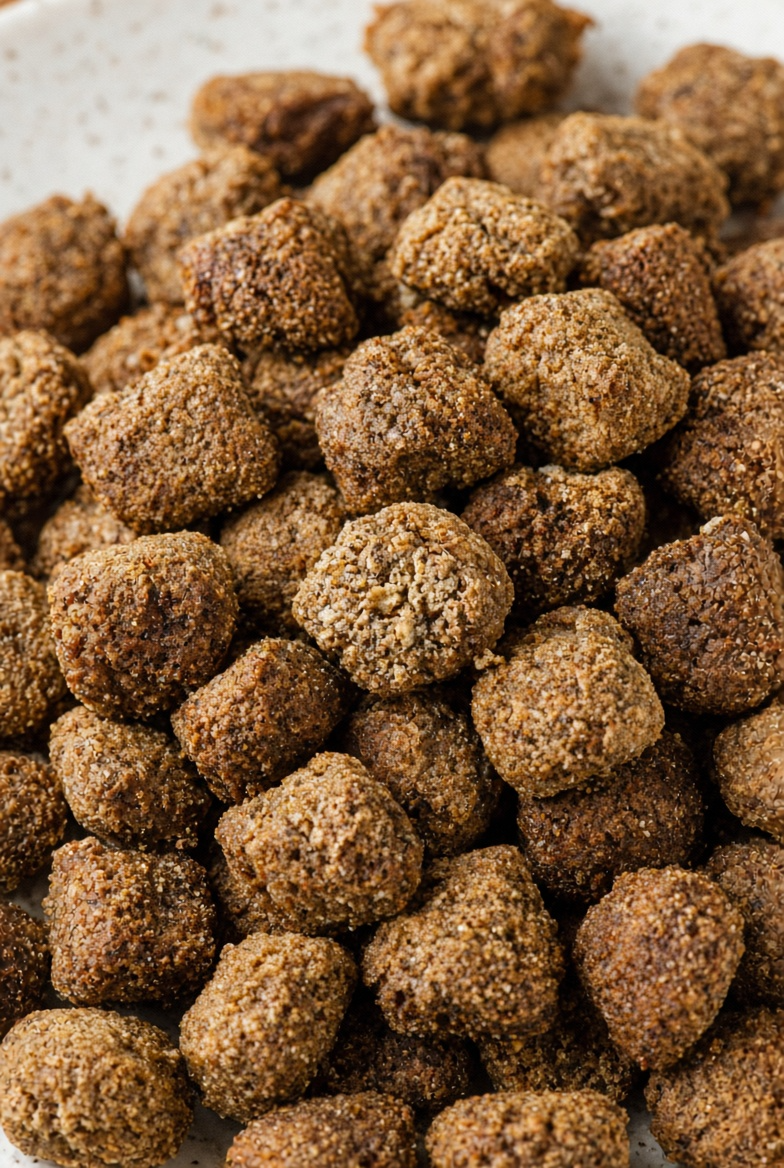
5. Chicken Liver & Rice Flour Crunchies
Liver is nutrient-dense, so use it in moderation. Combined with rice flour, it creates a strong-smelling (in a good way) dry food that many dogs find irresistible.
Ingredients
- 1 lb chicken livers, cooked and pureed
- 1 cup cooked mashed sweet potato or rice
- 1½–2 cups rice flour
- 1–2 eggs
- 1 tbsp olive oil
- Canine supplement powder
Step-by-Step Instructions
- Preheat oven to 250–300°F.
- Puree the cooked livers with the sweet potato or rice.
- Mix in flour, eggs, oil, and supplement until a firm dough forms.
- Roll and cut into small kibble-sized pieces.
- Bake 1½–2½ hours, flipping once, until hard and dry.
- Cool completely.
Why You’ll Love It
Liver lovers go wild for these. The smell alone gets attention. Just keep portions reasonable because organ meat is potent. Fully drying is key—any softness and they won’t keep.
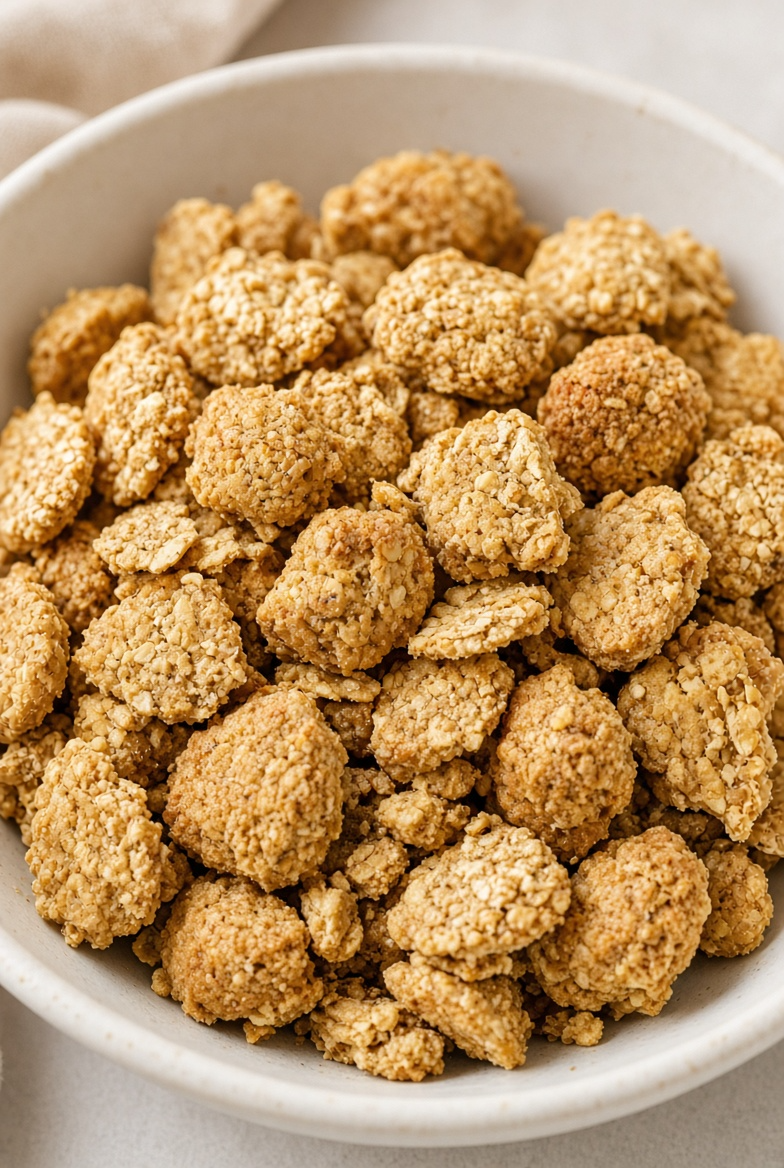
6. Cod (or White Fish) & Oat Flake Kibble
A fish-based option for dogs that do well with novel proteins or need omega support. Oats help bind and create good crunch.
Ingredients
- 1–1½ lbs boneless skinless white fish (cod or similar), cooked and flaked
- 2 cups rolled oats or oat flour
- 1 cup rice or whole wheat flour
- 1 egg
- 1 tbsp fish oil
- Optional: small amount of pureed carrot or spinach
- Canine multivitamin
Step-by-Step Instructions
- Preheat oven to 250°F.
- Flake the cooked fish thoroughly and mix with oats, flour, egg, oil, and supplement.
- Form a workable dough (add a splash of water only if needed).
- Roll thin, cut into small pieces, and spread on parchment.
- Bake 2–3 hours until fully dry and crisp.
- Cool and store.
Why You’ll Love It
Fish versions smell milder than beef or liver and still deliver solid protein. The oat base gives a pleasant toasty finish. These make excellent training treats or a full dry meal option when balanced properly.
Related Articles:
- Cooked Dog Food Recipes vs Raw: A Comparison
- Dog Soup Recipes for a Warm, Nutritious Meal
- Dog Pizza Recipes: A Fun, Canine-Friendly Treat
Final Thoughts
Making your own dry dog food is doable and weirdly satisfying. You control the ingredients, avoid a lot of the mystery stuff in some commercial bags, and end up with crunchy pieces your dog actually seems excited about. The trade-offs are real: time, the need for proper supplements, shorter shelf life than factory kibble, and the importance of getting the nutrition right.
Start with one recipe. Make a small batch. Watch how your dog responds and how the pieces hold up in storage. Keep everything fully dry, store airtight, and freeze extras. And please—talk to your vet or a veterinary nutritionist before making this the main meal long-term.
Your kitchen will smell like actual food instead of processed pellets, and your dog will probably hover the entire time. That alone makes the effort worth it. Now go preheat the oven and make some crunch.