Let me ask you something.
When was the last time you gave your dog a snack just because?
Not because they were “good.” Not because it was their birthday. Not because you felt guilty for leaving them alone all day.
Just because… you love them. And you wanted to see that tail wag.
If you’re anything like me, you probably spoil your dog rotten. And honestly? I’m not sorry about it. My golden retriever, Louie, has me wrapped around his little paw, and I wouldn’t have it any other way.
But here’s the thing—most store-bought dog snacks are total garbage.
I’m not trying to be dramatic, but have you actually read the ingredients on those bags? Corn syrup, artificial colors, preservatives I can’t pronounce, and mystery “meat by-products” that nobody can explain. It’s like feeding your dog a science experiment.
That’s why I started making my own dog snack recipes.
And let me tell you—it’s been a game-changer.
I can whip up healthy, delicious snacks in under 15 minutes. I know exactly what’s going into my dog’s body. And Louie? He thinks I’m a culinary genius. (I’m not, but don’t tell him that.)
These recipes are perfect for any occasion. Birthday parties? Check. Gotcha day celebrations? Absolutely. Rainy days when you’re both stuck inside? Perfect. Just a random Tuesday when your dog looks at you with those big, pathetic eyes? You bet!
Plus, these snacks are way cheaper than store-bought treats. Like, laughably cheaper. I’m talking pennies per snack versus dollars per bag.
So grab your apron, put on some music, and let’s get cooking! Your dog’s taste buds are about to have a party. And honestly? You’re going to have fun making these too. 😉
1. Peanut Butter Oatmeal Cookies
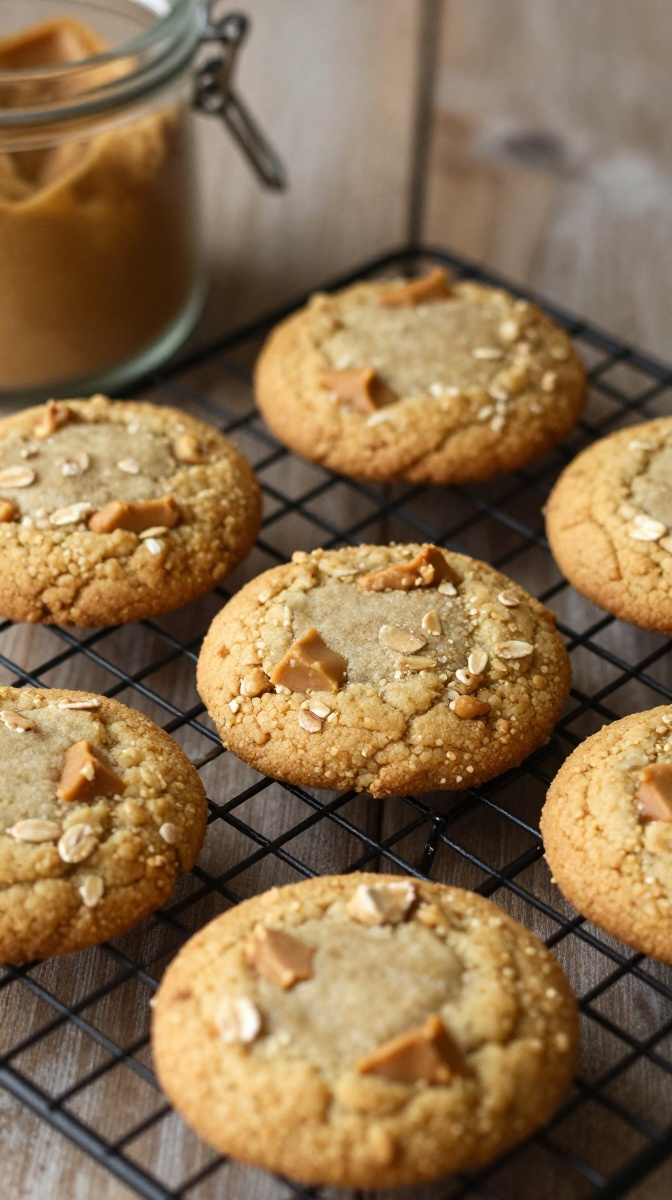
Some snacks are just timeless. These cookies are soft, chewy, and packed with peanut butter flavor that dogs go absolutely nuts over. Plus, they’re made with wholesome ingredients that are actually good for your pup. Who doesn’t love a cookie that’s both delicious AND healthy?
Ingredients
- 1 cup rolled oats
- 1/2 cup oat flour
- 1/4 cup natural peanut butter (xylitol-free, always!)
- 1/4 cup unsweetened applesauce
- 1 egg
- 1/4 cup water (if needed)
Step-by-Step Instructions
- Preheat your oven to 350°F and line a baking sheet with parchment paper.
- Mix the oats and flour together in a large bowl.
- Add the peanut butter, applesauce, and egg, then mix until a thick dough forms.
- Add water a tablespoon at a time if the dough seems too dry.
- Roll the dough into small balls (about 1-inch in diameter).
- Place on the baking sheet and flatten slightly with a fork.
- Bake for 12-15 minutes until golden brown and firm to the touch.
- Let cool completely before serving—they get crunchier as they cool!
Why You’ll Love It
These cookies are the perfect balance of crunchy and chewy—like a granola bar for dogs. The oats provide healthy fiber, the peanut butter delivers protein and healthy fats, and the applesauce adds natural sweetness without any added sugar. Plus, they store beautifully for weeks!
I once tried making these with almond butter when I ran out of peanut butter. Louie looked at me like I had personally offended his ancestors. Now I always keep a backup jar of peanut butter in the pantry. Lesson learned!
Pro tip: Make a double batch and freeze half. You’ll always have treats ready for unexpected occasions—or unexpected “I love you” moments!
2. Frozen Berry Yogurt Bites
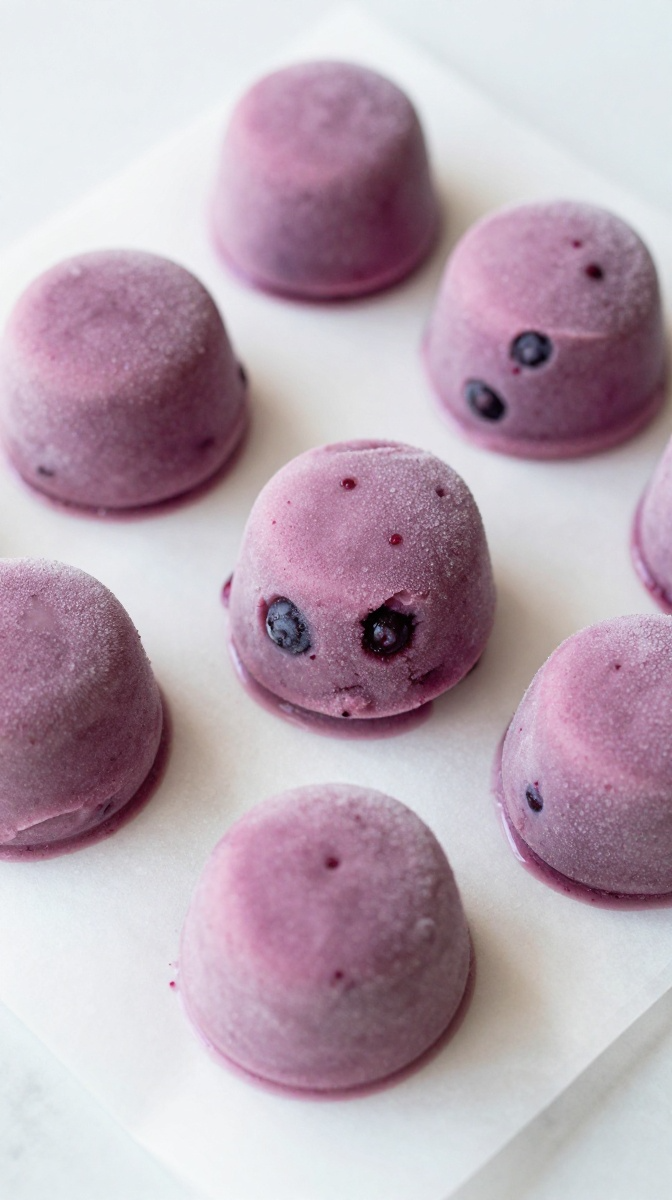
Summer heat making your dog melt into a puddle on the floor? These frozen bites are like tiny bursts of refreshment. They’re healthy, ridiculously easy, and the perfect size for training sessions or quick rewards. Plus, they look absolutely gorgeous!
Ingredients
- 1 cup mixed berries (blueberries, strawberries, raspberries)
- 1 cup plain Greek yogurt
- 1 tablespoon honey (optional)
- 1/4 cup water
Step-by-Step Instructions
- Rinse the berries and pat them dry with a paper towel.
- Blend the berries and water until completely smooth.
- Mix the berry puree with yogurt and honey (if using) until well combined.
- Drop spoonfuls of the mixture onto a parchment-lined baking sheet.
- Freeze for 2-3 hours until completely solid.
- Pop them off the parchment and transfer to a freezer bag for storage.
Why You’ll Love It
These bites are incredibly versatile. Use them as training treats, post-walk rewards, or just a quick way to cool your pup down. The yogurt provides probiotics for healthy digestion, and the berries deliver powerful antioxidants that support overall health.
Louie goes absolutely bonkers for these. He’s learned the sound of the freezer opening and comes running from across the house. I swear he has some kind of sixth sense for frozen treats!
Quick story: I tried making these with frozen berries once because I was too lazy to go to the store. The mixture got all watery and stained everything blue. Louie didn’t care, but my countertops were a mess. Fresh berries, folks. Fresh berries. 🙂
3. Sweet Potato Chews
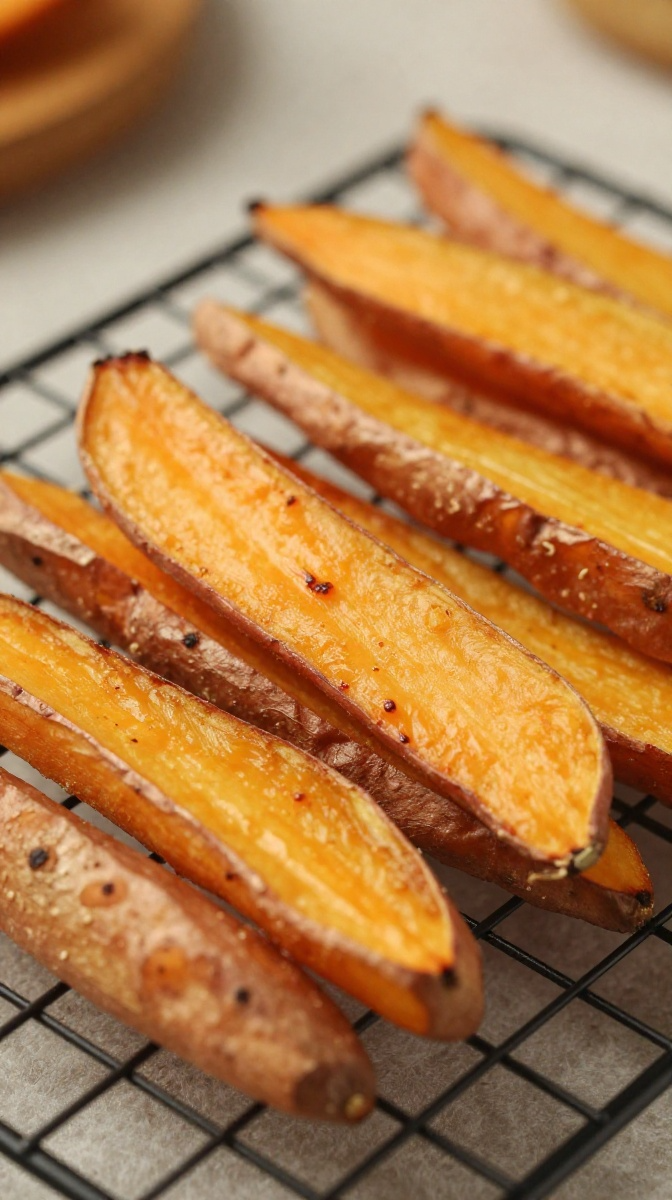
Store-bought chews are expensive, questionable, and often loaded with preservatives. These sweet potato chews are natural, healthy, and way cheaper. Plus, they’re chewy enough to keep your dog occupied but soft enough for senior dogs to enjoy.
Ingredients
- 2 large sweet potatoes
- 1 tablespoon coconut oil (optional)
- 1/4 teaspoon cinnamon (optional)
Step-by-Step Instructions
- Preheat your oven to 250°F and line a baking sheet with parchment paper.
- Wash and peel the sweet potatoes.
- Cut into thin strips about 1/4-inch thick. The thinner the strips, the crunchier the final chew.
- Toss with coconut oil and cinnamon if you’re using them.
- Arrange the strips on the baking sheet in a single layer.
- Bake for 2-3 hours until they’re dried out but still slightly chewy. Flip halfway through.
- Let cool completely before serving. They get crunchier as they cool!
Why You’ll Love It
These chews are a healthy alternative to those questionable store-bought versions. Sweet potatoes are packed with vitamins A and C, fiber, and beta-carotene. Plus, the chewy texture helps clean your dog’s teeth and keeps them occupied.
Louie absolutely loves these. He gets one after his evening walk, and he chews on it for a solid 10 minutes. It’s become our little nightly ritual!
IMO, these are perfect for travel snacks too. They’re not messy, they don’t require refrigeration, and they keep for weeks in an airtight container. Win-win-win!
4. Apple Cinnamon Donuts for Dogs
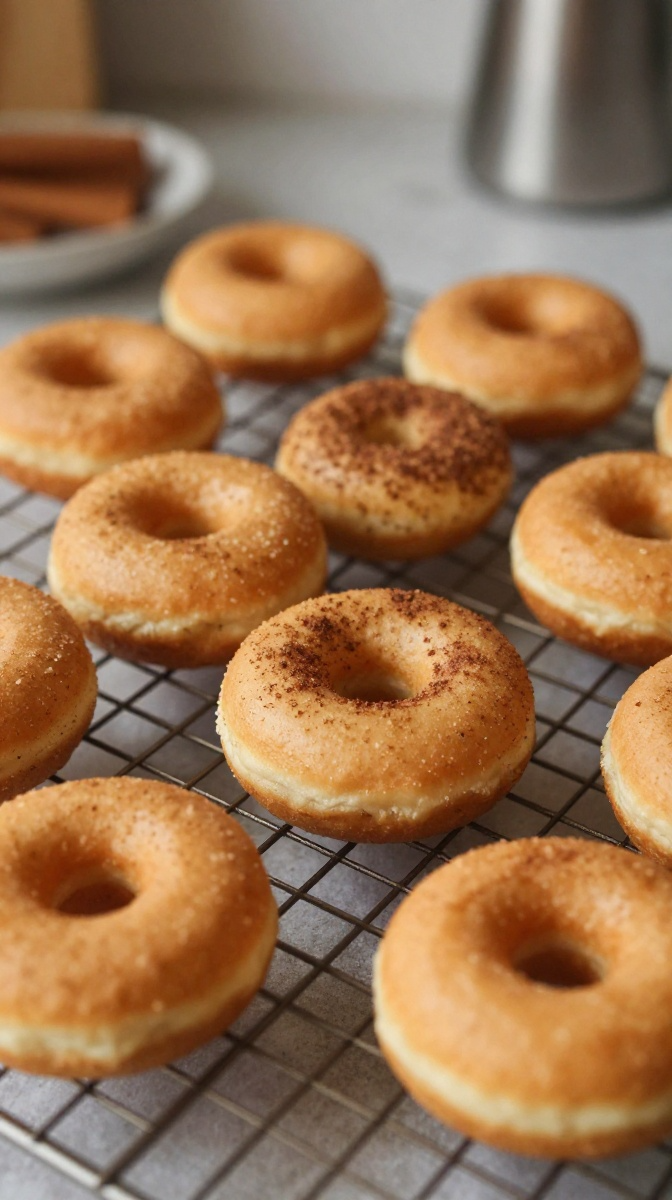
Okay, I know—donuts for dogs sounds ridiculous. But hear me out. These are basically baked apple cinnamon cookies in a fun shape. They’re adorable, delicious, and perfect for special occasions like birthdays or Gotcha Day celebrations.
Ingredients
- 1 apple (peeled, cored, and grated)
- 1 1/2 cups oat flour
- 1/4 cup unsweetened applesauce
- 1 egg
- 1/4 teaspoon cinnamon
- 1/4 cup water (if needed)
Step-by-Step Instructions
- Preheat your oven to 350°F and grease a donut pan or use a silicone mold.
- Grate the apple and squeeze out any excess liquid using a clean kitchen towel.
- Mix all ingredients in a bowl until a thick batter forms.
- Spoon the batter into the donut pan, filling each mold about 3/4 full.
- Bake for 15-18 minutes until golden brown and firm.
- Let cool completely before removing from the pan.
- Dust with a little extra cinnamon for that “bakery” feel!
Why You’ll Love It
These donuts are basically the cutest thing you’ll ever make for your dog. The natural sweetness from the apple means you don’t need any sugar, and the cinnamon adds a warm flavor that dogs love. Plus, they’re baked, not fried—much healthier!
I made these for Louie’s birthday last year, and he literally guarded the cooling rack for an hour. Like, just sat there staring at them. No growling or anything—just pure, unwavering focus. It was both adorable and slightly concerning.
Pro tip: Use a mini donut pan for the most adorable results. Regular-sized donut pans work too, but the minis are just so darn cute!
5. Chicken and Cheese Training Bites
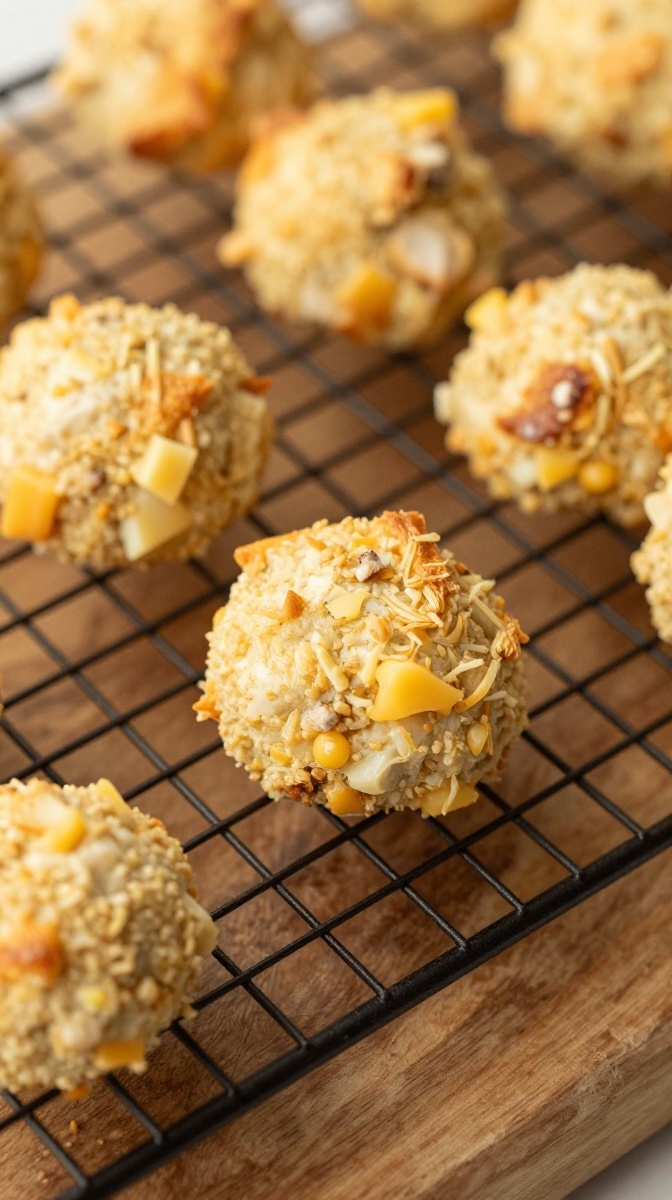
Every dog trainer will tell you—high-value treats are essential for successful training sessions. These chicken and cheese bites are the ultimate high-value snack. They’re tiny, smelly (in a good way!), and absolutely irresistible to even the pickiest pups.
Ingredients
- 1/2 cup cooked chicken breast (shredded)
- 1/2 cup shredded cheese (cheddar or mozzarella)
- 1 cup oat flour
- 1 egg
- 1/4 cup chicken broth (low-sodium, onion/garlic-free)
Step-by-Step Instructions
- Preheat your oven to 350°F and line a baking sheet with parchment paper.
- Shred the cooked chicken into small, bite-sized pieces.
- Mix all ingredients in a bowl until a thick dough forms.
- Roll the dough into small balls (about the size of a marble).
- Place on the baking sheet and flatten slightly.
- Bake for 10-12 minutes until golden brown and firm.
- Let cool completely before using for training or snacking.
Why You’ll Love It
These training bites are the perfect size for rewards—small enough to not fill your dog up but big enough to feel like a treat. The combination of chicken and cheese is irresistible to most dogs, making them ideal for teaching new tricks or reinforcing good behavior.
I made these for a training class Louie and I took last year, and we were the most popular team in the room. Every other dog owner was asking for the recipe! Now I always make a batch before any training session.
FYI: These are great for recall training too. Keep a baggie in your pocket during walks, and reward your dog every time they check in with you. It works like magic!
6. Pumpkin Pup Pops
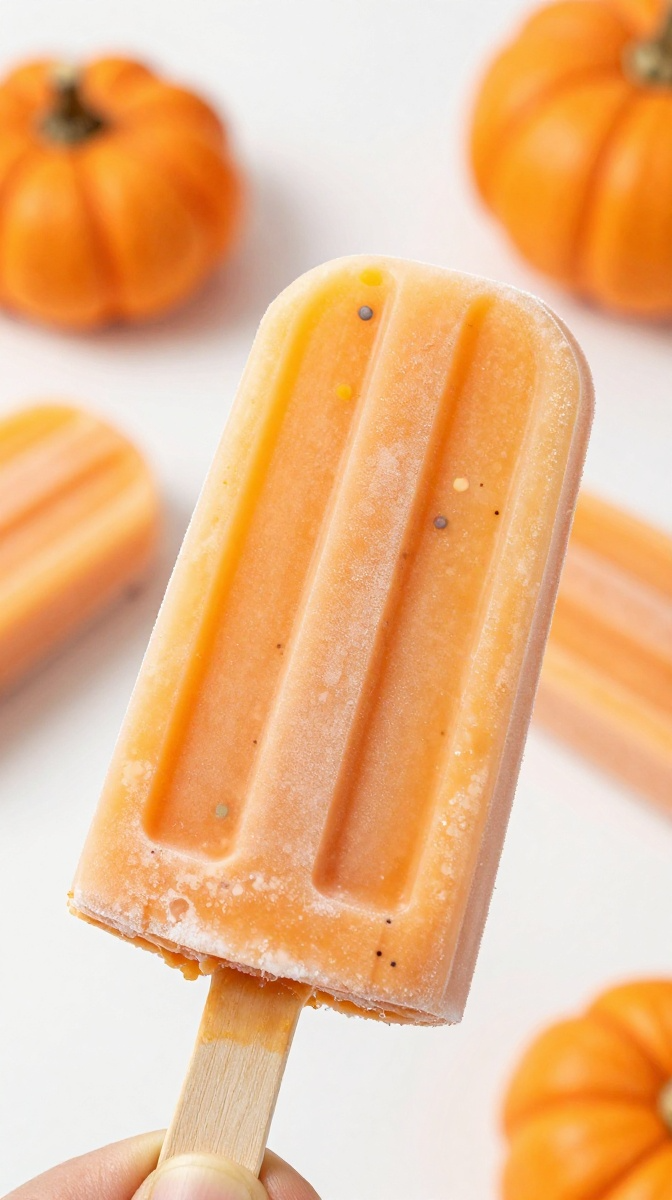
These frozen pops are like ice cream for dogs—but way healthier! They’re creamy, delicious, and packed with pumpkin goodness that supports digestive health. Perfect for hot days, special occasions, or whenever your dog deserves a little frozen luxury.
Ingredients
- 1 cup canned pumpkin puree (NOT pie filling!)
- 1 cup plain Greek yogurt
- 1/4 cup peanut butter (xylitol-free!)
- 2 tablespoons honey (optional)
Step-by-Step Instructions
- Combine all ingredients in a blender and mix until smooth and creamy.
- Pour the mixture into silicone molds or ice cube trays.
- Insert sticks if using popsicle molds.
- Freeze for 4-6 hours or until completely solid.
- Run under warm water for 10 seconds to release from molds.
- Serve to your dog and watch them enjoy a frozen treat!
Why You’ll Love It
These pops are the ultimate indulgence for your dog. The pumpkin supports healthy digestion, the yogurt provides probiotics, and the peanut butter adds protein and healthy fats. It’s like a frozen smoothie for your pup!
I made these for Louie after a particularly hot day at the park, and he couldn’t get enough of them. He polished off two pops in record time and then looked at me like “Got more?” Now I always keep a batch in the freezer for post-adventure rewards.
Pro tip: For extra fun, add some kibble or treats inside before freezing. It creates a fun treasure hunt for your dog to discover!
The Ultimate Guide to Snack Success
You’ve got the recipes, but here’s the secret sauce—my best tips and tricks for making these dog snack recipes work perfectly every single time.
Choose the Right Occasion
These snacks work for literally any occasion. Birthday parties? Yes. Gotcha Day? Absolutely. Rainy days when you’re both stuck inside? Perfect. Just a random Tuesday when your dog looks at you with those big, pathetic eyes? You bet!
Storage Solutions
Most of these snacks will keep for 1-2 weeks in an airtight container at room temperature, or up to 3 months in the freezer. I like to keep a variety on hand so I’m always ready for spontaneous snack attacks!
Portion Control
Even healthy snacks have calories. Adjust portions based on your dog’s size and activity level. For Louie (75-pound golden retriever), I give about 2-3 snacks per day. For smaller dogs, adjust accordingly!
Ingredient Safety Checklist
Always check that every ingredient is dog-safe. No xylitol, no grapes or raisins, no onion, no garlic, no artificial sweeteners. When in doubt, leave it out!
Customize for Your Dog
Not all dogs like the same things. Louie goes crazy for peanut butter, but my friend’s poodle won’t touch it. Experiment with different ingredients to find what your dog loves most!
The Right Texture
Some dogs prefer crunchy snacks, others like soft and chewy. Adjust baking times accordingly—longer for crunchier, shorter for softer.
Make It a Ritual
I’ve found that making snacks on Sunday has become our little tradition. Louie knows exactly what’s happening when he sees me pull out the ingredients. He sits patiently (okay, he’s not that patient—he jumps around like a maniac) and then gets to enjoy the finished product. It’s become one of our favorite bonding activities.
Use Leftovers
Don’t throw away those leftover veggies or bits of meat! Many dog-safe human foods make fantastic snacks. Just make sure they’re plain and free of harmful seasonings.
Gift Them
These snacks make amazing gifts for fellow dog owners! Package them in cute bags with a ribbon, and you’ve got the perfect present for your dog-loving friends.
Related Articles:
- Dog Slow Feeder Recipes for a Calmer Mealtime
- Toppl Dog Recipes: Stuffing Ideas for Fun & Games
- Dog Bone Filler Recipes for Extending Treats
Conclusion: Snack Time, Anytime!
So there we have it—six incredible dog snack recipes for literally any occasion!
We’ve got the Peanut Butter Oatmeal Cookies for classic comfort food vibes. The Frozen Berry Yogurt Bites for refreshing summer cooling. The Sweet Potato Chews for healthy chewing fun. The Apple Cinnamon Donuts for special occasion cuteness. The Chicken and Cheese Training Bites for high-value rewards. And the Pumpkin Pup Pops for frozen indulgence.
Every single recipe uses whole, natural ingredients. Every single recipe takes under 15 minutes to prepare. And every single recipe will make your dog look at you like you’re the greatest human who ever lived.
Here’s the thing—making your own dog snacks isn’t just about saving money (though that’s definitely a bonus). It’s about showing your dog love in the most delicious way possible. It’s about knowing exactly what’s going into their body. It’s about creating special moments that you’ll both remember.
Louie and I have been making these snacks for years now, and it never gets old. He still goes crazy for every new recipe I try. He still does his happy dance when he sees me pulling out the ingredients. And honestly? I still get a little thrill watching him enjoy something I made with my own two hands.
One last reminder: I’m not a vet, just a dog mom who loves experimenting in the kitchen. Always check with your veterinarian before introducing new foods to your dog’s diet, especially if they have health conditions or dietary restrictions.
Now go make some magic happen! Your dog is waiting, and I promise their happy face is going to make your whole day better.
Happy snacking, treat-making, and tail-wagging, everyone! 🐾
This article contains affiliate links that support my dog’s treat addiction. All opinions, recipes, and hilarious mishaps are entirely my own. Louie personally taste-tested every single recipe (it’s a tough job, but someone’s got to do it!).