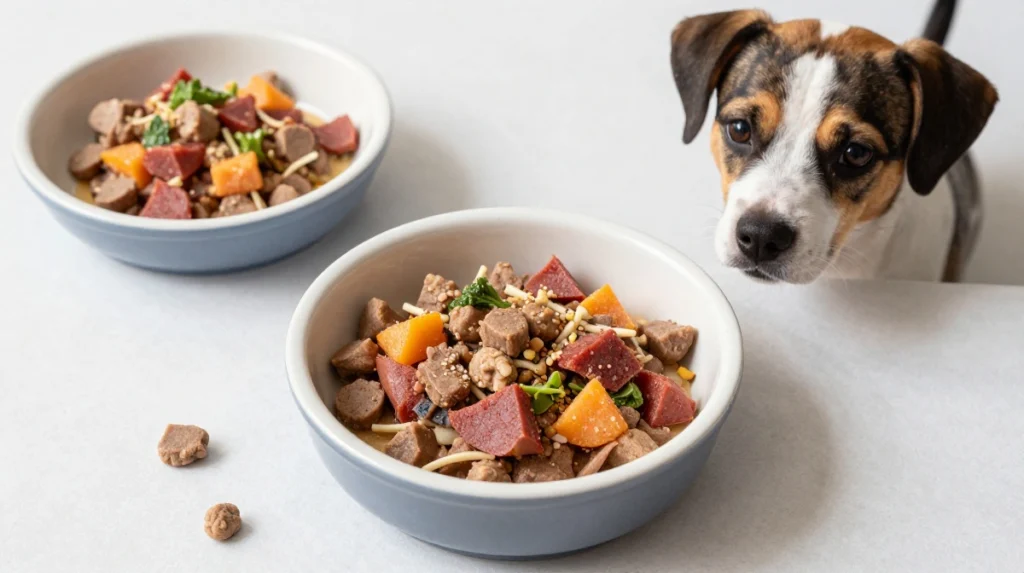
Let’s be real for a second. You’re sitting on the couch, minding your own business, maybe enjoying a little afternoon snack. And then you feel it. That intense, unblinking stare boring straight into your soul. Your dog is giving you the “I haven’t eaten in 47 years” look, and honestly? It’s working.
I’ve been there more times than I can count. Kevin, my golden retriever, has mastered the art of guilt-tripping me into sharing my food. But here’s the thing—most human snacks are loaded with salt, sugar, and ingredients that aren’t great for dogs. That’s exactly why I started creating dog-friendly snack recipes that are healthy, delicious, and totally safe.
Because who says your pup can’t enjoy snack time too? Whether you’re training, rewarding, or just spoiling them rotten (no judgment here), these recipes are about to become your new go-tos.
The best part? Most of these come together in under 15 minutes. Seriously. You can whip up a batch while your coffee brews. No fancy equipment. No weird ingredients. Just pure, wholesome goodness that’ll make your dog’s tail wag at warp speed.
So grab your mixing bowl, put on your favorite playlist, and let’s get snackin’. Your dog is about to think you’re a culinary genius. 😉
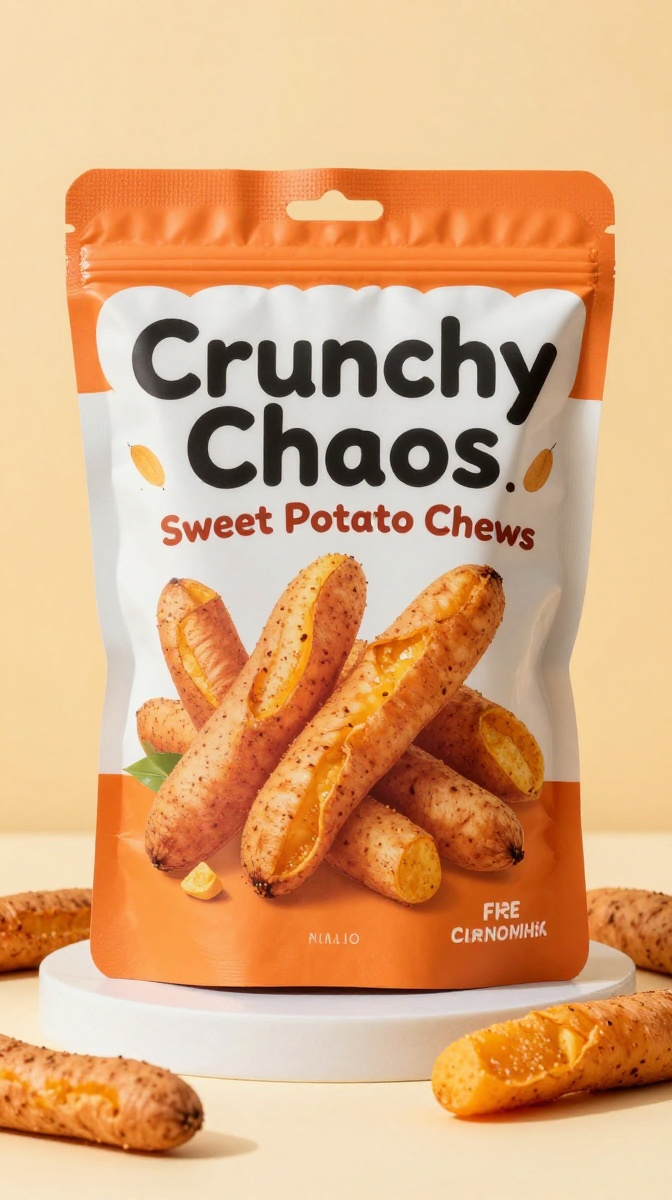
1. The “Crunchy Chaos” Sweet Potato Chews
These chewy, crispy strips are basically the dog version of potato chips—except way healthier. I started making these when Kevin was going through his “I’m bored with regular treats” phase, and honestly? They saved my sanity.
Ingredients
- 2 large sweet potatoes (organic if possible)
- 1 tbsp coconut oil (melted)
- 1/2 tsp cinnamon (optional but adds a warm flavor)
Step-by-Step Instructions
- Preheat your oven to 250°F and line a baking sheet with parchment paper. Low and slow is the name of the game here.
- Wash and dry the sweet potatoes thoroughly. Leave the skin on—it adds extra fiber and texture.
- Slice the sweet potatoes into 1/4-inch thick rounds or long strips. The thinner they are, the crispier they’ll get.
- Toss the slices in a bowl with melted coconut oil and cinnamon. Make sure every piece gets a little love.
- Arrange the slices on the baking sheet in a single layer—no overlapping, or they’ll steam instead of crisp.
- Bake for 2–3 hours, flipping halfway through. Keep an eye on them; you want them chewy-crisp, not burnt.
- Let cool completely before serving. (Your patience will be rewarded.)
Why You’ll Love It
These chews are naturally sweet, packed with vitamin A, and have that satisfying crunch dogs crave. Kevin goes absolutely bonkers for these—he’ll do his entire trick repertoire just for one strip. FYI, they also make great travel snacks because they don’t crumble everywhere. Win-win.
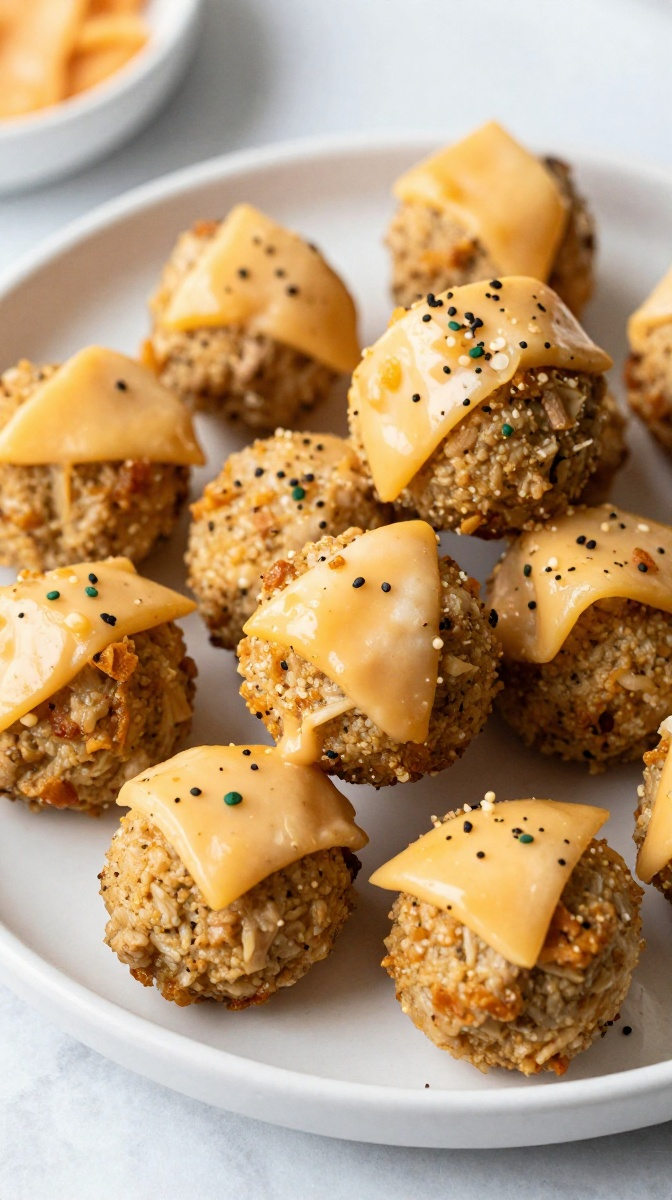
2. The “Protein Power” Turkey & Cheese Bites
Okay, so these are basically doggy meatballs, and honestly? They’re ridiculously easy. I whipped these up one afternoon when I had leftover ground turkey and some cheese, and Kevin acted like I’d just handed him a gourmet meal. Who doesn’t love a snack that’s basically a mini meal?
Ingredients
- 1 lb ground turkey (93/7 lean works best)
- 1/2 cup shredded cheddar cheese (or any dog-safe cheese)
- 1/4 cup rolled oats (ground into a flour)
- 1 egg
- 1 tbsp dried parsley (optional, but great for fresh breath)
Step-by-Step Instructions
- Preheat your oven to 375°F and line a baking sheet with parchment paper.
- In a large bowl, combine the ground turkey, shredded cheese, oat flour, egg, and parsley. Mix with your hands until everything is well incorporated. (Messy, but oddly satisfying.)
- Roll the mixture into bite-sized balls—about 1 inch in diameter. Place them on the baking sheet with a little space between each.
- Bake for 15–18 minutes until golden brown and cooked through. The internal temperature should reach 165°F.
- Let cool completely before serving. These are best served at room temperature.
Why You’ll Love It
These bites are packed with protein and healthy fats, making them the perfect post-walk reward. The cheese adds a savory punch that even the pickiest pups can’t resist. I’ve used these for training sessions, and Kevin’s focus goes from zero to hero in about 0.2 seconds. Some people add olives here, but I think they overpower the turkey—just saying.
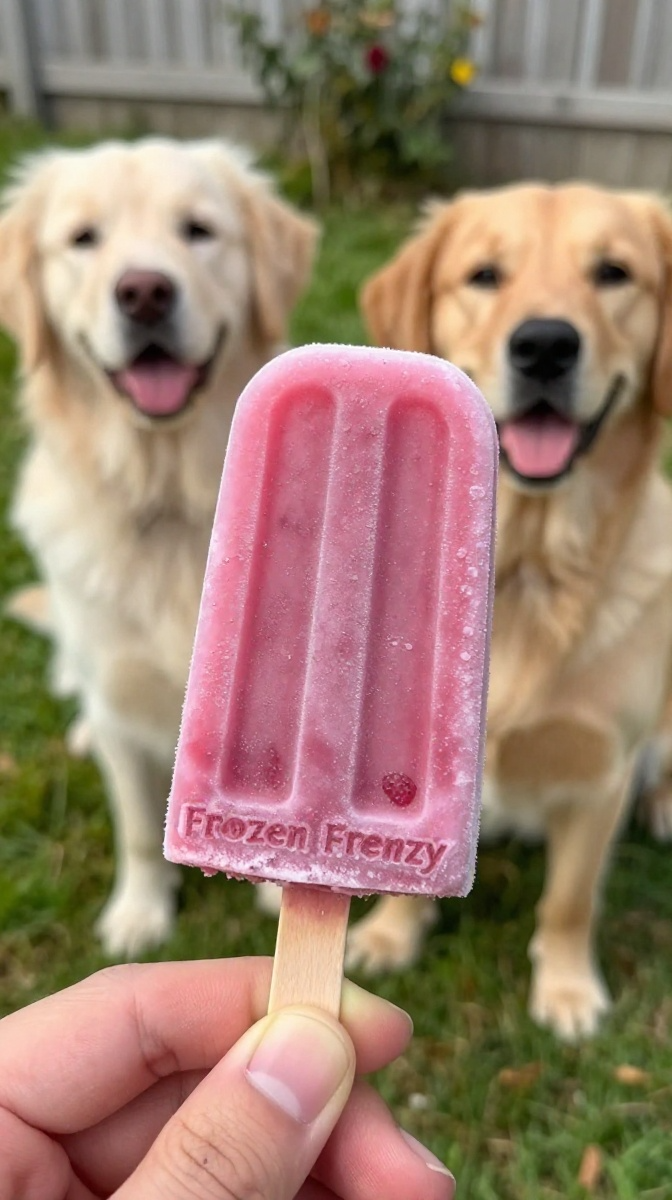
3. The “Frozen Frenzy” Berry Yogurt Popsicles
Summer afternoons can be brutal, especially if your dog is a furry furnace. These frozen popsicles are my go-to when the temperature soars. They’re refreshing, hydrating, and packed with probiotics. Plus, they keep Kevin occupied for at least 10 minutes—which is basically forever in dog time.
Ingredients
- 1 cup plain Greek yogurt (unsweetened)
- 1/2 cup fresh blueberries (or strawberries, diced)
- 1/4 cup water (to thin it out slightly)
- 1 tbsp honey (optional—use sparingly)
Step-by-Step Instructions
- In a blender, combine the Greek yogurt, berries, water, and honey (if using). Blend until smooth and creamy.
- Pour the mixture into silicone molds or an ice cube tray. (I love using bone-shaped molds for extra cuteness.)
- Insert a small stick or handle if your molds allow. Or just pop them out as frozen bites.
- Freeze for 3–4 hours or until completely solid.
- Pop them out and serve immediately. Watch the happy chaos unfold.
Why You’ll Love It
These popsicles are a total lifesaver during heatwaves. The yogurt provides a creamy base that dogs love, and the berries add a burst of sweetness and antioxidants. Kevin has learned to recognize the sound of the freezer door opening—he comes running like his tail’s on fire. IMO, these are the ultimate summer snack.
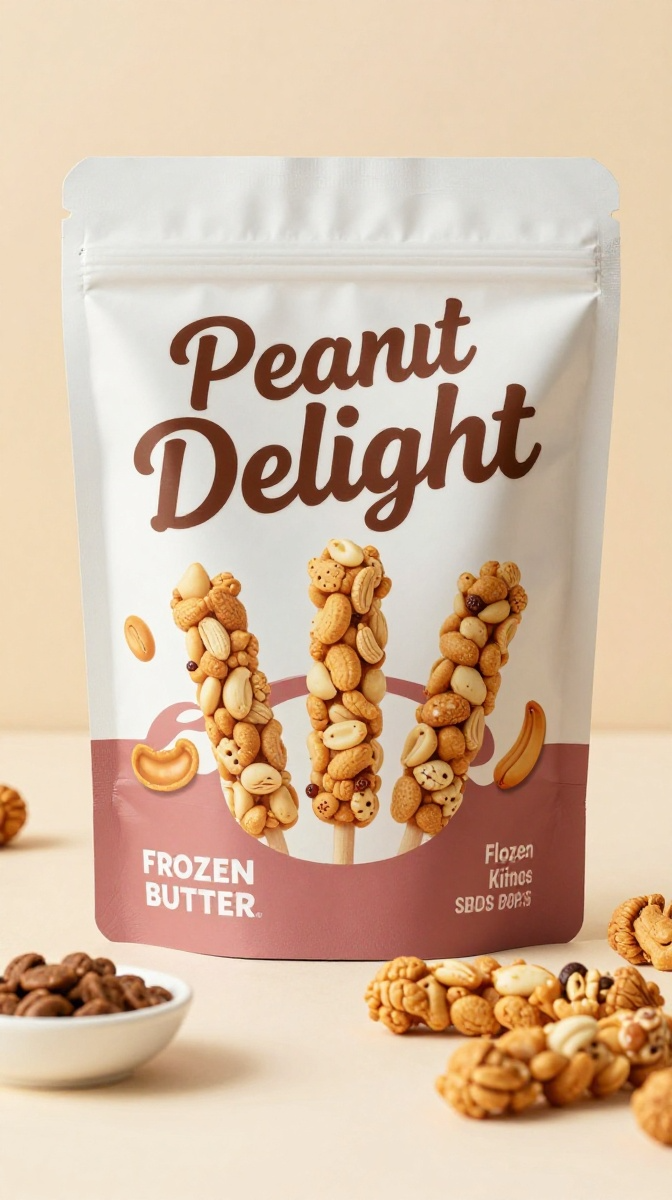
4. The “Peanut Butter Delight” Frozen Kibble Pops
This one is ridiculously simple and uses something you probably already have—your dog’s regular kibble. I created this on a lazy Sunday when I wanted to make snack time more fun without any extra cooking. It’s basically a frozen puzzle that doubles as a treat.
Ingredients
- 1 cup your dog’s regular kibble
- 1/2 cup natural peanut butter (xylitol-free!)
- 1/2 cup plain yogurt (or water)
- 1/4 cup water (to thin the peanut butter)
Step-by-Step Instructions
- In a bowl, mix the peanut butter and yogurt until smooth. Add water a little at a time until it’s pourable.
- Stir in the kibble until every piece is coated in the peanut butter mixture.
- Spoon the mixture into a silicone mold or ice cube tray. Press down slightly to make sure the kibble is packed in.
- Freeze for at least 4 hours or overnight.
- Pop them out and serve as a fun, crunchy snack.
Why You’ll Love It
These pops are interactive, crunchy, and packed with your dog’s favorite flavors. The frozen peanut butter coating makes the kibble extra exciting, and the crunching sound is oddly satisfying. Kevin gets so excited when he sees me pulling out the mold—he knows snack time is about to get wild.
5. The “Veggie Crunch” Dehydrated Carrot Chips
If your dog loves crunchy snacks, these carrot chips are about to become a staple in your house. They’re sweet, crispy, and take just minutes to prep. I started making these when I noticed Kevin eyeing my veggie chips with jealousy.
Ingredients
- 4–5 large carrots (peeled or scrubbed)
- 1 tbsp olive oil (optional, for extra crispness)
- 1/2 tsp dried parsley (for flavor and fresh breath)
Step-by-Step Instructions
- Preheat your oven to 200°F or use a food dehydrator.
- Slice the carrots into thin rounds—about 1/8 inch thick. A mandoline makes this super easy, but a sharp knife works too.
- Toss the carrot slices in a bowl with olive oil and dried parsley if you’re using them.
- Arrange the slices on a baking sheet in a single layer. Don’t crowd them—they need space to crisp up.
- Bake for 2–3 hours, flipping halfway, until they’re dried and slightly crispy. They should bend but not snap.
- Let cool completely before storing in an airtight container.
Why You’ll Love It
These chips are naturally sweet, packed with beta-carotene, and have that satisfying crunch dogs love. Kevin goes through these faster than I can make them, so I usually double the batch. They’re also perfect for training—small, lightweight, and low-calorie. Who doesn’t love a snack that’s healthy AND delicious?
6. The “Pumpkin Spice” Energy Bites
Okay, hear me out. Energy bites aren’t just for humans. These little nuggets are packed with fiber, healthy fats, and just enough natural sweetness to make snack time feel special. I made these for Kevin before a long hike, and they gave him the perfect energy boost.
Ingredients
- 1 cup rolled oats
- 1/2 cup pumpkin purée (not pie filling!)
- 1/4 cup natural peanut butter (xylitol-free!)
- 1 tbsp chia seeds (optional, for omega-3s)
- 1/2 tsp cinnamon (adds warmth and flavor)
Step-by-Step Instructions
- In a large bowl, combine the rolled oats, pumpkin purée, peanut butter, chia seeds, and cinnamon.
- Mix until everything is well combined and a sticky dough forms. If it’s too wet, add a little more oats.
- Roll the mixture into small bite-sized balls—about 1 inch in diameter.
- Place the bites on a parchment-lined baking sheet and refrigerate for 30 minutes to firm up.
- Serve chilled or at room temperature. Store leftovers in the fridge for up to a week.
Why You’ll Love It
These bites are chewy, slightly sweet, and packed with fiber that supports digestive health. The pumpkin adds a creamy texture, and the cinnamon gives it that cozy fall vibe. Kevin is obsessed with these—he practically does backflips when he sees me rolling them out. FYI, they also freeze beautifully for longer storage.
Pro Tips for Snack Success
Before you start experimenting, here are a few things I’ve learned the hard way:
- Always check ingredients for dog safety. No xylitol, no grapes, no chocolate, no macadamia nuts. Keep it safe, keep it simple.
- Moderation is key. Snacks should make up no more than 10% of your dog’s daily calories.
- Introduce new ingredients slowly. Some dogs have sensitive stomachs. Start with small amounts and see how they react.
- Texture matters. Some dogs prefer crunchy, others like chewy. Experiment and see what your pup loves most.
Dog-Safe Snack Staples to Keep on Hand
Want to whip up a spontaneous snack? Keep these ingredients in your pantry:
- Peanut butter (xylitol-free!)
- Pumpkin purée (not pie filling)
- Rolled oats
- Plain Greek yogurt
- Fresh or frozen berries
- Carrots and sweet potatoes
- Cinnamon (small amounts only)
With these basics, you can create endless dog-friendly snack recipes on the fly. It’s like being a snack superhero.
FAQ’S
Can I use regular peanut butter?
Only if it’s xylitol-free. Many brands add this sweetener, and it’s highly toxic to dogs. Read those labels!
How long do homemade snacks keep?
Most baked or dehydrated snacks stay fresh in the fridge for 3–5 days. Freeze them for up to 3 months.
Are these snacks suitable for puppies?
Yes, but keep portions small. Puppies have sensitive tummies, and too much new food can cause issues.
My dog is overweight—can they still enjoy these?
Absolutely! Just reduce portion sizes and choose lower-calorie options like carrot chips or frozen yogurt pops.
Can I substitute ingredients?
Totally. Swap out fruits and veggies based on what you have. Just avoid toxic ones like grapes, onions, and garlic.
Related Articles:
- Dog Dessert Recipes for a Sweet Occasion
- Dog Smoothie Recipes: A Refreshing Snack
- Dog Waffle Recipes: A Fun Breakfast for Your Pup
The Bottom Line
Snack time should be fun for everyone—including your dog. These dog-friendly snack recipes are proof that healthy can also be delicious. Whether you’re looking for something crunchy, chewy, frozen, or baked, there’s a recipe here that’ll make your pup’s tail wag.
Kevin has officially become a snack connoisseur. He can tell the difference between store-bought treats and my homemade ones in approximately 0.1 seconds. And honestly? Seeing his excitement makes all the prep work completely worth it.
So go ahead—preheat that oven, bust out your blender, or just roll up some energy bites. Your dog is about to think you’re the best human ever. And who knows? You might even enjoy making them just as much as they enjoy eating them.
Happy snacking, foodie friend! Now if you’ll excuse me, Kevin is giving me the “is it snack time yet?” look. Guess I know what I’m doing next. 😊🐾