Silicone molds changed my dog-treat game forever. Suddenly I could make perfect little bones, paws, and hearts without any rolling or cookie-cutter drama. The best part? Most of these dog treat recipes for silicone molds take minutes to mix, pop out cleanly, and look ridiculously fancy for almost zero effort.
I’ve filled more molds than I can count—some for birthdays, some for “just because,” and one batch that never made it past the freezer because someone discovered the stash. These ten recipes are the ones I actually use. They’re simple, dog-safe, and designed specifically for silicone so they release like a dream. Ready to make treat time way more fun?
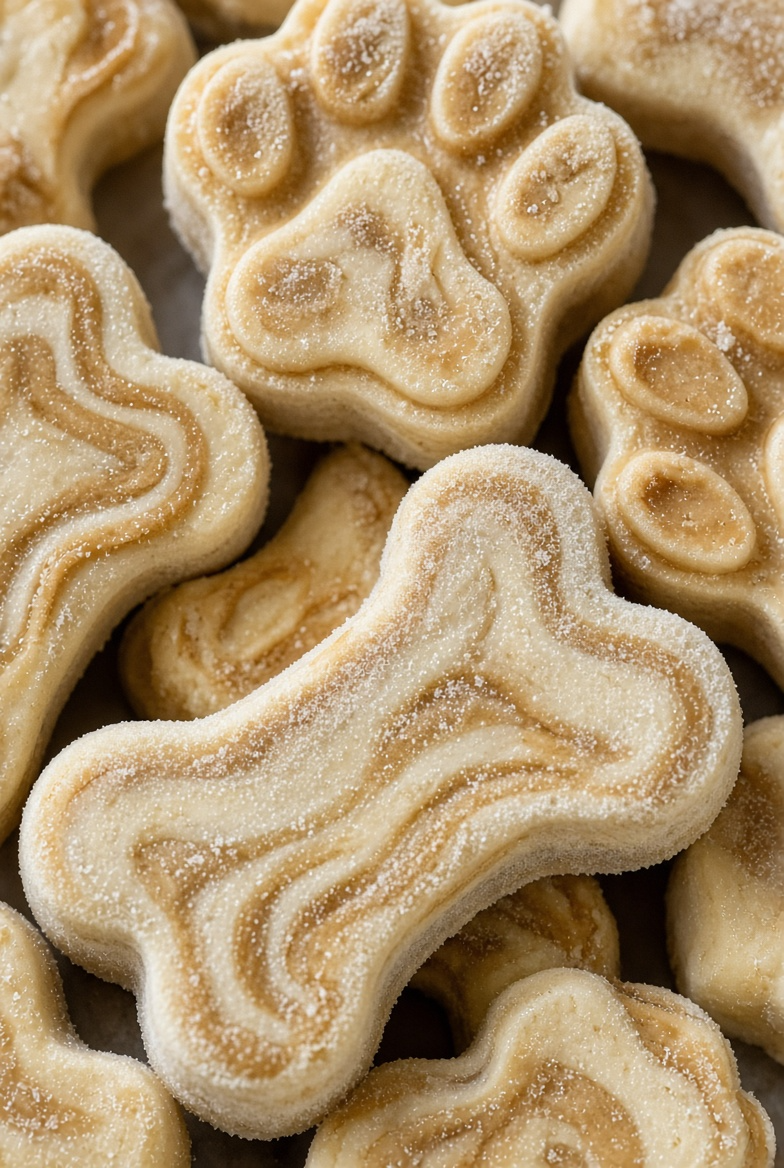
1. Frozen Peanut Butter Banana Bites
These creamy little bites freeze solid and pop out of the molds looking like tiny ice cream bars. Dogs go wild for them.
Ingredients
- 1 ripe banana, mashed
- ½ cup natural peanut butter (xylitol-free)
- ½ cup plain Greek yogurt
Step-by-Step Instructions
- Mash the banana until completely smooth.
- Stir in the peanut butter and yogurt until creamy.
- Spoon the mixture into silicone molds, filling each cavity.
- Freeze at least 3 hours or overnight.
- Pop the treats out and store in a freezer bag.
Why You’ll Love It
These are my go-to when I want something that looks special but takes almost no work. I once forgot them in the freezer for a week and they still tasted perfect. The banana keeps everything soft enough to bite, and the yogurt adds a nice tang. Just don’t overfill the molds or you’ll have sticky overflow.
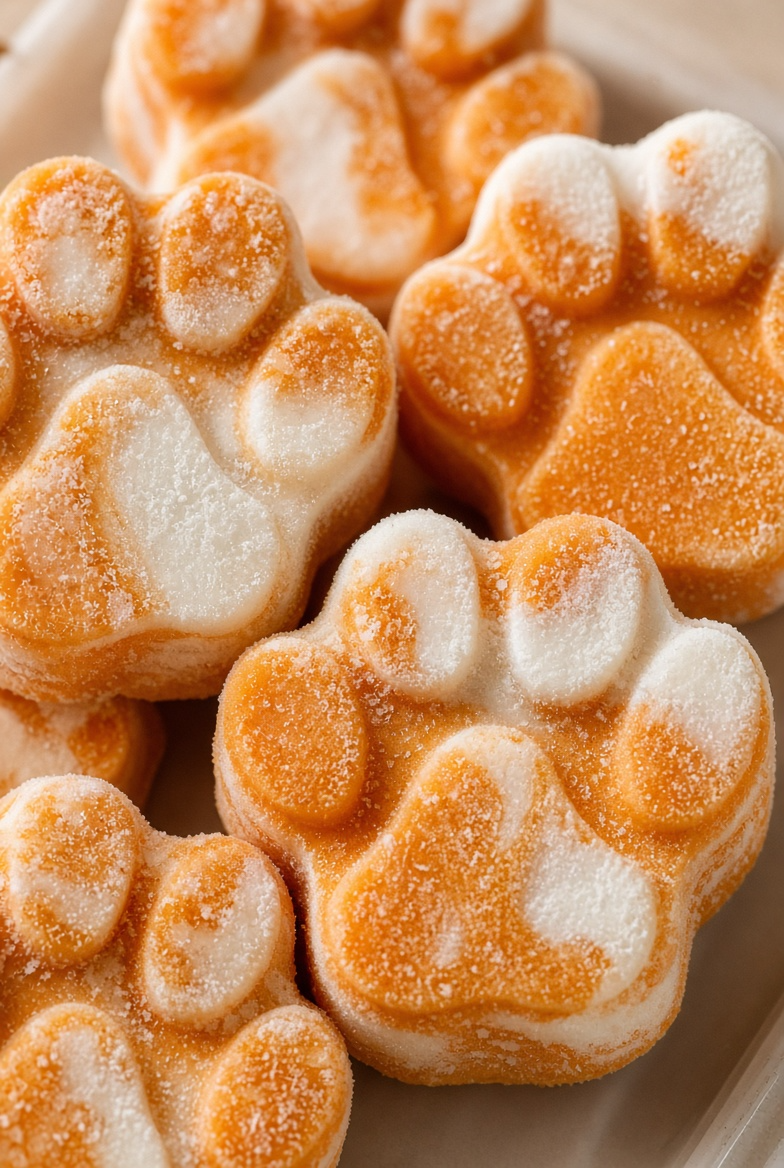
2. Pumpkin Yogurt Paw Prints
Bright orange, creamy, and perfect for fall (or any day you need a gentle treat).
Ingredients
- 1 cup pure pumpkin puree
- 1 cup plain Greek yogurt
- Optional: a pinch of cinnamon
Step-by-Step Instructions
- Stir the pumpkin and yogurt together until smooth.
- Add a tiny pinch of cinnamon if you want.
- Spoon into silicone paw or bone molds.
- Freeze 3–4 hours until solid.
- Release and keep frozen.
Why You’ll Love It
Pumpkin is gentle on tummies and the color looks so cheerful in the molds. I started making these after my dog had a sensitive week and needed something bland but appealing. They pop out cleanly every time and the yogurt keeps them from turning rock-hard. FYI—don’t skip the pure pumpkin; the pie filling version is a disaster.
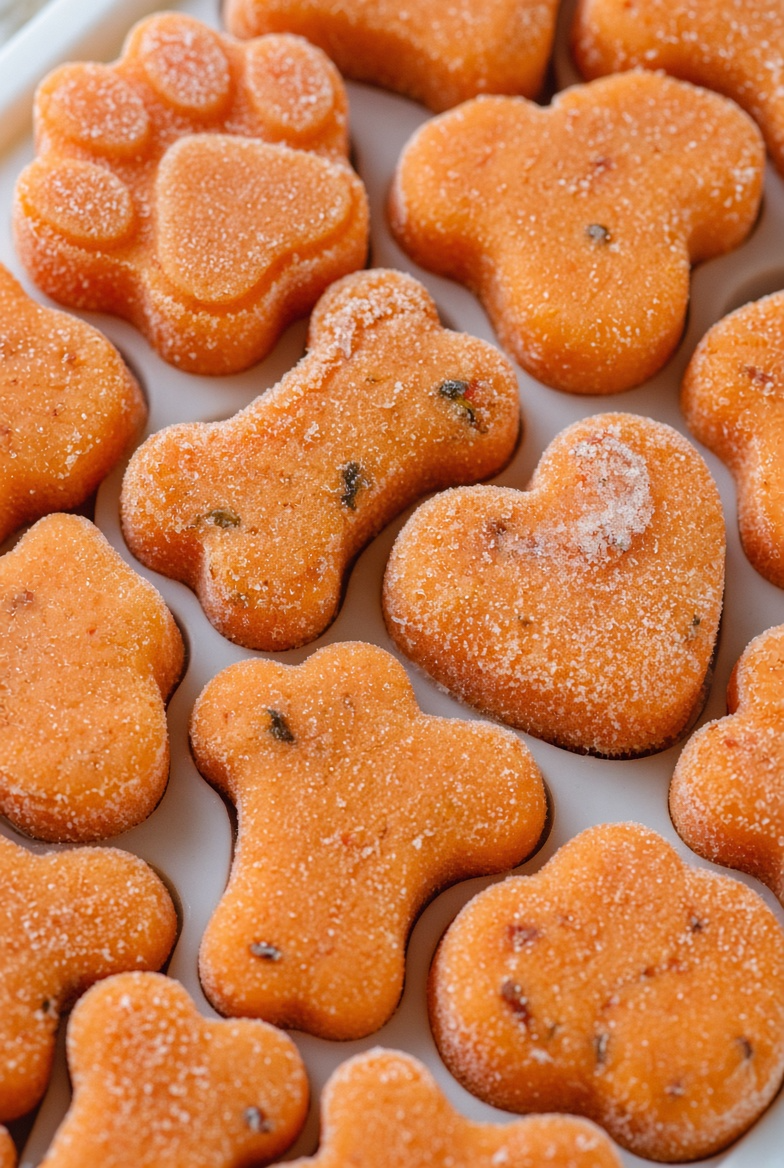
3. Sweet Potato Carrot Freezies
Two orange powerhouses turned into soft, frozen treats that still have a little chew.
Ingredients
- 1 cup mashed cooked sweet potato
- ½ cup finely grated carrot, squeezed dry
- ½ cup plain Greek yogurt
Step-by-Step Instructions
- Mix the sweet potato, carrot, and yogurt until combined.
- Spoon the mixture into silicone molds.
- Freeze at least 4 hours.
- Pop out and store in the freezer.
Why You’ll Love It
These feel more substantial than plain yogurt treats. I make them when I have leftover roasted sweet potato and want zero waste. The carrot adds a little texture and the whole thing stays soft enough for most dogs to enjoy straight from the freezer. Just squeeze that carrot well or the molds get watery.
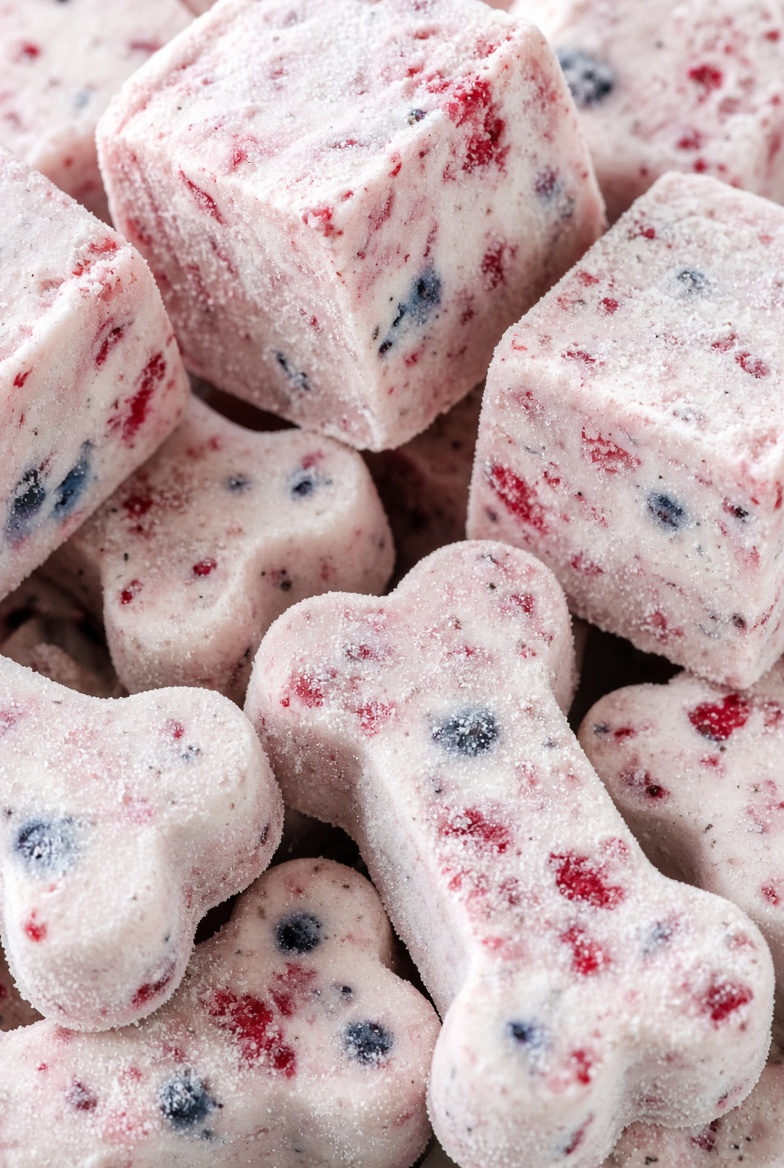
4. Berry Yogurt Cubes
Bright, fruity, and perfect for summer days or dogs who love a cold snack.
Ingredients
- 1½ cups plain Greek yogurt
- ½ cup mixed berries (fresh or frozen)
- Optional: 1 tbsp natural peanut butter
Step-by-Step Instructions
- Stir the yogurt and peanut butter (if using) until smooth.
- Gently fold in the berries.
- Spoon into silicone molds, pressing berries down slightly.
- Freeze 3 hours or until solid.
- Release and keep frozen.
Why You’ll Love It
These look like little frozen desserts and dogs treat them that way. I once used too many berries and the molds stained—lesson learned. Stick to a moderate amount and you’ll get perfect pops every time. The cold is especially nice on hot days.
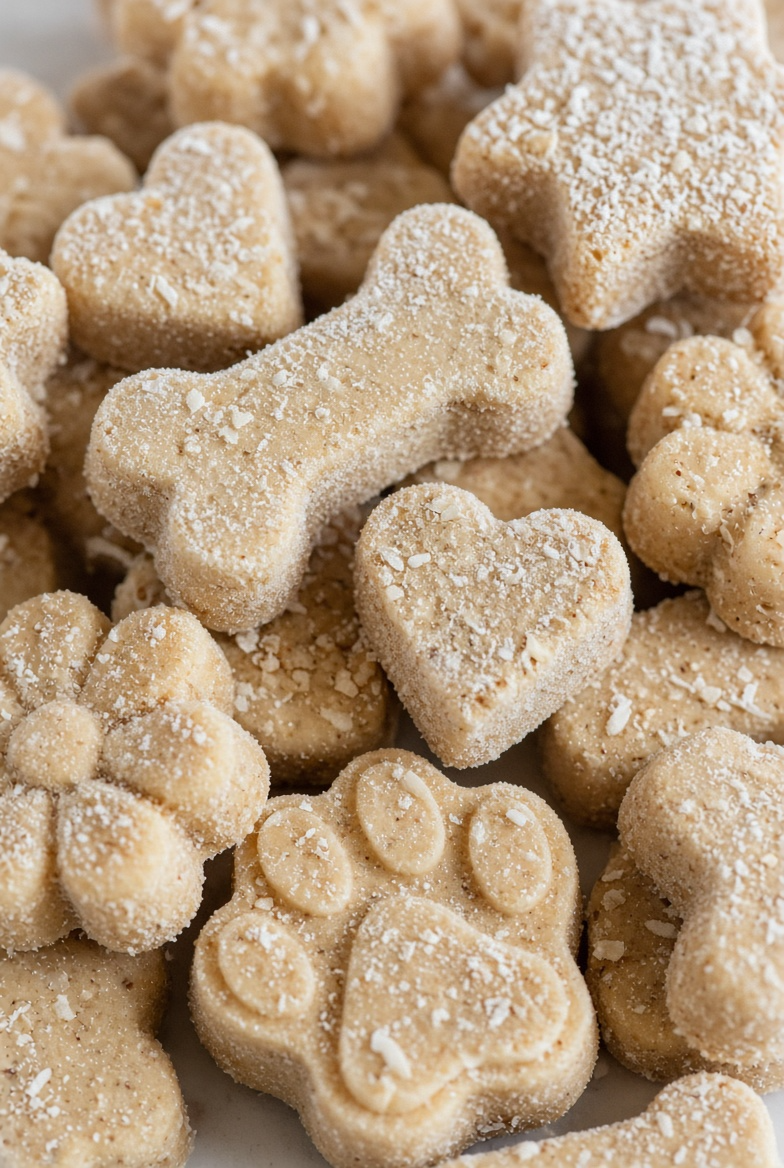
5. Peanut Butter Coconut Mini Treats
Creamy peanut butter meets coconut for a soft, mold-friendly mixture that freezes beautifully.
Ingredients
- ½ cup natural peanut butter
- ½ cup plain Greek yogurt
- 2 tbsp coconut flour
- Optional: 1 tbsp mashed banana
Step-by-Step Instructions
- Mix the peanut butter and yogurt until creamy.
- Stir in the coconut flour (and banana if using).
- Spoon into silicone molds.
- Freeze at least 3 hours.
- Pop out and store frozen.
Why You’ll Love It
The coconut flour thickens the mixture just enough so it holds its shape. I tried these without it once and they were too soft. With the flour they release cleanly and still taste rich. My dog does a little dance every time these come out of the freezer.
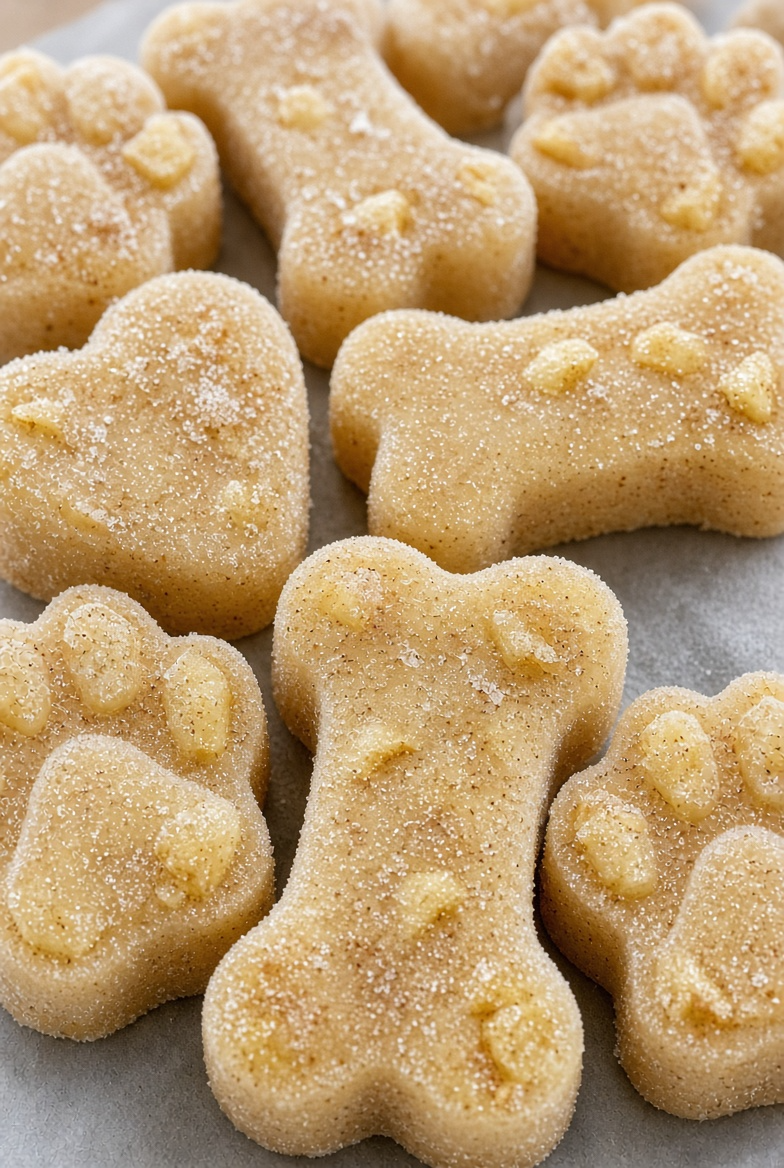
6. Apple Cinnamon Soft Molds
Gently spiced and soft enough to bite even when frozen. Perfect for dogs who prefer milder flavors.
Ingredients
- 1 small apple, grated and squeezed dry (seeds removed)
- 1 cup plain Greek yogurt
- ½ tsp cinnamon
- 1 tbsp natural peanut butter
Step-by-Step Instructions
- Mix the grated apple, yogurt, cinnamon, and peanut butter.
- Spoon into silicone molds.
- Freeze 3–4 hours until firm.
- Release and keep in the freezer.
Why You’ll Love It
Squeezing the apple is the key step. I skipped it once and the treats turned icy and watery. When you do it right, these stay creamy and the cinnamon makes them smell amazing. They’re gentle enough for most sensitive dogs too.
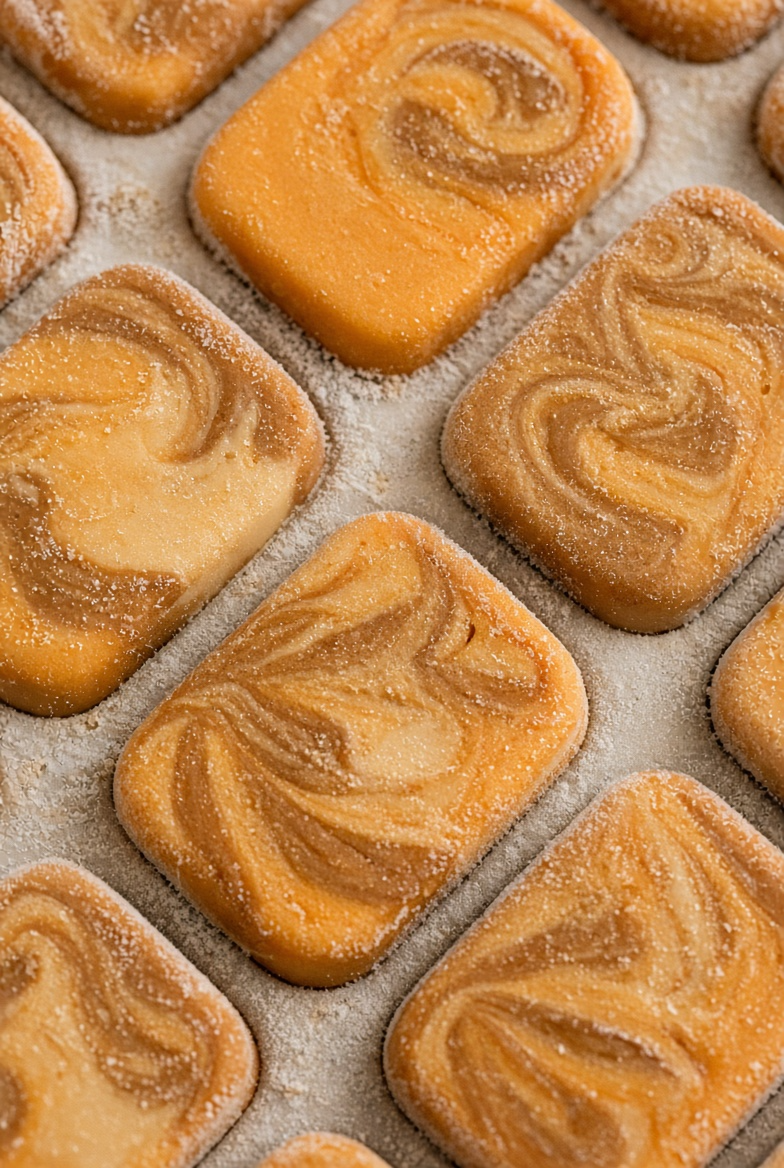
7. Frozen Pumpkin Peanut Butter Swirls
Two favorites swirled together for a pretty (and tasty) two-tone treat.
Ingredients
- ¾ cup pure pumpkin puree
- ½ cup natural peanut butter
- ½ cup plain Greek yogurt
Step-by-Step Instructions
- Mix half the yogurt with the pumpkin in one bowl.
- Mix the remaining yogurt with the peanut butter in another.
- Spoon alternating dollops into silicone molds and swirl lightly with a toothpick.
- Freeze 4 hours.
- Pop out and store frozen.
Why You’ll Love It
These look fancy with almost no extra work. I started swirling them just for photos and now my dog expects the pretty version. The pumpkin keeps things gentle while the peanut butter delivers the flavor dogs crave. Don’t over-swirl or you’ll lose the contrast.
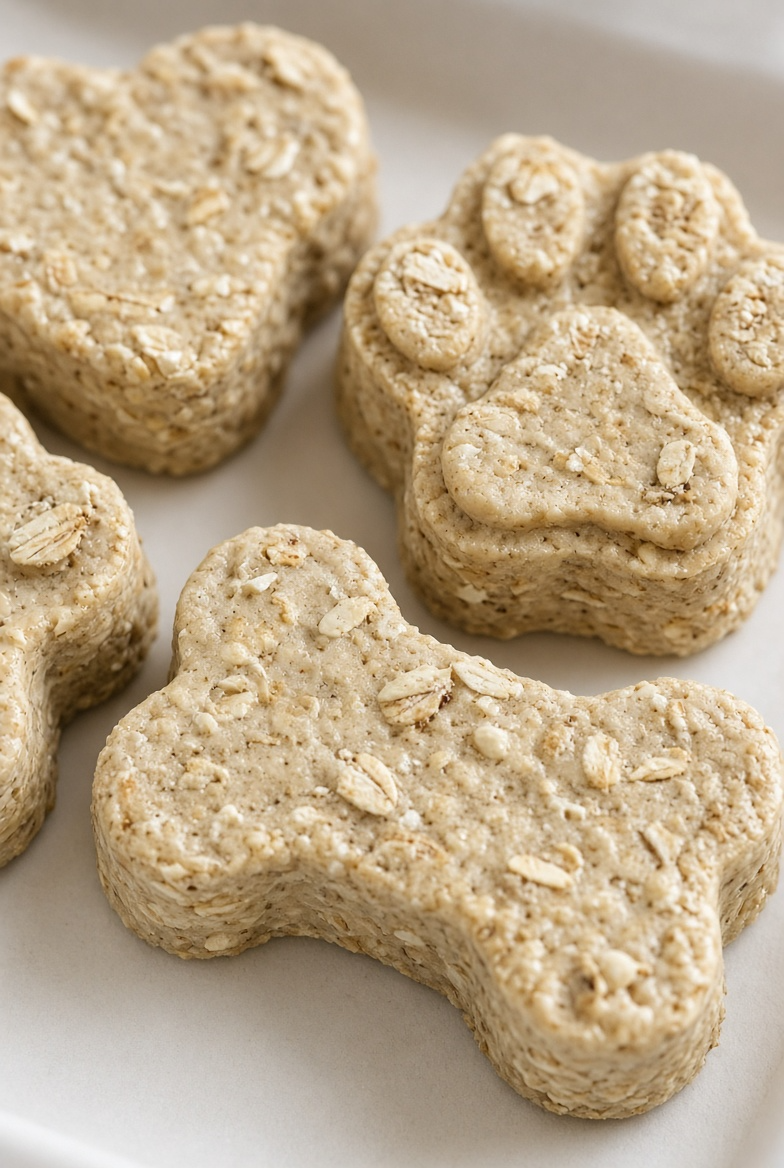
8. Banana Oat Refrigerator Treats
These set in the fridge instead of the freezer, so they’re softer and ready faster.
Ingredients
- 2 ripe bananas, mashed
- ½ cup natural peanut butter
- 1 cup rolled oats
- Optional: 2 tbsp plain Greek yogurt
Step-by-Step Instructions
- Mash the bananas thoroughly.
- Stir in the peanut butter and yogurt if using.
- Mix in the oats until combined.
- Press the mixture firmly into silicone molds.
- Refrigerate at least 2 hours to set, then pop out.
Why You’ll Love It
These are perfect when you don’t want to wait for the freezer. I make them for same-day treats and they hold their shape surprisingly well. The oats give a nice chew and the banana keeps everything moist. Just press firmly so they don’t fall apart.
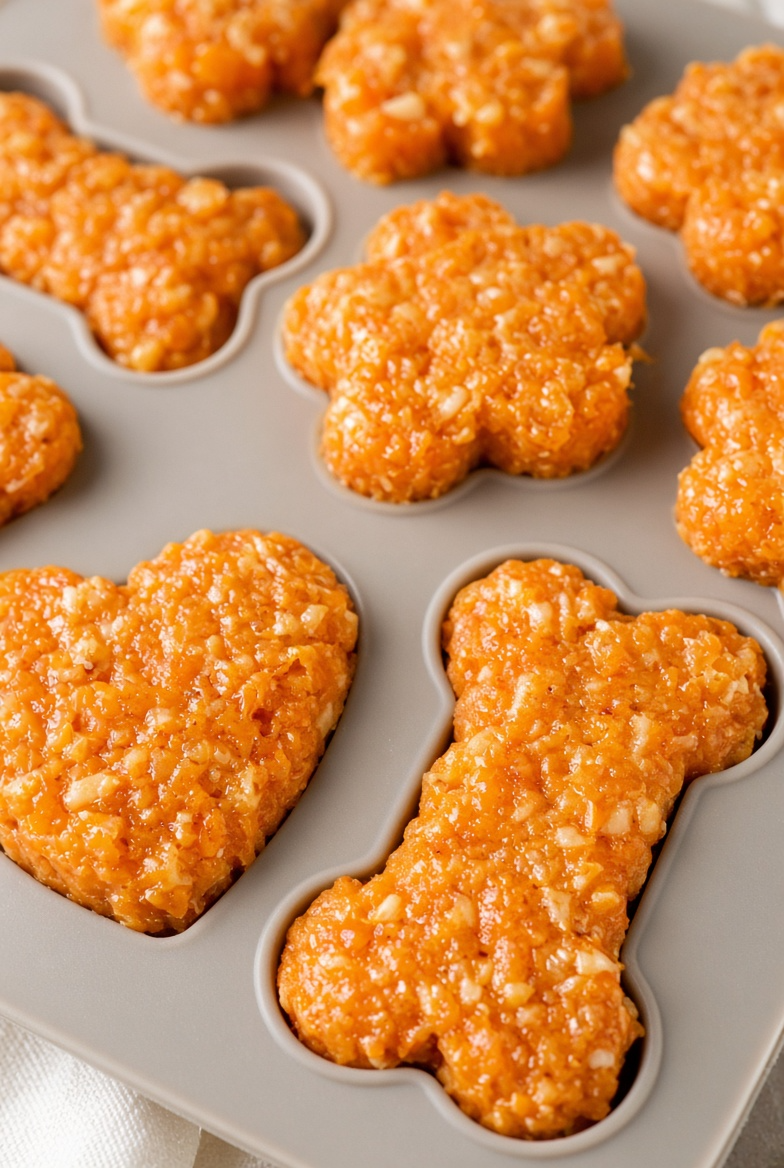
9. Carrot Apple No-Bake Molds
Fresh, lightly sweet, and set in the fridge for a soft texture dogs love.
Ingredients
- ½ cup finely grated carrot, squeezed dry
- ½ small apple, grated and squeezed dry
- ⅓ cup natural peanut butter
- 2 tbsp coconut flour or oat flour
Step-by-Step Instructions
- Mix the carrot, apple, and peanut butter.
- Stir in the flour until a thick mixture forms.
- Press firmly into silicone molds.
- Refrigerate 1–2 hours until firm.
- Pop out and store in the fridge.
Why You’ll Love It
These taste fresh and light. I make them when I have leftover produce and want something different from the usual frozen options. The flour helps them hold together and they release cleanly. Just be strict about removing apple seeds.
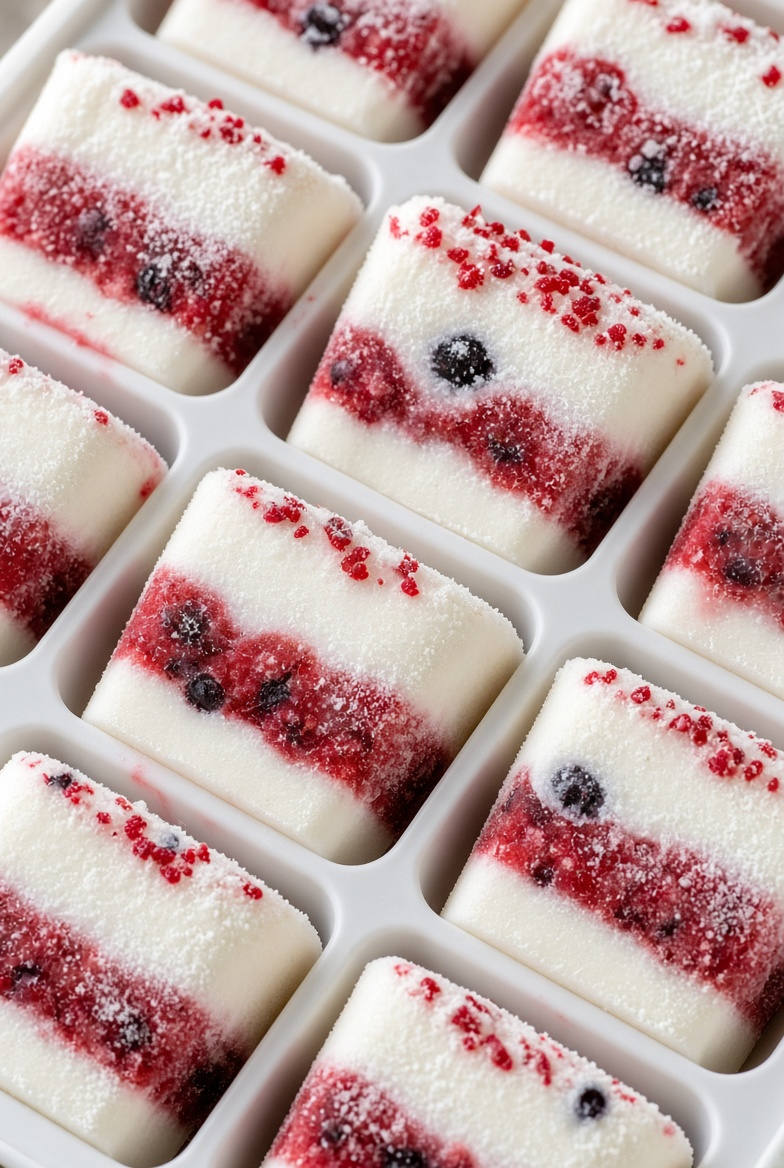
10. Simple Yogurt Berry Layers
Pretty layered treats that look impressive but take almost no skill.
Ingredients
- 1½ cups plain Greek yogurt
- ½ cup mixed berries
- Optional: 1 tbsp natural peanut butter mixed into half the yogurt
Step-by-Step Instructions
- Blend or mash half the berries into half the yogurt for a pink layer.
- Leave the other half of the yogurt plain (or mix with peanut butter).
- Spoon alternating layers into silicone molds.
- Freeze 3–4 hours until solid.
- Pop out and keep frozen.
Related Articles:
- Grain-Free Dog Treat Recipes for Sensitive Tummies
- Pupcake Recipes: The Cutest Dog Treats
- Dog-Friendly Cupcake Recipes for a Pawty
Why You’ll Love It
These look like tiny layered desserts and dogs don’t care about the aesthetics—they just love the taste. I started layering them for photos and now it’s my favorite way to use up berries. They release perfectly from silicone and make any day feel a little more special.
There you have it—ten dog treat recipes for silicone molds that turn everyday ingredients into cute, easy, and seriously tasty rewards. From frozen peanut butter banana bites to layered yogurt treats and soft refrigerator options, every single one is designed to pop out cleanly and make your dog’s day.
The best part? Silicone molds do most of the work for you. No rolling, no cutting, no sticky cookie cutters. Just mix, fill, freeze or chill, and watch the perfect little shapes appear. Keep a few batches in the freezer and you’ll always have something special ready.
Your dog deserves treats that look as good as they taste. These recipes deliver both. 😊